117 11/6/2018
© 2015 Rinnai America Corporation
PROPRIETARY and CONFIDENTIAL
Enhancing Lives By Changing The Way Water Is Heated
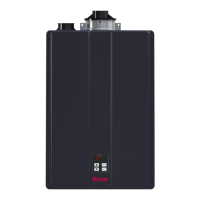
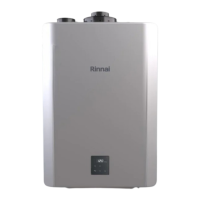
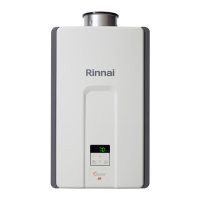
Electrical Diagnostic Points
When measuring resistance always make sure the power supply to the unit is turned off and the component being check is
isolated from the P.C. board.
1. Check for 120 V.A.C. Power Supply to the water heater – (Plug CN1):
a. Connector “A” pin 1 white wire & pin 3 black wire.
2. Verify 10 Amp Fuse is not blown next to connector A. Check fuse…
3. Measure resistance and/or voltage of the Overheat Switch – (Plug H6):
a. Connector ”H” pin #14 black wire & connector “D” pin 28 black – Less than 1 ohm or 11 ~ 13 VDC.
4. Measure resistance and/or voltage of the Main Gas Valve Solenoid – (Plug D7):
a. Connector “D” black wire pin #27 & yellow wire pin #29 – 18 ~ 22 ohms or 11 ~ 13 VDC.
5. Measure resistance and/or voltage of the Fan Motor – (Plug D3):
a. Connector “D” red wire pin #4 & black wire pin #6 – N/AΩ or 7 ~ 48 VDC.
b. Connector “D” white wire pin #10 & black wire pin #6 – 10 ~ 12 VDC.
c. Connector “D” yellow wire pin #8 & black wire pin #6 – 11 ~ 13 VDC.
6. Measure resistance of Outgoing Water Thermistor – (Plug H1):
a. Connector “H” white wire pin #2 (turns black before getting back to board) & white wire pin #3 - See values below.
b. Connector “H” blue wire pin #9 & blue wire (turn black before getting back to board) pin #11 - See values below.
59 ˚F = 11.8 ~ 13.3K ohms
86 ˚F = 6.7 ~ 7.4K ohms
113 ˚F = 3.9 ~ 4.3K ohms
140˚F = 2.4 ~ 2.7K ohms
221 ˚F = 0.66 ~ 0.76K ohms.

 Loading...