Installation and Programming Manual
3-4
h) press the [ENTER] key; the resulting display confirms
the following information about the keypad:
• it has been given the I.D. of “01”
(which matches
the keypad’s DIP switch settings
• it has been assigned to Partition 1
(the only
partition in the system, thus far)
f) at this display:
press the [STAY] key once so that the display reads:
and then press [ENTER]
g) remove the J2 DEFAULT jumper from its position on
the Main Board, and place it over one of the two pins
for safekeeping
h) press [,] and then [0]; the keypad displays
i) save this information by pressing the [,] key four
times, followed by [0]; the keypad will then display:
j) press [ENTER] to confirm; the display shows:
and then, a few moments later:
i) press [ENTER]; the display shows:
and then, a few moments later:
k) after a moment, the system will enter its ordinary
operating mode
j) when the Pro-24’s factory defaults have been
restored, this display will appear
until the system’s TIME and DATE are set, the display will show hyphens and periods, respectively
“PARTITION 1” is the default designation given to the system at this time; during programming, it can be
changed to give the installation a name (e.g. “The Jones’s”, “Elm Lumber”) in a non-partitioned system, or to
identify a specific area (e.g. “Sales Dept”) in a partitioned system
9- Choose Among the Following Options:
to end your initial
programming session now:
to wall-mount your ke
pad and
continue programming
to continue programming
• remove power (both AC and
Standby Battery) from your system
until you’re ready to continue with
Installer Programming
• the Pro-24 will retain its
programmed data
• when ready, proceed with Installer
Programming below
• remove power (both AC
and Standby Battery) to avoid a
tamper alarm
• locate the keypad’s tamper
“plunger” and orient its slot
vertically
• if desired, re-apply power after
mounting the keypad; the above
display will appear after a few
seconds
• when ready, continue with
Installer Programming below
• continue below
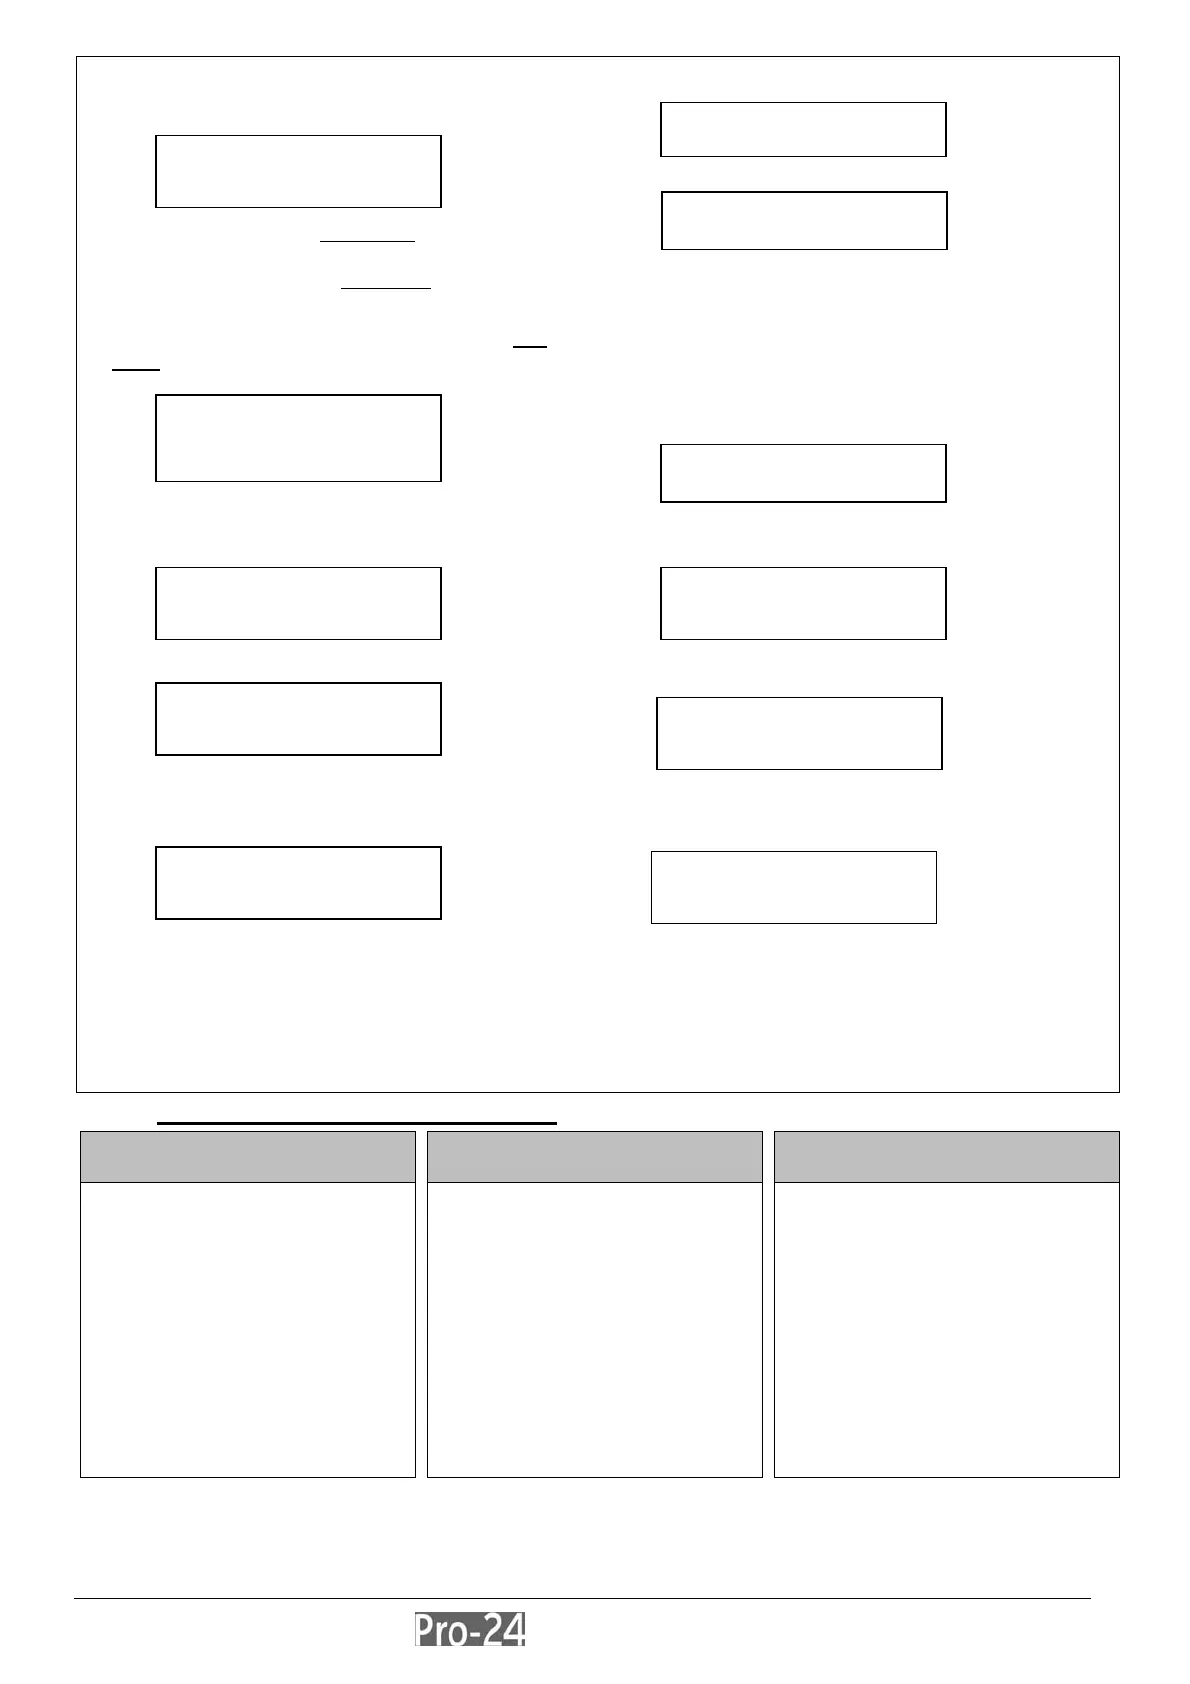
DEFAULT EN/DIS:
DEFAULT EN/DIS:
DEFAULT ENABLE
DO YOU WANT TO
SAVE THE DATA? Y
PLEASE, WAIT
DATA SAVING..
DATA IS SAVED
PLEASE WAIT ...
PARTITION 1
--:-- ... .. ...
ASSIGN TO PAR:
KEYP=01 PAR= 1
DO YOU WANT TO
SAVE THE DATA? Y
DEFAULT ENABLE
PLEASE, WAIT
DATA SAVING..
DATA IS SAVED
PLEASE WAIT ...
PARTITION 1
--:-- ... .. ...