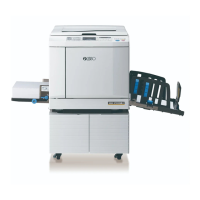
Page 8
Step 10
Set the printing conditions.
Check the printing position and density on the
proof copy.
Press the [PROOF] key to check the
output using another proof copy.
If the machine has not been used
for an extended period of time, the
ink on the print cylinder dries and
colors in the printed output may be
faint or faded. If you find the case
mentioned above, output several
proof copies to ensure the usability
and stability of the ink.
You can
output proof copies continuously by
holding down the [PROOF] key.
Step 11
Press the [START] key.
The printing process starts.
To stop the printing process, press
the [STOP] key.
Step 12
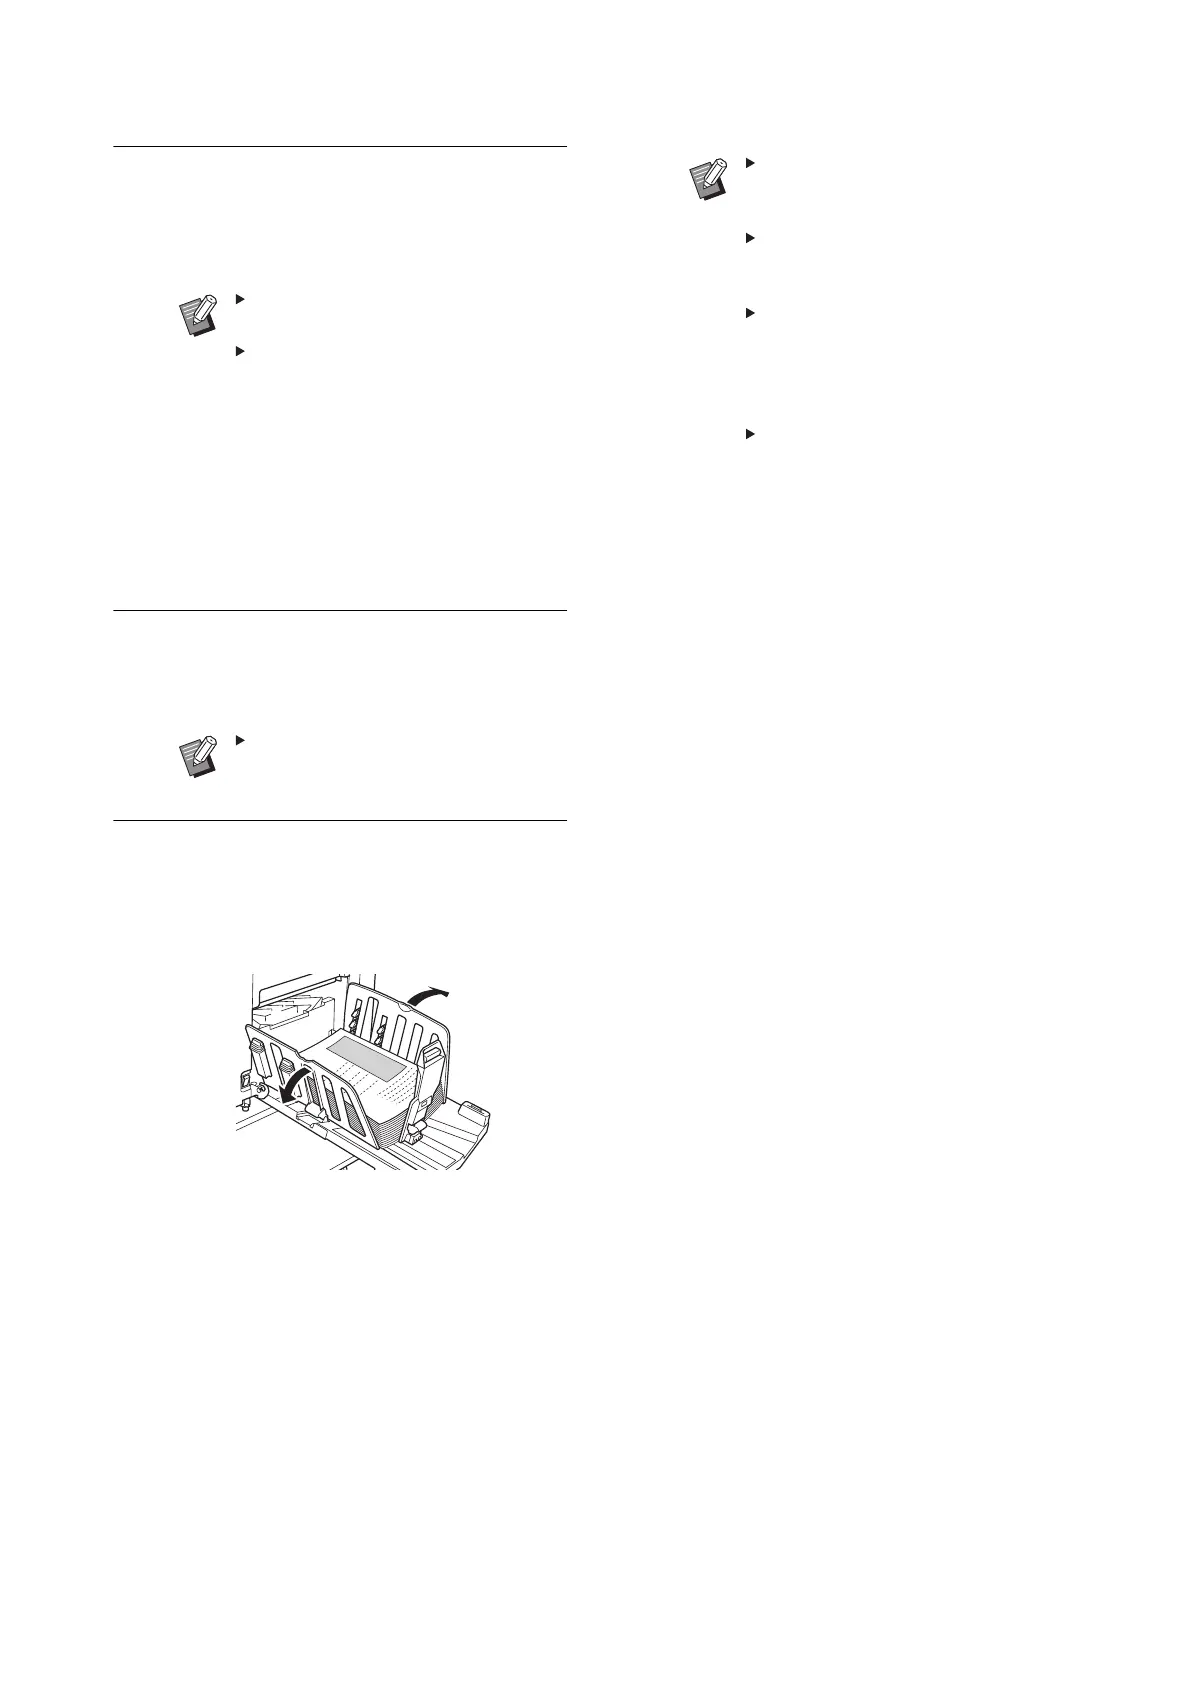
Remove the printed copies.
Fold the receiving-tray paper guides outward
so the printed paper can be removed easily.
To print more copies, enter the
number of copies and press the
[ST
ART] key.
To start master making for the next
original, replace the original and
repeat the procedures.
When you place originals on the
optional auto document feeder and
the [ADF Semi-Auto] setting is
turned on, master making for the
next original starts automatically
.
To cancel the authentication status,
press the [WAKE-UP] key.
The authentication status is also
cancelled when the time that is set
in [Auto Clear] or [Auto Sleep]
elapses.