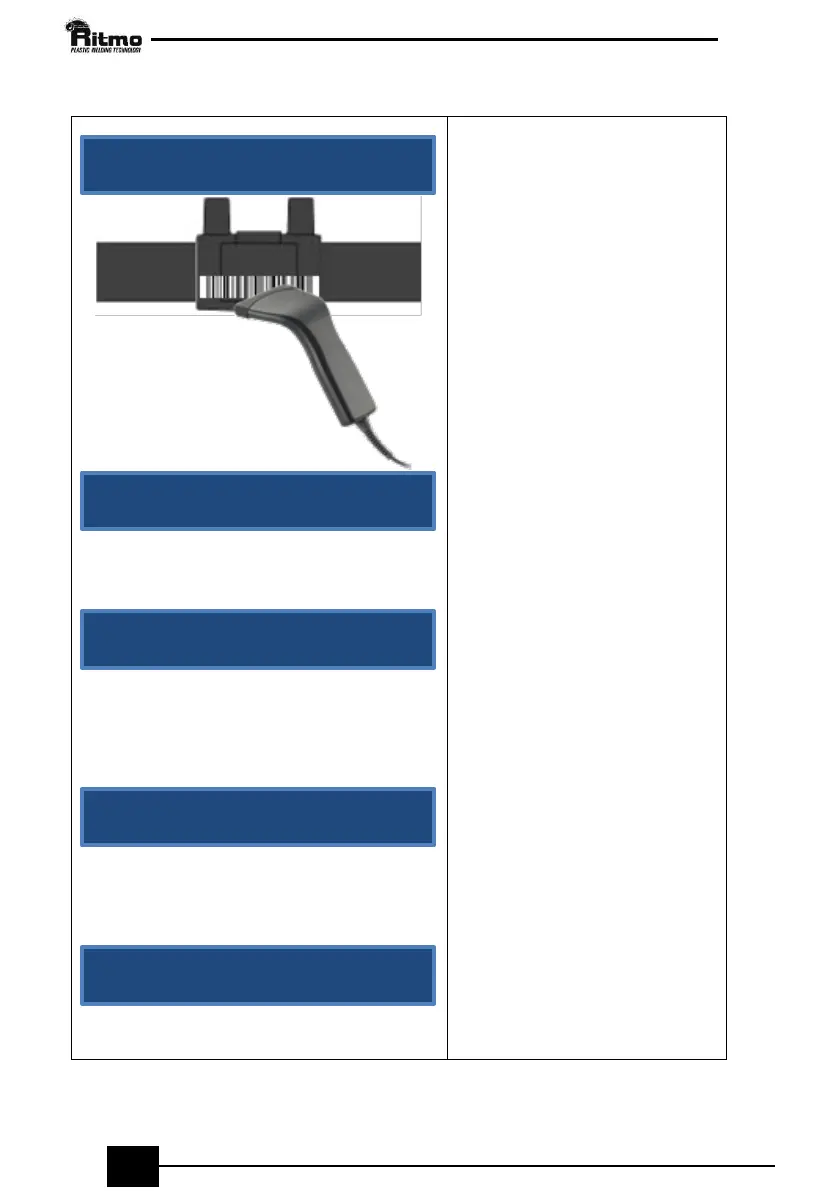
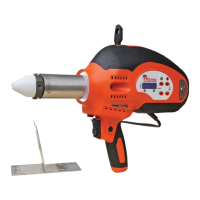
Keep the trigger pressed and
make sure the laser beam aims at
the welding bar code.
Information about the coupler
manufacturer is displayed.
Important: in case of malfunction
of the laser scanner, it is possible
to work in manual mode (see
page 36)
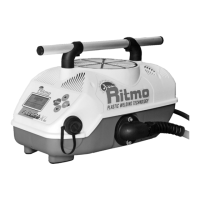
Press OK to start welding.
The display will show the
information regarding the
coupler manufacturer and
diameter, welding voltage and
time. If the information is correct
press OK to confirm; otherwise,
repeat the bar code reading as
explained above.
Important!
Before-welding operations
(scraping and cleaning) are
compulsory to obtain a good
welding. Don’t press OK until you
have performed these
operations. Once you press OK
you will assume all responsibilities.
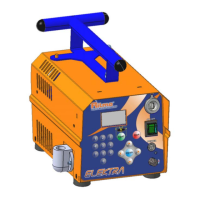
Attention please! You can stop
the welding at any time by
pressing STOP but you must
absolutely contact the coupler
manufacturer to know if the
coupler may still be welded once
cooled off.
The good outcome of the
welding cycle is confirmed by the
message “WELDING CORRECT!”
on the display.
Press STOP to return to the main
menu.