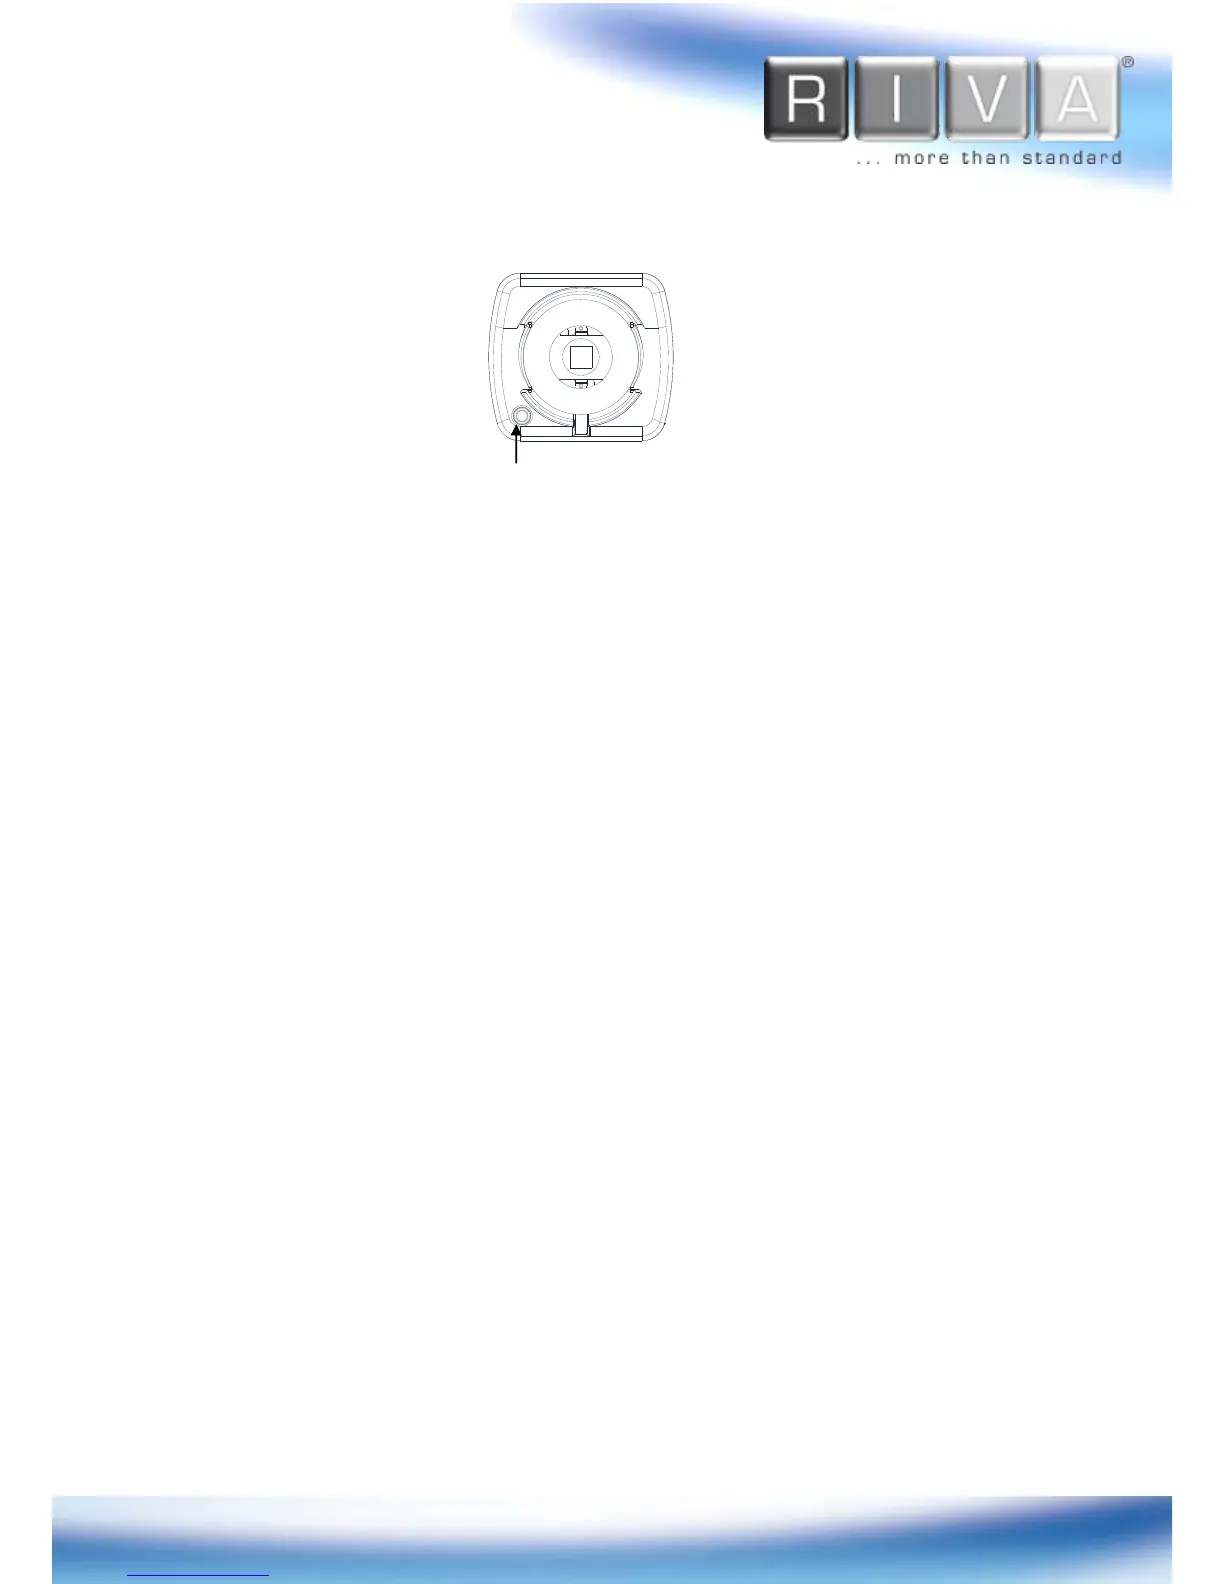
3.3. Front View
1. Power Adaptor Connect
The camera requires DC 12V for power supply. Refer to the section “
4.3. Connecting
Cables
” for more specific information
2. PAL/NTSC button
Press the PAL/NTSC button to set video output as PAL or NTSC. The default is no
video output. Each time pressing the button cycles through PAL, NTSC, and no video
output mode:
No video output -> PAL->NTSC
Please note that the analog video signal
is only 3 minutes present and go back automatically to none video output mode (only
installation process).
3. 11 pin terminal block for D/I, D/O, audio, and serial communication
Refer to the section “
4.3. Connecting Cables
” for more specific information.
4. Analog Video Out Connector
Use BNC cable (not supplied) to connect between the camera and monitor to verify
image focuses at the installation site. Users must cycle through button (no video
output -> PAL -> NTSC) to select the video output. Once the PAL/NTSC button is
pressed, the video displays for 3 minutes before returns back to ‘no video output’
status.