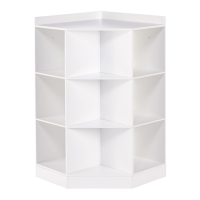
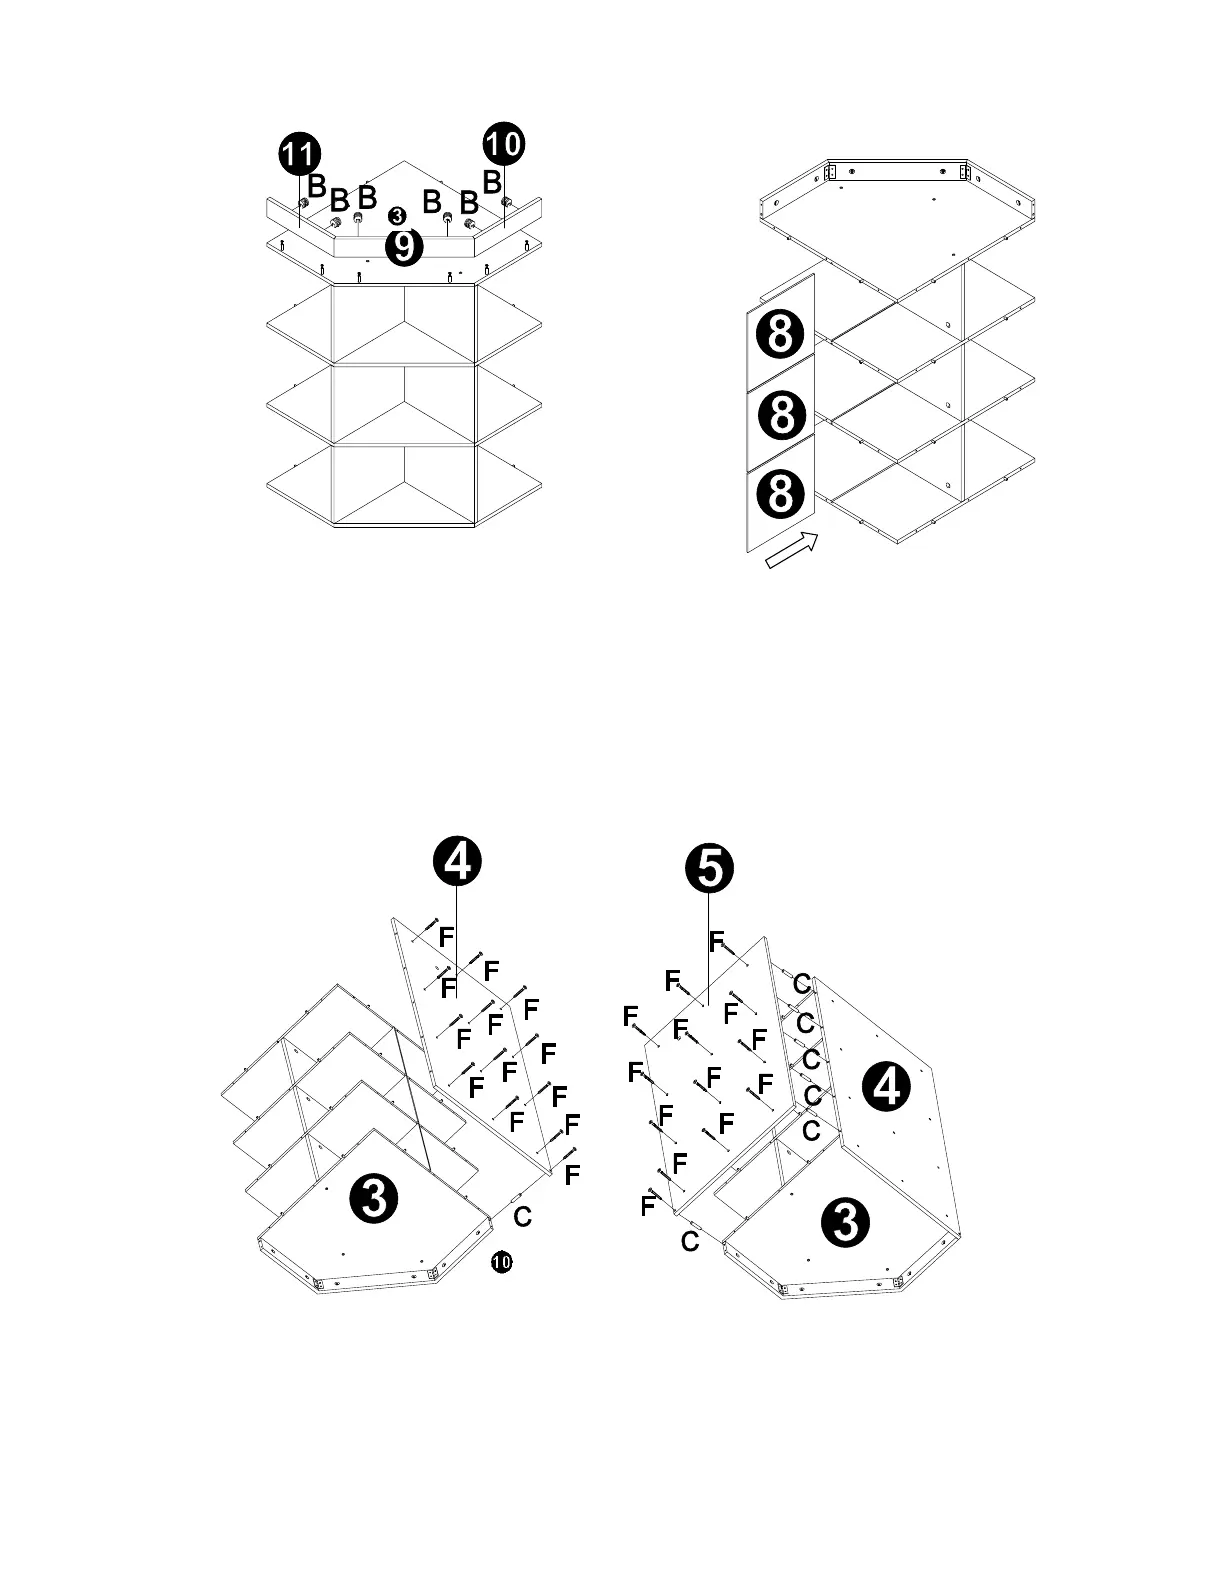
STEP 7
1. Attach left bottom trim (10), middle bottom trim (9) and right bottom trim (11) to bottom shelf
(3) by inserting cam bolts (A) into cam lock holes on left bottom trim (10), middle bottom trim
(9) and right bottom trim (11).
2. Insert 6 cam locks (B) into cam lock holes on left bottom trim (10), middle bottom trim (9) and
right bottom trim (11) and rotate clockwise to secure cam bolts in place.
3. Slide 3 left horizontal support boards (8) into grooves on top board (1), middle shelf (2) and
bottom shelf (3).
STEP 8
1. Insert 1 wood dowel (C) into wood dowel hole on left bottom trim (10).
2. Attach left side panel (4) to pre-assembled unit by inserting wood dowel (C) into wood dowel
hole on left side panel (4) and inserting 13 screws (F) through holes on left side panel (4) and
tighten to top board (1), middle shelf (2), bottom shelf (3) and left bottom trim (10).
3. Insert 5 wood dowels (C) into wood dowel holes on left side panel (4).
4. Repeat above steps 1-2 to assemble right side panel (5) to pre-assembled unit.