EasyManua.ls Logo

RiverRidge X-Frame Bath Spacesaver User Manual

RiverRidge X-Frame Bath Spacesaver
9 pages
To Next Page IconTo Next Page
Page #1 background imageLoading...
Page #1 background image
ASSEMBLY INSTRUCTIONS
RiverRidge
®
X-Frame Bath Spacesaver
ITEM #: 06-003 White
ITEM #: 06-004 Espresso
ADULT ASSEMBLY REQUIRED
This product requires assembly by an adult because of small parts. Care should be taken
in unpacking and assembling this item to keep small parts away from children. During assembly
children should be kept away from the product due to possible risk of injury.
WARNING SEE FULL WARNING ON PAGE 2
Young children can be seriously injured or killed if furniture tips over. Don’t use
this item for a TV stand or place heavy objects on top of item. Always use
angle-braces or anchors to secure furniture to the wall.
Question and Answer IconNeed help?

Do you have a question about the RiverRidge X-Frame Bath Spacesaver and is the answer not in the manual?

RiverRidge X-Frame Bath Spacesaver Specifications

General IconGeneral
BrandRiverRidge
ModelX-Frame Bath Spacesaver
CategoryIndoor Furnishing
LanguageEnglish

Summary

Assembly Instructions Overview

Adult Assembly Requirement

Emphasizes the need for adult assembly due to small parts and child safety.

Initial Safety Warning

Alerts users to a more detailed warning on the next page regarding furniture tip-over.

Critical Safety Warnings

Furniture Tip-Over Prevention

Details measures to prevent serious or fatal injuries from furniture tipping over.

Parts Identification

Main Components List

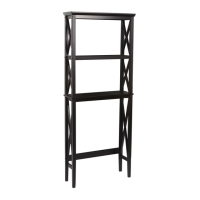
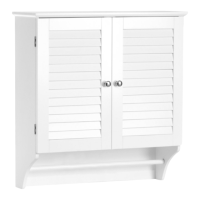
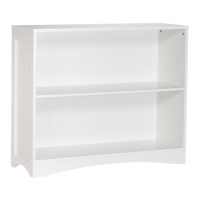
Lists and identifies the primary structural parts of the spacesaver unit.

Hardware and Tools List

Fasteners, Anchors, and Tools

Lists all necessary hardware, accessories, and tools for assembly.

Assembly Steps - Part 1

Step 1: Base Structure Assembly

Instructions for assembling the initial frame and boards.

Step 2: Attaching Shelving and Side Frames

Connects the main shelf and upper side frames to the base.

Assembly Steps - Part 2

Step 3: Completing Upper Frame Assembly

Attaches the remaining upper side frame to the structure.

Step 4: Securing Bottom Board

Attaches the bottom board to the assembled side frames.

Assembly Steps - Part 3

Step 5: Attaching Lower Frame Components

Installs lower side frames and rear cross bars using dowels and screws.

Step 6: Applying Finishing Caps

Covers screw holes with plastic caps for a finished look.

Final Assembly and Care

Step 7: Wall Anchoring

Instructions for securely attaching the unit to the wall for safety.

Care and Maintenance Guidance

Provides instructions for cleaning and maintaining the furniture.

Important Usage Reminders

Notes on checking parts, keeping instructions, and proper use.

Related product manuals