6
3. Installation
Fixtures must be installed by a qualied electrician in accordance with all
national and local electrical and construction codes and regulations.
3.1 Connection to the mains
For protection from electric shock, the xture must be earthed!
The ROBIN LEDBeam 150 is equipped with auto-switching power supply that automatically adjusts to any 50-
60Hz AC power source from 100-240 Volts.
If you install a cord cap on the power cable to allow connection to power outlets, install a grounding-type (earthed)
plug, following the plug manufacturer’s instructions.
If you have any doubts about proper installation, consult a qualied electrician.
Core (EU) Core (US) Connection Plug Terminal Marking
Brown Black Live L
Light blue White Neutral N
Yellow/Green Green Earth
The device falls under class one and must be earthed (grounded)!
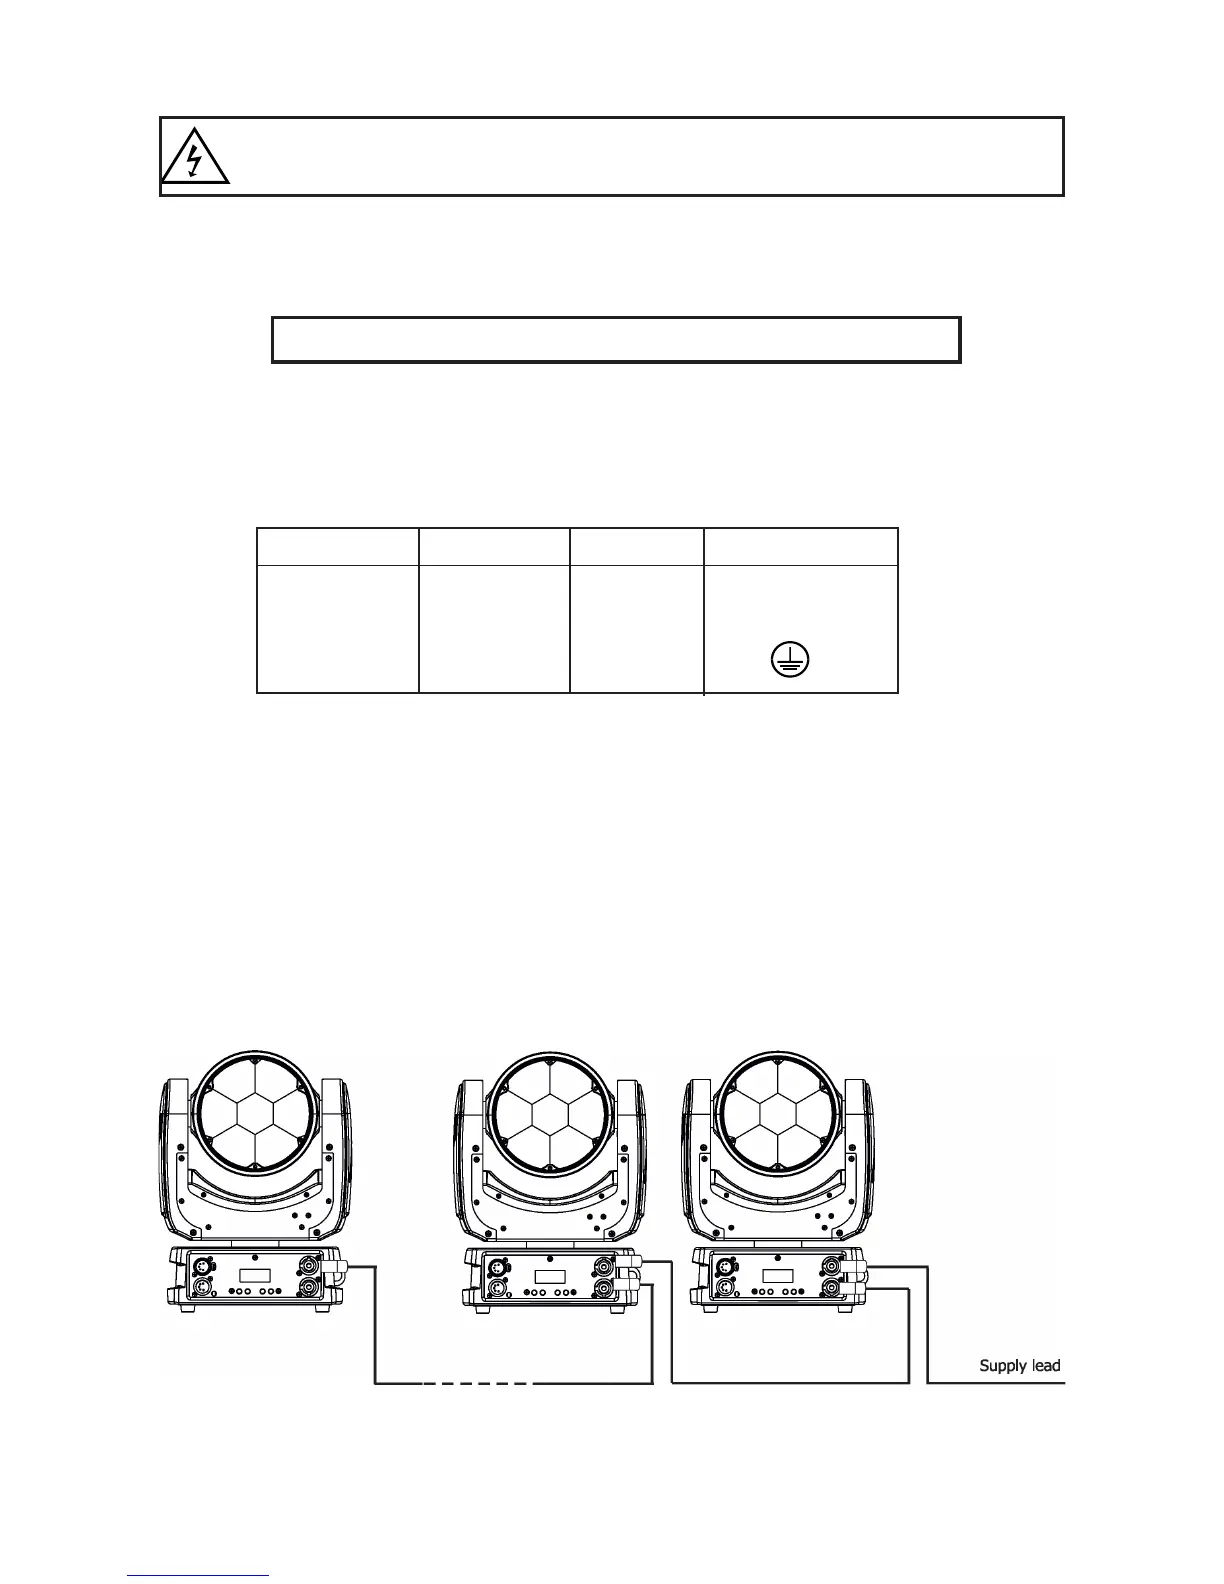
Design of the ROBIN LEDBeam 150 allows to connect several xtures to AC mains power in one interconnected
daisy chain using power input and throughput connectors. Needed daisy chain cords are stated in the chapter
“Technical specications “
The max. number of connected xtures depends on the AC mains power voltage:
CE: ETL:
15 xtures at power supply= 230V 9 xtures at power supply= 230V
13 xtures at power supply= 208V 8 xtures at power supply= 208V
7 xtures at power supply= 120V 4 xtures at power supply= 120V
Actual numbers of xtures may dier from values stated above as you have to take into account the length of
supply cables, circuit breaker etc. at projecting of the xtures installation Do not overload the supply line and
the connecting leads.
Do not overload the supply line and the connecting leads.
Wiring and connection work must be carried out by qualied sta!