5
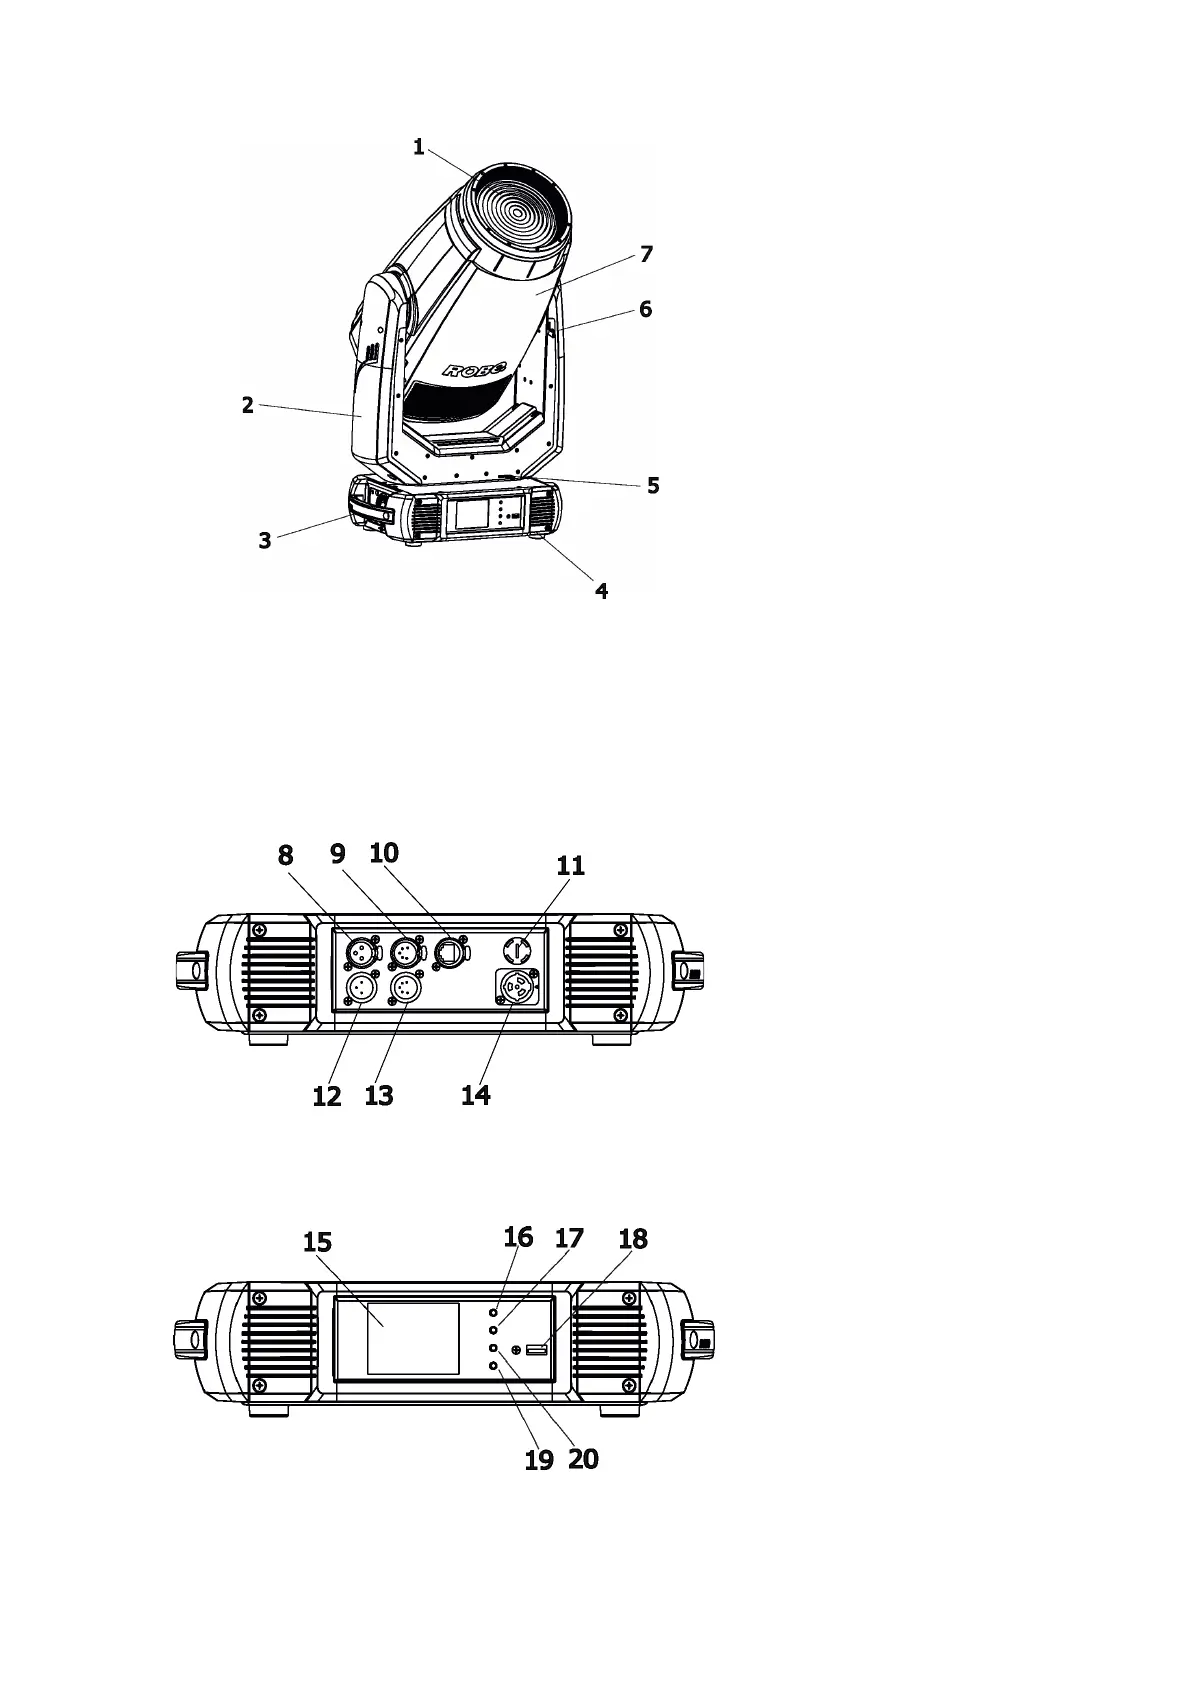
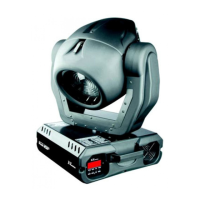
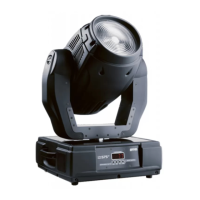
3. Fixture exterior view
Rear panel of the base:
8- 3-pin DMX output
9 - 5-pin DMX output
10 - Ethernet port (RJ45)
11 - Fuse holder
12 - 3-pin DMX input
13 - 5-pin DMX input
14 - Power (PowerCon True 1)
Front panel of the base:
15 - QVGA touch screen
16 - ESCAPE button
17 - NEXT button
18 - ENTER/DISPLAY ON button
19 - PREV button
20 - USB port
The head has to be locked for transportation - the tilt lock latch (6) and the pan lock latch (5) have to be in the
locked positions. To unlock the head, move these latches to unlock positions before operating the xture.
1 - Front lens (fresnel lens or PC lens
2 - Arm
3 - Handle
4 - Base
5 - Pan lock
6 - Tilt lock
7 - Head
The ENTER/DISPLAY ON button also serves for switching the display on (for a while) when the xture is dis-
connected from the mains.