E300 / E 2800 V0913 17
EnglishDeutsch
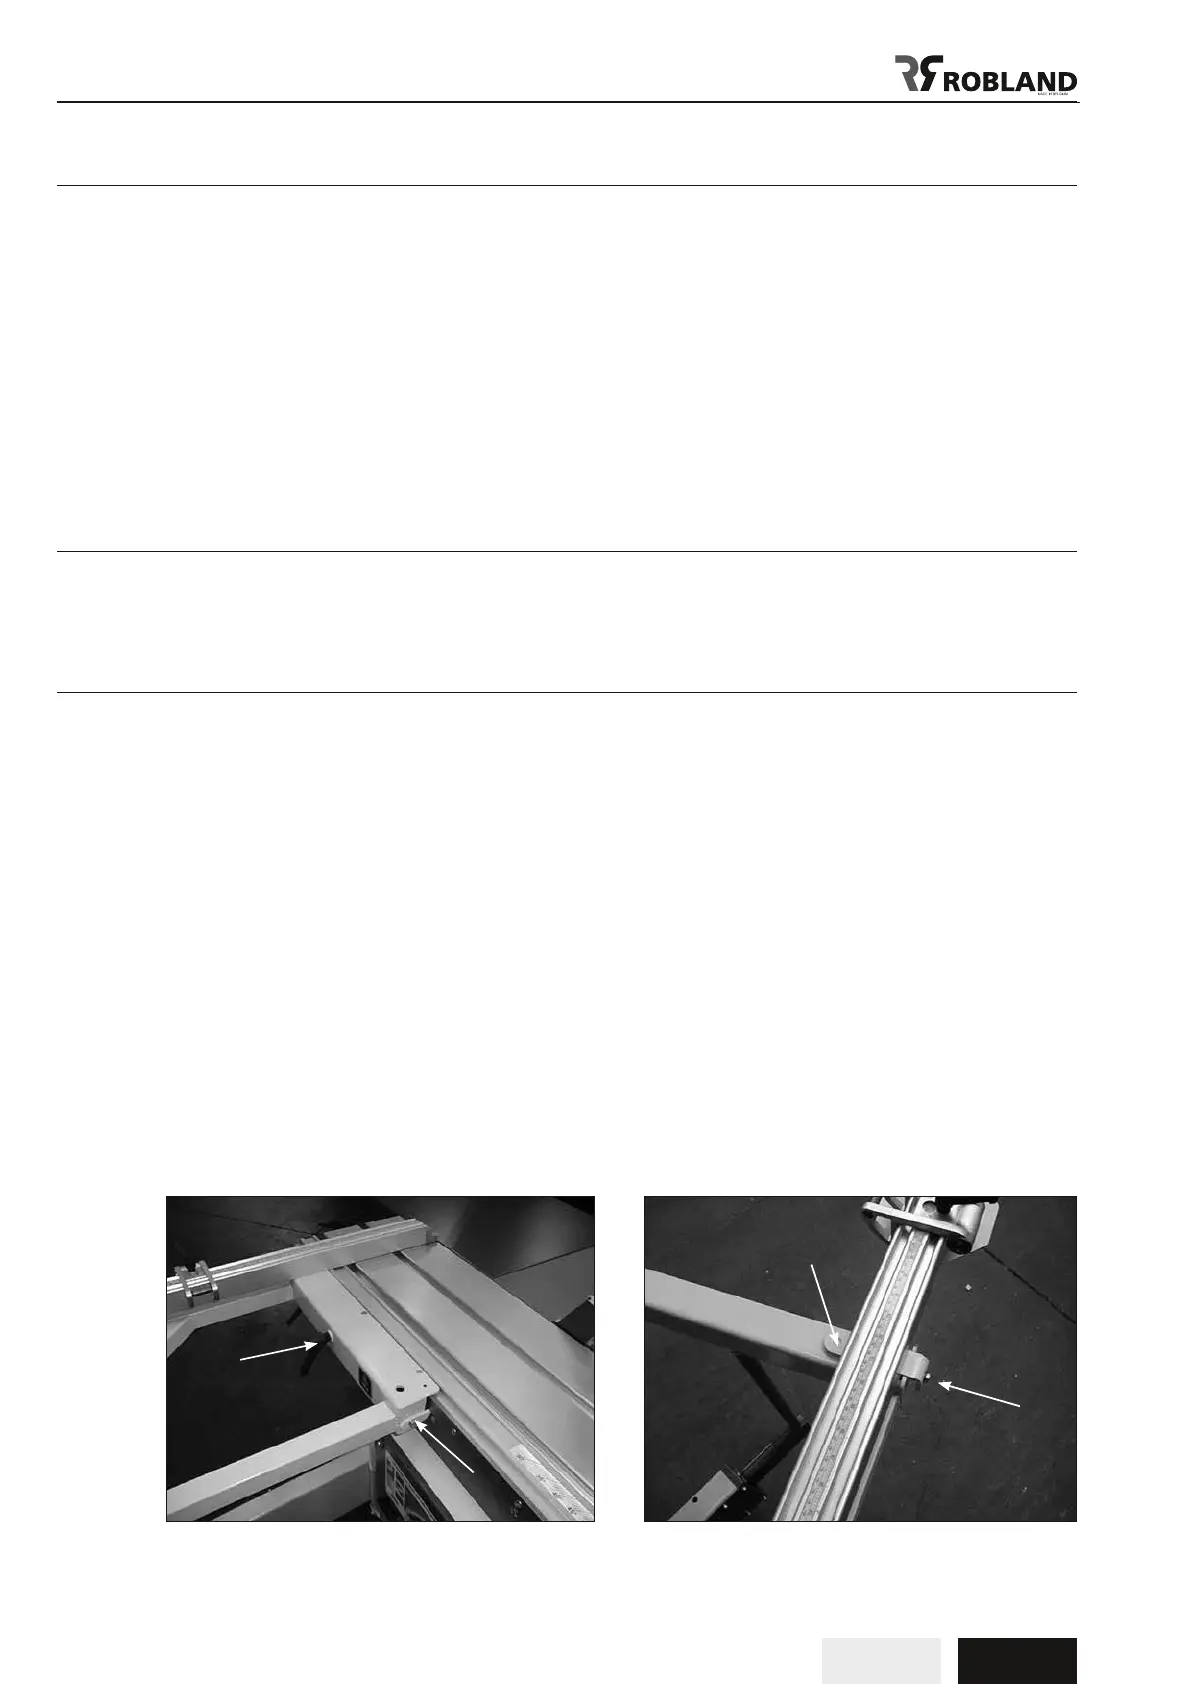
Mounting of the cross-cut table (Fig.16)
The cross-cut table can be slid from the back onto sliding table via the at bar on the side of the
sliding table.
The 2 brackets (2) should be positioned to allow the cross-cut table to be easily moved along the
sliding table. The table is locked in position using handle (1).
Please note that the machine is constructed so that the cross-cut table can only be put at the far end
side of the sliding table.
The telescopic arm support is too short to allow the cross-cut table to be set at the front of the sliding
table. Both telescopic arm and cross-cut table are factory set and need no further adjustment.
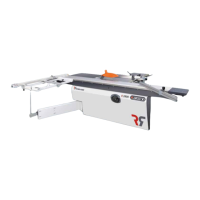
Mounting of the 90° cross-cut fence
(Fig.17)
The cross-cut table has 4 precision holes allowing the fence to be put in 2 positions : at the back and
front of the cross-cut table. Simply put the fence onto the cross-cut table and lock it in position
using the two serrated nuts (1).
The 90° right angle of the fence is factory set. Should the 90° angle need to be adjusted, then the two
bolts (2) must be loosened; then by turning the little bolt (1), the angle can be opened or closed
towards the sawblade. After adjustment the bolts (2) have to be retightened.
2
1
Fig.17
1
2
Fig.16