05
•
Press: Start/Stop
—Power
A1-1—Rear Filter
A1-2—Change Mode
A1-3—Charging Port
A1-4—Battery Level Indicator Light
B3-1—To attach the positioning sticker
:
B3-4—To install the charging dock:
B3-2—Diameter of drill bit: 6 mm (0.24 in)
B3-3—About 105 cm (3.5 ft)
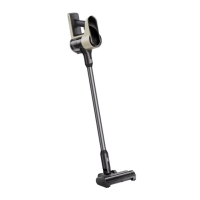
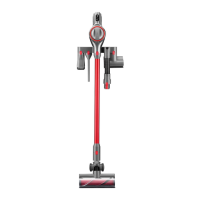
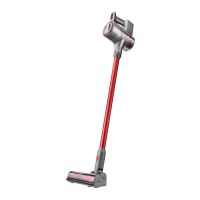
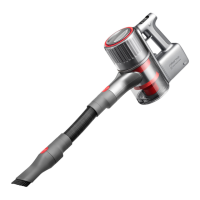
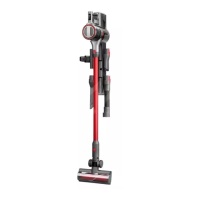
Product Introduction
A
A1
Main Unit
A2
Power Supply
A3
Motorized Mini-Brush
A4
2-in-1 Cleaning Head
A5
Multi-Surface Brush
A6
Disposable Dust Bag
A7
Dust Bag Holder
A8
Charging Dock
A9
Baton
•
Full: Three steady lights
•
High: Two steady lights
•
Medium: One steady light
•
Low: One flashing light
Eco Mode
Standard Mode
Max Mode
A1-5—Multi-Cyclone Assembly
A1-6—Dustbin
A1-7—Dustbin Opener
Installation
B
B1
Cleaning Heads
B2-3—Insert the dust bag holder. Ensure it
is properly installed.
B2-2—Insert the disposable dust bag along
the slot of the dust bag holder.
Ensure it is properly installed.
B2-4—Attach the bottom cover of the
dustbin into place.
B2-1—Press the dustbin opener to open
the bottom cover of the dustbin and
rotate to remove the multi-cyclone
assembly.
B2
Disposable Dust Bag (Optional)
Notes:
•
To ensure optimal vacuuming performance, it is
recommended to replace the dust bag regularly or
when it is full.
•
The dust bag features a one-off seal which will securely
seal the bag on removal. This design effectively
prevents dust leakage.
•
Please do not pull out the seal unless you are
discarding the dust bag. A pulled seal cannot be
restored.
•
After replacing the disposable dust bag, please stow
the removed multi-cyclone assembly properly.
B3
Charging Dock (Optional)
*It is recommended that you let specialists install the
charging dock. Use protective clothing, safety goggles, and
other protective equipment when necessary.
•
The dock should be fixed in a cool and dry area near a
power source.
•
The dock is an optional accessory and can be installed
according to actual needs.
•
Prior to installation, ensure that there are no wires or
pipes running through the wall where the dock will be
located.
Notes:
Attach the positioning sticker onto
the wall. Ensure that the edges are
parallel to the ground and the bottom
is approximately 105 cm (3.5 ft) above
the ground.
Use an electric tool with an 6-mm
(0.24 in) drill bit to create holes that
align with the positioning holes on
the sticker. Securely fix the charging
dock using the provided expansion
tubes and screws.