08
•
The roller part of a cleaning head must be removed
for separate cleaning.
•
There are electrical components in the motorized
mini-brush and multi-surface brush and bearings in
the multi-surface brush roller. Do not rinse them.
Notes:
Cleaning Head Rollers
Inspect and clean the cleaning head rollers
periodically to ensure product performance.
Before removing a roller, ensure that the
cleaning head has been separated from the
main unit to avoid causing injuries.
D4-1—Place the multi-surface brush in the
direction shown in the diagram. Use
a coin-like object to rotate the lock
catch counterclockwise to unlock it.
D5-1—Rotate the lock catch
counterclockwise to the unlock
position to remove the lock catch.
D4-2—Pull out the lock catch and roller
brush from the cleaning head.
D5-2—Take out the roller from the
motorized mini-brush.
D4-3—Clean the fibers and hair wrapped
around the roller and the lock catch.
D5-3—Clean and wash the roller.
D4-4—After cleaning, reinstall the lock catch
into the roller.
D5-4—Place the roller vertically and dry
it for at least 24 hours to ensure
thorough drying.
D4-5—Rotate the lock catch clockwise until
you hear it lock with a click.
D5-5—When the roller is completely dry,
reinstall the roller and lock catch
back in place.
D5-6—Rotate the lock catch clockwise to
the lock position, and ensure that the
roller is properly installed.
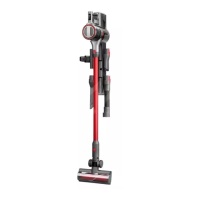
D4
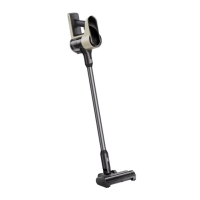
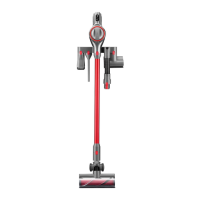
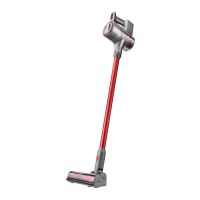
Multi-Surface Brush
D5
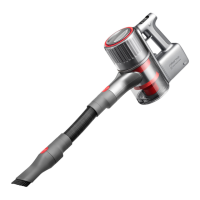
Motorized Mini-Brush
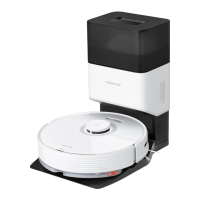
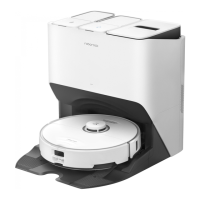
Basic Parameters
Model H8D1A
Rated Voltage/
Current
25.2 VDC 20 A
Battery
25.2 V/2500 mAh
(TYP) Lithium-ion
battery
Charging Time
<
3.5 hours
Vacuum Cleaner
Power Supply
Model
S030-1B300100HE or
S030-1B300100HA
Rated Input
100-240 VAC 50-60 Hz
0.8 A
Rated Output 30 VDC 1 A
Charging Battery
25.2 V/2500 mAh
(TYP) Lithium-ion
battery