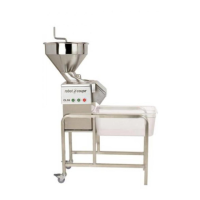
❶
Position the veg prep
hopper on the motor unit.
The locking handle should
be facing you, on the
right.
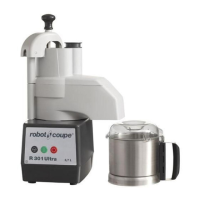
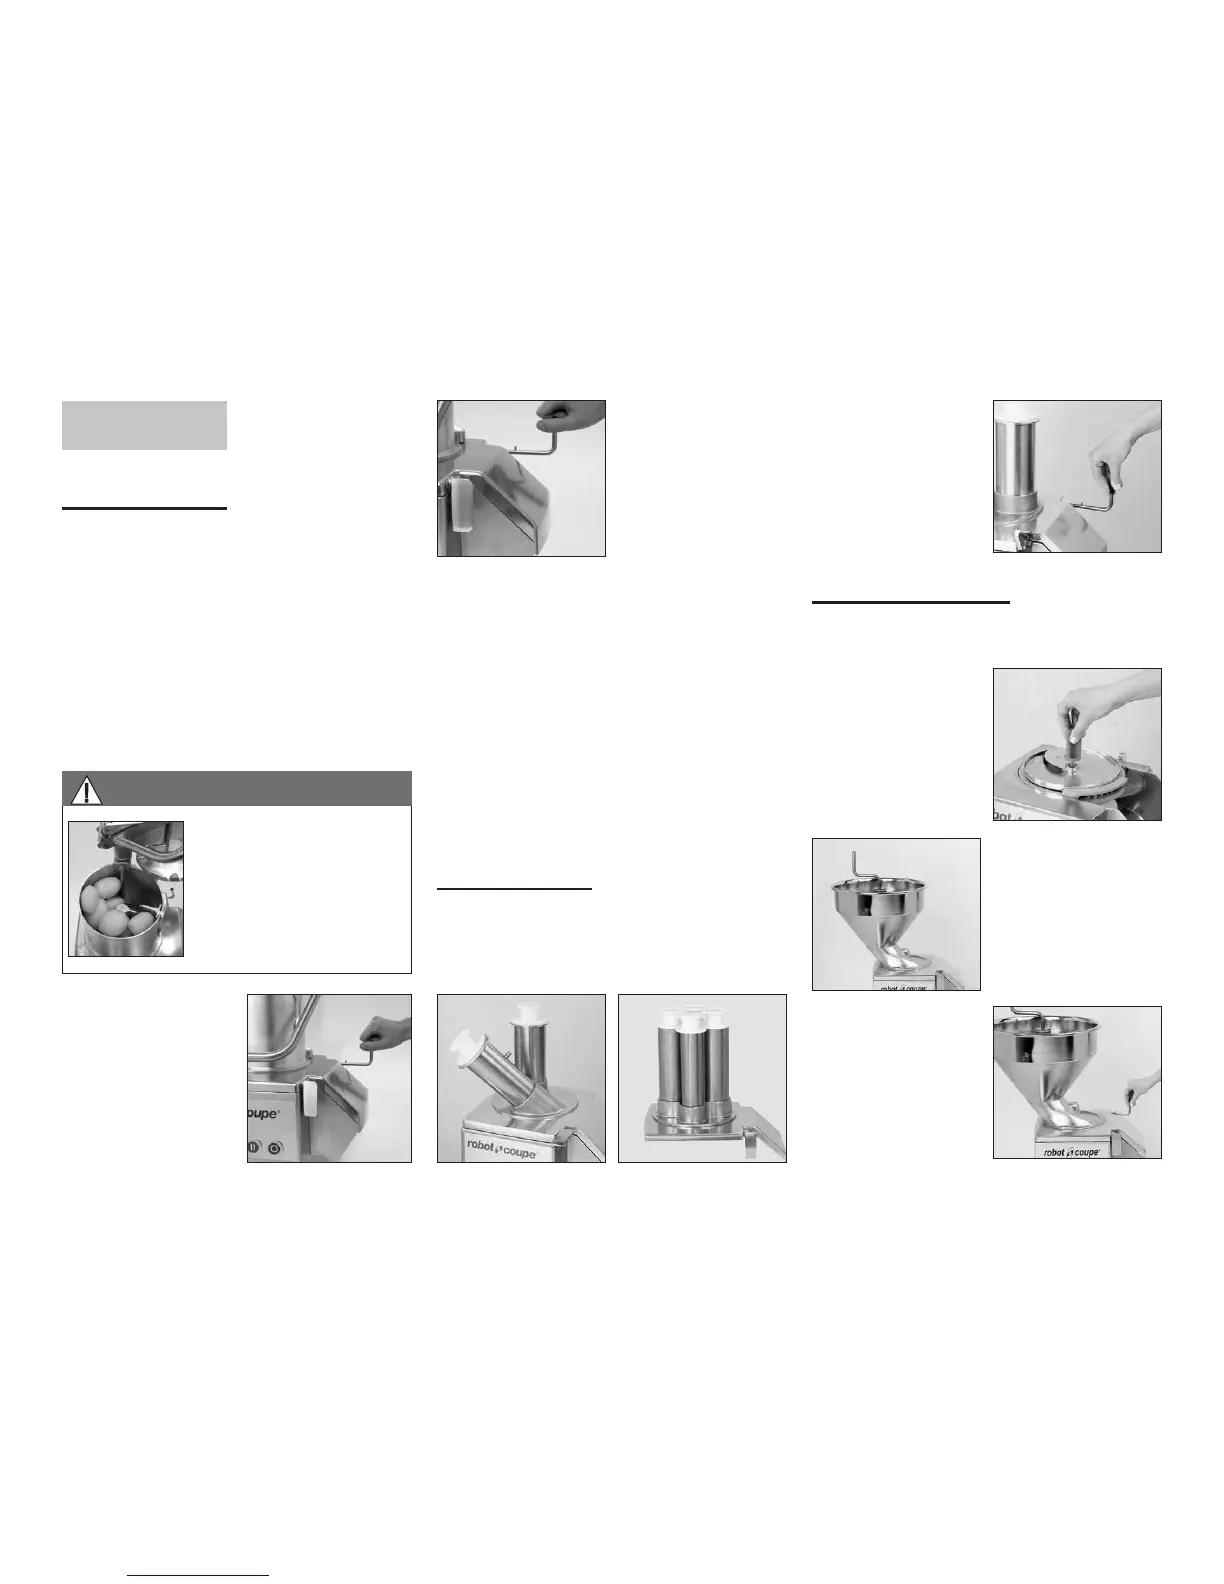
INSTALLING
THE HOPPERS
• PUSHER FEED-HEAD
USING THE FEED TUBE
Fill the feeder right up to the top with vegetables.
Apply a downwards pressure on the pusher and
maintain it until all the vegetables have been
processed.
Always press the vegetables down with a pusher
toimprove cutting efficiency.
HOW TO USE THE CYLINDRICAL HOPPER
➋
Slide the hinge pin
into the slots provided
at the back of the motor
base.
Next, lock the lid onto
the motor unit using the
locking handle.
- Fill the feeder right up to the top with vegetables.
- Lower the pusher so that it is flush with the top of
the feed opening.
- Press the pusher down to guide the food through
the machine. The exact amount of pressure
required will depend on the nature of the cut,
bearing in mind that too much force reduces
cutting quality without increasing throughput.
- Cut cabbages in half and remove the core before
processing, in order to avoid unnecessary strain
and ensure an end-product of a higher quality.
- Lift the pusher and allow access to the feed tube.
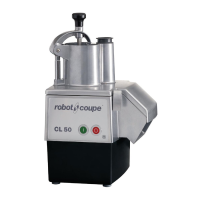
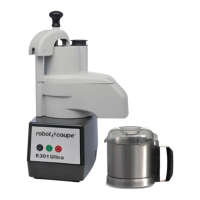
• HOLE FEED HEADS
❶
Position the 4-hole hopper, or the straight and
inclined hole hopper, on the motor unit. The locking
handle should now be facing you, on the right.
❷
Slip the hinge pin into
the locations provided
at the back of the motor
base. The locking handle
should now be facing
you, on the right.
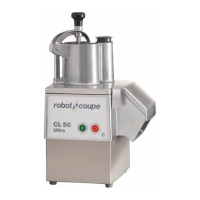
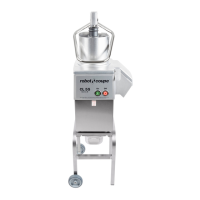
• AUTOMATIC FEED-HEAD
❶
et
❷
Proceed as specified for the pusher-feed
head.
❸
Screw the agitator
onto the motor shaft.
Screw the agitator onto
the motor shaft.
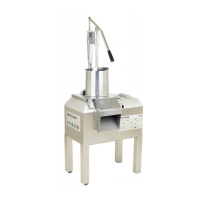
❹
Position the automatic
hopper on the motor
base. The fastening hook
is now facing you on
your right.
❺
Slide the hinge pin
into the slots provided
at the back of the
motor base. Then,
lock the lid onto the
motor base using the
fastening hook.
To get the very best results
when cutting french fries,
remember to insert the
removable divider in the hopper
and load the potatoes into the
left-hand compartment (see
photo opposite).
WARNING