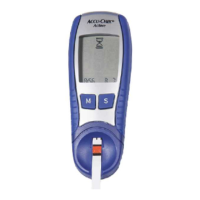
Do you have a question about the Roche Accu-Check Glucotrend 2 and is the answer not in the manual?
Turn on the meter and verify all display elements are correct before proceeding.
Match screen code to vial, change calibration chip when needed, and handle test strips correctly.
Insert strip, apply blood when indicated, and interpret progress and final results.
Remove and insert the calibration coding chip correctly into its slot.
Verify that the displayed code matches the test strip vial code.
Wipe the test strip guide and remove it for thorough cleaning.
Gently clean the exposed measuring window with a lint-free cloth.
Re-insert the dry test strip guide and check meter function.
Open the battery compartment cover upwards to access the batteries.
Insert batteries into holders with the positive (+) side facing upwards.
Replace the lid and press gently inwards; check operation by pressing ON.
| Brand | Roche |
|---|---|
| Model | Accu-Check Glucotrend 2 |
| Category | Blood Glucose Meter |
| Language | English |