When you open the storage box for the first time,
check that you have all the accessories listed.
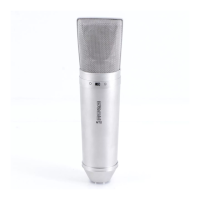
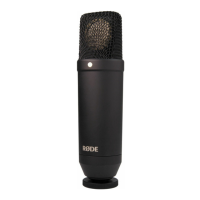
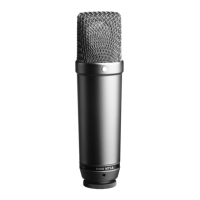
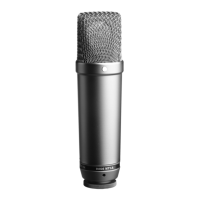
• Before connecting and using the NT2 please
take a few minutes to read these instructions.
1. You will need a power supply to operate the
NT 2. For optimum results, this should be a
48V D.C. supply.
Most professional mixing consoles have an
internal 48V supply, or you can purchase
a separate supply. Make sure the power
supply you use is a professional unit that is
operating correctly. Damage due to
connection of the NT 2 to a faulty power
supply is not covered by the guarantee.
2. Set the polar pattern switch to your desired
setting either omni or cardioid.
Set the response switch to your desired
setting either flat response or low frequency
cut.
This switch also allows for a 10 db pad to be
inserted into the signal path which allows for
very high SPL operation.
3. The NT 2 comes complete with a shock
mount suspension device (SM 1). Connect
the shock mount to a stable microphone
stand (studio mic’s do not like to be dropped!).
The shock mount pivot screw should be
tightened (by hand) when you have
positioned it at the appropriate angle. To fit
the NT 2, grasp the two levers located
centrally and push them inwards, this will
open up the suspension and the NT 2 can be
placed in the mount.
4. When first connecting the NT 2 to a mixing
console we suggest that you have the gain
control adjusted to full attenuation.
5. Please make all cable connections before
applying power to the microphone. Never
remove the microphone cable while the power
is connected.
6. Check that you have the NT 2 correctly
connected. You can connect the microphone
directly into the mixer without an external
supply if 48V is available on the mixer.
Always use a balanced (3 pin XLR style)
microphone cable. Note: Ensure that the
cable is a wired pin 1 screen, pin 2+ pin 3-.





 To Next Page