20
Setting the Origin Point
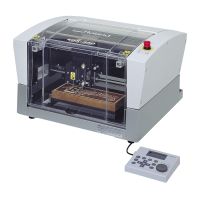
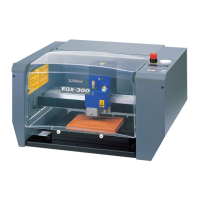
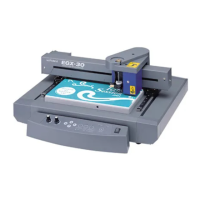
The origin point set with the software determines the position on the EGX-30 that is set.
Usually, the origin on the EGX-30 is set to a location at the front left of the material secured in place.
This section explains how to set the origin point at the front left of a piece of material.
12
* The origin point that is set here remains in
memory even when the power is switched off.
Use the arrow keys to move the tool to the front
left area of the loaded material.
Hold down the SET ORIGIN POINT key until
its LED lights up (about two seconds).
The origin point has now been set.
Model numbers in parentheses ( ) are for optional items.
*Material thickness -- Up to 5 mm (3/16 in.)
*Engraving depth ---- Varies according to the type of material.
To achieve deep engraving on a hard material, repeatedly carry out engraving at the same location,
extending the tip of the cutter slightly with each pass.
The combinations of appropriate tools and materials for the different modes are shown below. Please refer to this to make the
correct selections.
Please be aware that conditions may vary depending on factors such as the sharpness of the tool and the hardness of the material.
About Tools and Materials
Mode Tool name Model number Material
Engraving Character cutter ZEC-A2025 Resin materials (nameplates, etc.)
( ENGRAVER ) (Used with the depth regulator nose - included) (others)
Scoring Diamond scraper (ZDC-A2000) Aluminum
( SCORE ) (Diamond scraper Adapter - included) Brass
 Loading...