USB Interface
In the past many synthesizers came equipped with various interfaces. Connection methods like CV and Gate, Din
Sync, Synch Jones, DCB, Tape I/O allowed synthesizers to connect to clocks, tape machines, sequencers and drum
tracks. Thanks to the universal serial bus with which most personal computers are equipped today we have a number
of interesting ways to handle these once complicated and tedious operations.
The USB connection port can be used to:
•"Power the Synthesizer
•"Both power and pass midi as well as audio data to and from a computer based DAW
•"Mount the Synthesizer to the desktop of a computer and backup and/or restore and share your patches.
To connect the USB port to power:
Use an optional micro USB cable which is either the type with a wall plug on the end (like a wall wart adapter) or the
type with another USB to power block on the end (like a phone charger.)
Both will work, but make sure that whichever you’ve chosen can provide sufficient power to run the JU-06.
If the JU-06 goes to sleep while you believe you’re plugged into the wall, then your power supply is either faulty, or it
isn’t powerful enough to run the synth (and you’re running off the batteries.)
Typically you will want to look at the tiny print on those phone chargers and ensure that it’s at least 5 Volts and 1 Amp
and preferably a switchable 100-240 transformer, because then (with the right plug connectors) it will work anywhere
in the world.
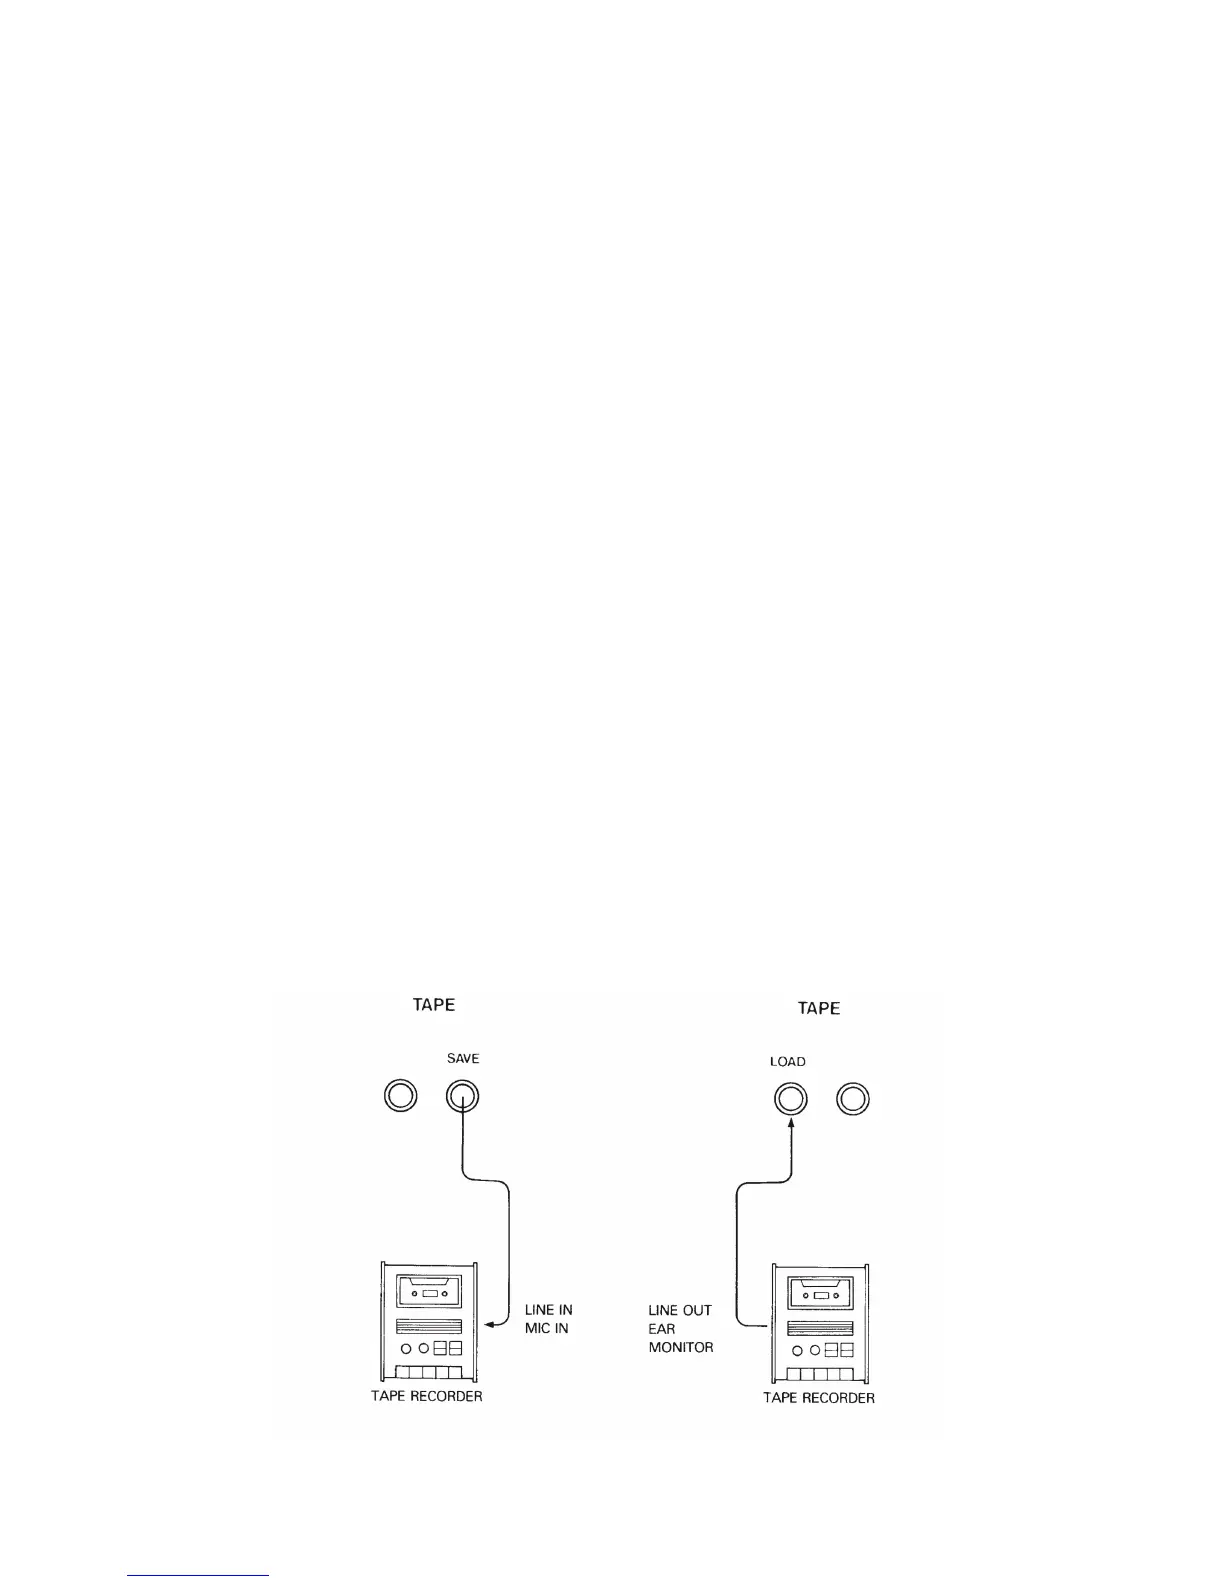
Data Backup & Restore
One of the coolest things about the boutique line of modules is their ability to mount onto the desktop of any USB
enabled computer and you can drag and drop your patches in order to save them. This is much handier than the old
fashioned midi librarian software, or the ancient and rarely reliable tape backup interface (although that actually is a
thrill and you might want to try it sometime.)