11
Special Live Set Splits
As a performance keyboard, the JUNO-Gi allows you to assign different
tones to different areas of the keyboard. This type of live set is called a “split.”
The reason that a live set’s tones are called “Upper 1 and 2” and “Lower 1 and
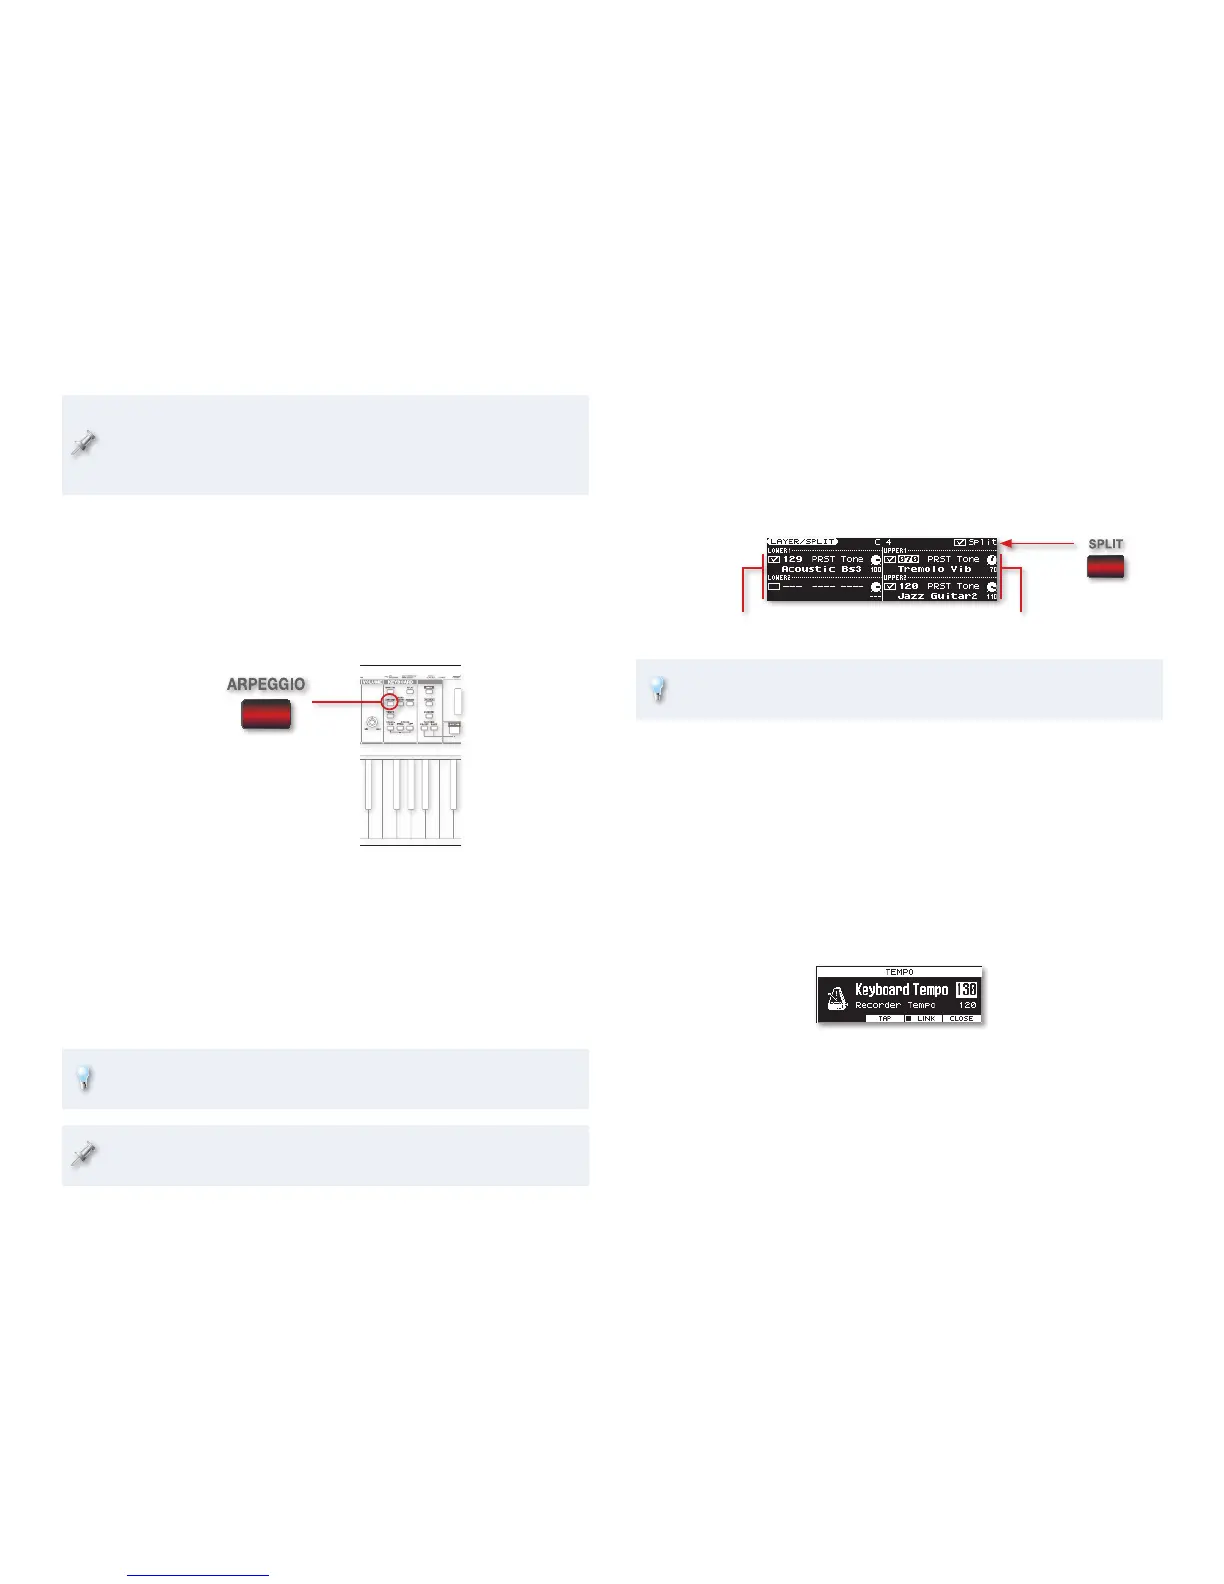
2” is that, in the JUNO-Gi’s simplest type of split, Upper tones can be assigned
to your right hand in a split, and the Lower tones to your left.
Left hand Right hand
In a split, the
SPLIT button
is lit.
Using a Live Set’s Key Range parameters, you can map all four tones to
their own areas of the keyboard—see Page 36 in the Owner’s Manual.
Here are some factory-programmed splits to check out:
• SPECIAL 003 Cool Jazz—features an upright bass for your left hand, and
vibes and guitar layered together for your right, as pictured above.
• SPECIAL 005 Club Split—has got layers for both hands. For your left hand,
you’ve got two tones that both contain grooves in and of themselves:
Auto Trance2 contributes a bass line, and Compusonic 1 a lo-fi drum
groove. Under your right hand are two Uni G tones, tuned apart for a
dance-club sound.
The grooves that the two Lower tones are playing use the JUNO-Gi’s
dedicated synth tempo setting.
There’s also a separate song tempo setting. The two can be locked
together or run independently.
• Special 010 Dancing Waves—brings together both groove-playing
tones and the arpeggiator.
Take a few moments and explore some other Special live sets. Remember
that you can always hold down SHIFT and press SPLIT to look inside a live set
to see what you’re hearing.
A live-set tone’s pitch is one of the things you can set. To see these
tones’ pitch settings, hold down SHIFT and press 5 (LIVE SET). Press 3
(PITCH) to display the live set’s PITCH screen. When you’re done, hit
EXIT once to return to the LAYER-SPLIT screen.
There’s something else interesting going on in QuickBells. Let’s see
what it is.
9 Press 3 (L1) and 4 (L2) to turn off both Lower tones.
10 Now press 1 (U1) to turn on Upper 1.
11 Play the keyboard—this tone is actually playing a rhythmic series of
notes. It’s using the JUNO-Gi’s arpeggiator.
When the arpeggiator’s on—
as it is now—the ARPEGGIO
button is lit.
The arpeggiator plays note patterns based on the key(s) you press
on the keyboard. Each arpeggiator setup is called an “arpeggio
style,” and it has lots of settings that allow you to construct just the
arpeggio you want. The JUNO-Gi has 128 preset styles, and you can
store 64 of your own. To learn more about the arpeggiator, see Page
32 in the JUNO-Gi Owner’s Manual.
12 To remember how all of these elements work together, turn Lower
1 and 2 back on, and listen more knowledgeably now to QuickBells.
Another Special live set that shows off the arpeggiator is Special 006
Arp Approach.
By now you may be thinking about live sets you’d like to create. See
Page 34 of the JUNO-Gi Owner’s Manual to learn more.

 Loading...


