21
Now we’re ready to start recording.
Recording the First Track
1 Let’s record along with a rhythm, both for fun and to help ensure
the timing of your performance. Press the RHYTHM PATTERN track’s
button so it lights green.
If you don’t see “001-01-00” in the upper left corner of the display—
this shows your current position in the song—press 9 so you do.
2 When you’re ready to begin recording, press the digital recorder’s
PLAY button. It lights green, and the rhythm you selected on Page 17
starts—recording has begun.
3 The rhythm acts as a countoff for you, so let four beats—or a
complete pattern, if you’re not sure how to count beats—go by
before you start singing playing, or before you start playback from
your external device.
4 At Beat 5, start singing, playing, etc.
5 Play for a little while, and when you’re done recording, press STOP.
You’ve just recorded a track. The JUNO-Gi automatically saves your
new recording to you SD card.
If you don’t like what you played, press the UNDO/REDO button
below the RECORDER VIEW button, and then press 5 (EXEC). This
automatically deletes your last performance, or “take,” from the SD
card. Press 9, and then repeat Steps 2-5 above to try recording again.
6 To listen to what you‘ve recorded, press 9, and then press PLAY. You
can use the fader(s)—whose button(s) have now turned green for
playback—to adjust your listening level.
We’ll record on V-Tracks belonging to Track 1 or Tracks 1 and 2. In a
new song, all of the playback tracks are set to play—and therefore
record on—their first V-Track, which is fine for our purposes now.
If, at some other time, you want to use Tracks 5-8, press the TRACK
1-4/5-8 button to light it before proceeding.
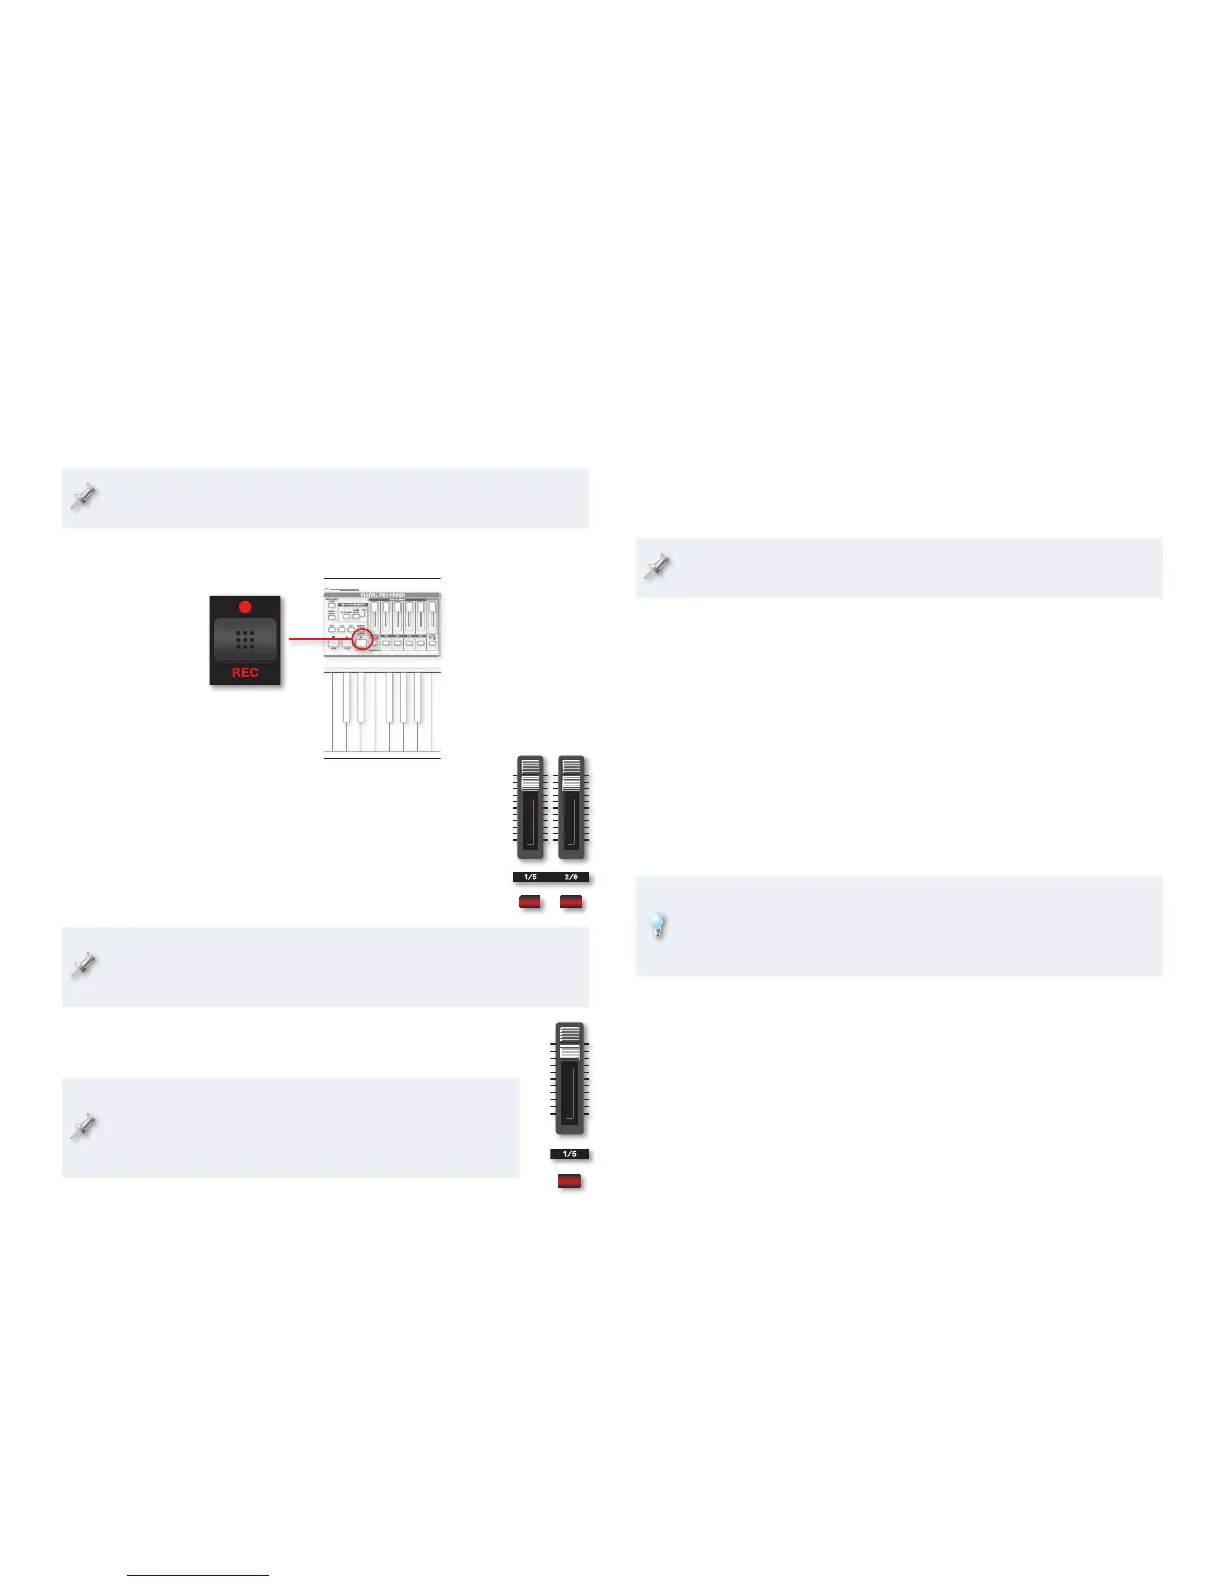
2 Press the digital recorder’s REC button so it lights.
3 If you’re
• recording from the JUNO-Gi keyboard—press
the button beneath Track Fader 1. By default,
the JUNO-Gi assumes you want to record its
sounds in stereo, so Track 1 and its odd/even
companion Track 2 flash to show that they’re
armed for recording.
If you’d like the JUNO-Gi to mix down its stereo output for recording
in mono on one track, press the track button for the track you want to
use, and then press its button again to un-light the other one.
• recording live audio—press the button beneath Track
Fader 1 so it flashes to show it’s armed for recording.
If you want to record live audio in stereo across two
tracks—maybe to capture a stereo effect—while holding
down the first track you want to record, press its odd/even
companion so they both flash.

 Loading...


