17
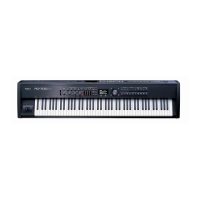
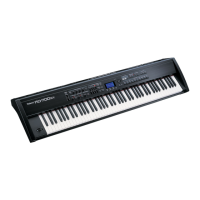
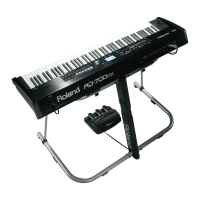
Jun. 2001 RD-700
0. Product Information
The following screen appears when you enter the Test mode:
fig.0info
fig.0info-1e
Note : “PRG Build No” and “Booter Version” are for factory testing.
Press both the [EDIT] and CORSOR [ ] buttons to start the next test.
1. Device Check
Device checking starts automatically.
fig.1-0device
fig.1-0device-1e
The above seven items are checked.
If a fault is found in a device, the following screen appears and checking
stops.
fig.1-1device2
When checking of all the devices is completed, checking of sound source
operation starts automatically.
fig.1-2device3
During checking, the mute circuit is activated to prevent sound output.
Make sure that no sound is being output after “Finished” appears on the
screen.
After the test is completed, the next test starts automatically.
2. SW/LED Check
The following screen appears.
fig.2swled
Make sure that all the LEDs are lit.
For a switch button without an LED, make sure that its name is
displayed.
Press the buttons one by one to switch their LEDs off (a sound is output
corresponding to each switch).
Press the switches in the correct order.
If not, you will not get any response. (The correct order is as shown below.)
If a button without an LED is pressed, its name disappears from the screen.
A button originally lit up in orange changes to green if pressed, and is
turned off if pressed again.
To exit from the SW/LED check halfway to go to another test, press the
CURSOR [ ] button while pressing the [EDIT] button.
The order in which to press the switches
fig.2swled-1
After the test is completed, the next test starts automatically.
3. LCD Contrast
fig.3lcd-cont
Check to see that the contrast value changes from “1” to “10” and the
contrast of the display changes accordingly as you press the [INC] and
[DEC] buttons.
Also check to see that you can read letters displayed even when the value
is “1”.
Next, adjust the LCD’s contrast.
Set the contrast value which produces the most easy-to-read display by
using the [INC] and [DEC] buttons.
You can put into memory such value as the reference value of Factory
Reset.
Press both the [EDIT] and [WRITE] buttons, and the current value is
saved in memory for reference.
Be sure to execute Factory Reset before you exit from the Test mode.
Press both the [EDIT] and CURSOR [ ] buttons to go to the next test.
Display Description
---------------------- + -----------------------------------
Product Name : Model Name
PRG Version No : Program's Version Number
PRG Build No : Program's Build Number
Booter Version : Booter's Version Number
Display Description
------------------------- + -----------------------------------------------------
PROGRAM ROM Check the contents of the program ROM
DSP 1/2 Check's the DSP and the effect RAM
built into the Master/Slave's sound chip
EXP A/B Checks the wave expansion's A/B slot
WROM1/2 Checks wave ROM 1/2
[EQ_ON/OFF] -> [MFX_ON/OFF] -> [RHYHM] -> [LOWER] ->
[UPPER2] -> [UPPER1] -> [ARPEGGIO] -> [TRANSPOSE] ->
[SPLIT] -> [LAYER] -> [PIANO] -> [SET UP] -> [UP] ->
[LEFT] -> [RIGHT] -> [DOWM] -> [DEC] -> [INC] -> [LOWER] ->
[UPPER 2] -> [UPPER 1] -> [EXP_A] -> [EXP_B] -> [EDIT] ->
[WRITE] -> [MIDI] -> [NUM LOCK] -> [0] [9] (LED Orange ->
Green) -> [0] [9](LED Green -> OFF)
 Loading...