18
Apr.2005
Measures against system update
failure
If the update failed, perfrom it once again from step 1.
2. Updating with MIDI
Required Equipment
• UPDATE DATA FOR SERVICE CD-ROM (#17041621)
• Sequencer capable of playing back SMF data
• Media that can be used with the above sequencer (1 Zip disk, 4 floppy
• disks, or equivalent)
• PC (Do not use a Macintosh)
• MIDI cable
Caution as to USER DATA
After updating, be sure to perform the “Factory Reset”.
If important user data is to be overwritten, save the data (refer to Saving and
Loading User Data) before carrying out the update.
Create the Update Disk or Disks
This creates one or more disks for loading SMF data to the sequencer.
1. Turn on the power to the PC.
2. Insert a Zip disk or floppy disk.
3. Place the UPDATE CD-ROM (#17041621) in the computer, and bring up
the “MIDI” folder on the CD-ROM.
4. * If using a Zip disk
Copy all 64 SMF data files (from p00001.mid to p00064.mid) from
“MIDI.”
* If using floppy disks
Copy the 64 SMF data files in “MIDI” to the floppy disks in order of the
file names, copying 16 SMF data files at a time to each of the 4 floppy
disks.
Disc 1 : p0001.mid -- p0016.mid
Disc 2 : p0017.mid -- p0032.mid
Disc 3 : p0033.mid -- p0048.mid
Disc 4 : p0049.mid -- p0064.mid
Process of Updating the TD-12
1. Use a MIDI cable to connect the sequencer’s MIDI OUT to the TD-12’
MIDI IN.
2. Insert the newly created SMF data disk in the sequencer.
3. Simultaneously hold down the TD-12’s [SETUP] and [REC] buttons and
turn on the power to the TD-12.
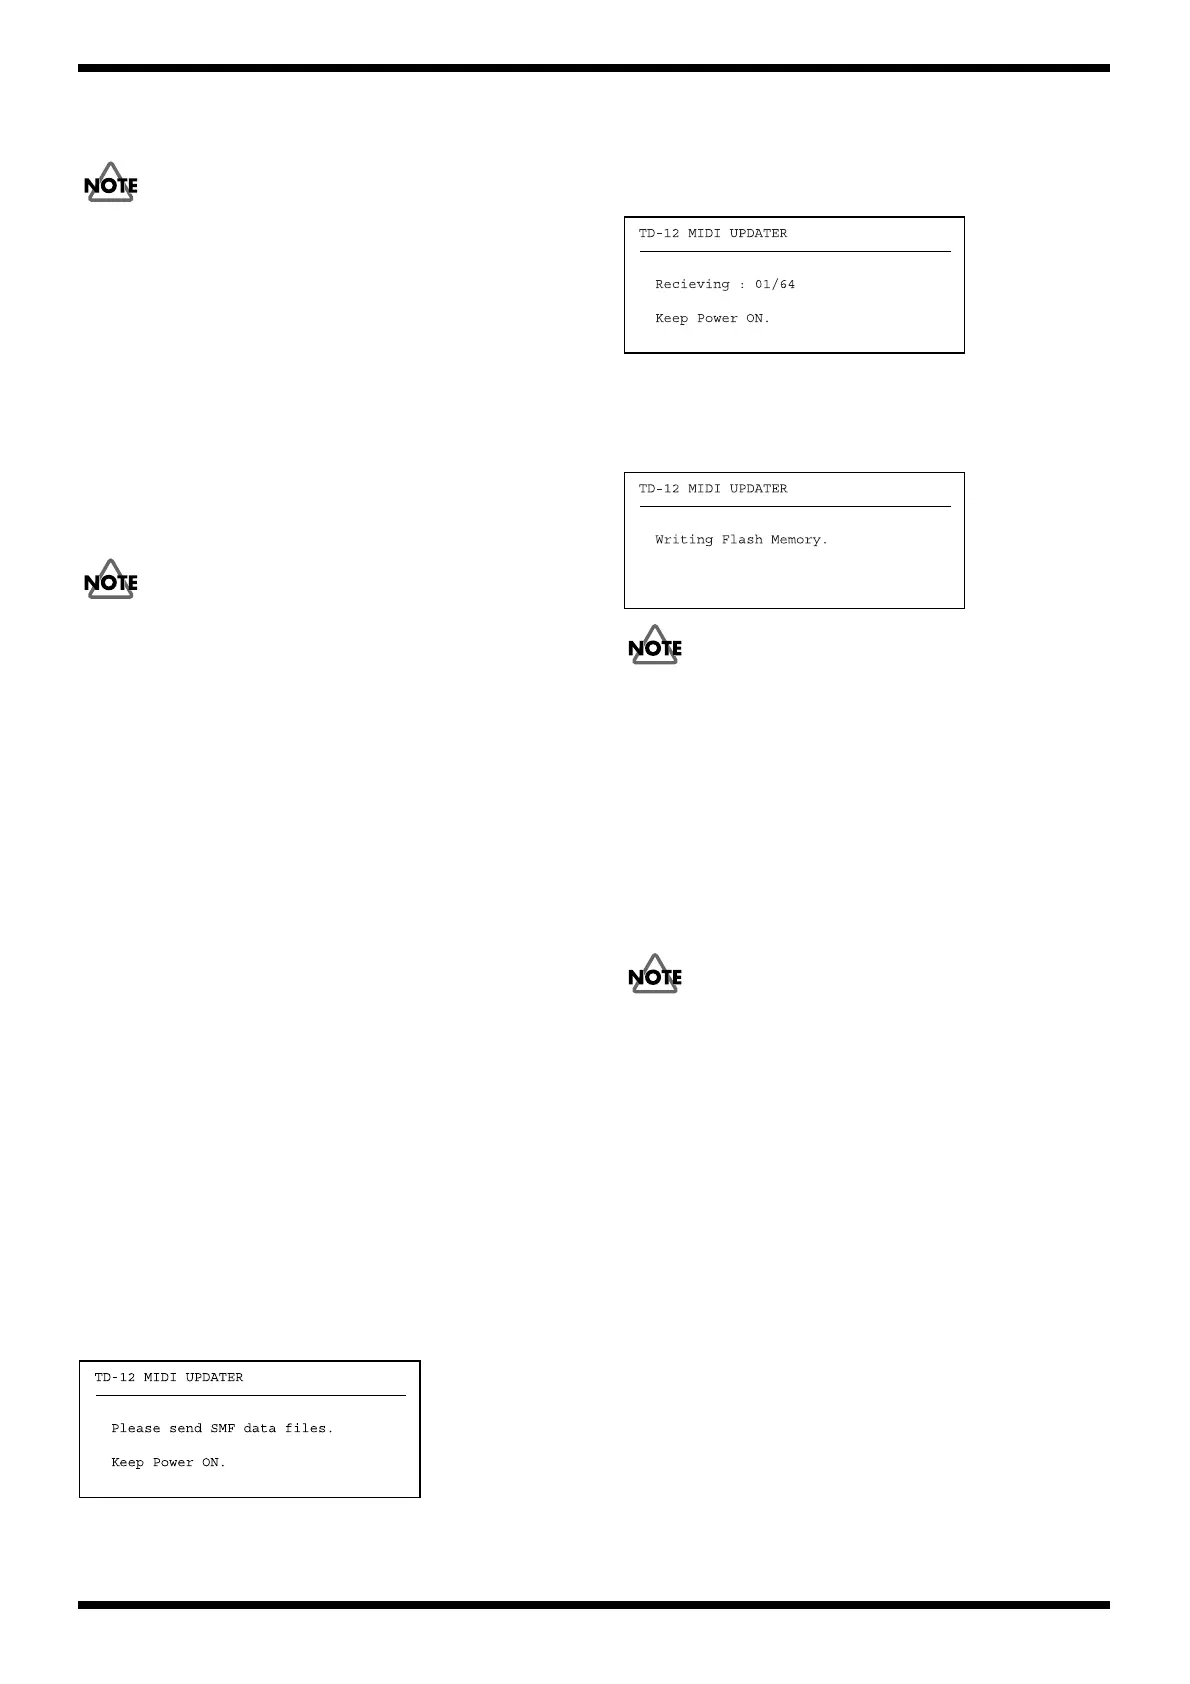
4. The following screen appears in the LCD display.
TD-12 MIDI Updater
fig.systemupdate02.eps
5. After confirming that the sequencer playback mode is not set to loop
playback, play back the date in order of the file names to transmit the
data.
If using floppy disks, play back Disk 1 until the data is transmitted, then
insert Disk 2 and play back the data on that disk, then follow this process
with Disk 3 then Disk 4 until all of the data has been transmitted.
The following screen appears in the TD-12’s LCD display during
reception of MIDI data.
fig.systemupdate03.eps
6. When transmission of all 64 SMF data files is completed, the TD-12
automatically starts writing the data to the internal flash memory.
The following screen appears in the TD-12’s LCD display while the data
is being written.
fig.systemupdate04.eps
Be absolutely sure not to turn off the power at this time.
If this operation does not finish properly, subsequent MIDI updating will not
be possible.
If this occurs, carry out the update with Compact Flash using the TD-20.
7. When writing of the data to the flash memory is completed, the unit
restarts automatically.
8. Turn the power to the TD-12 off and then on again to carry out Test
mode.
Measures against system update
failure
If this occurs, carry out the update with Compact Flash using the TD-20.

 Loading...