17
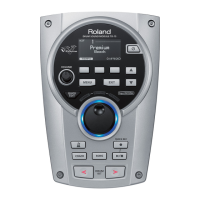
TD-12
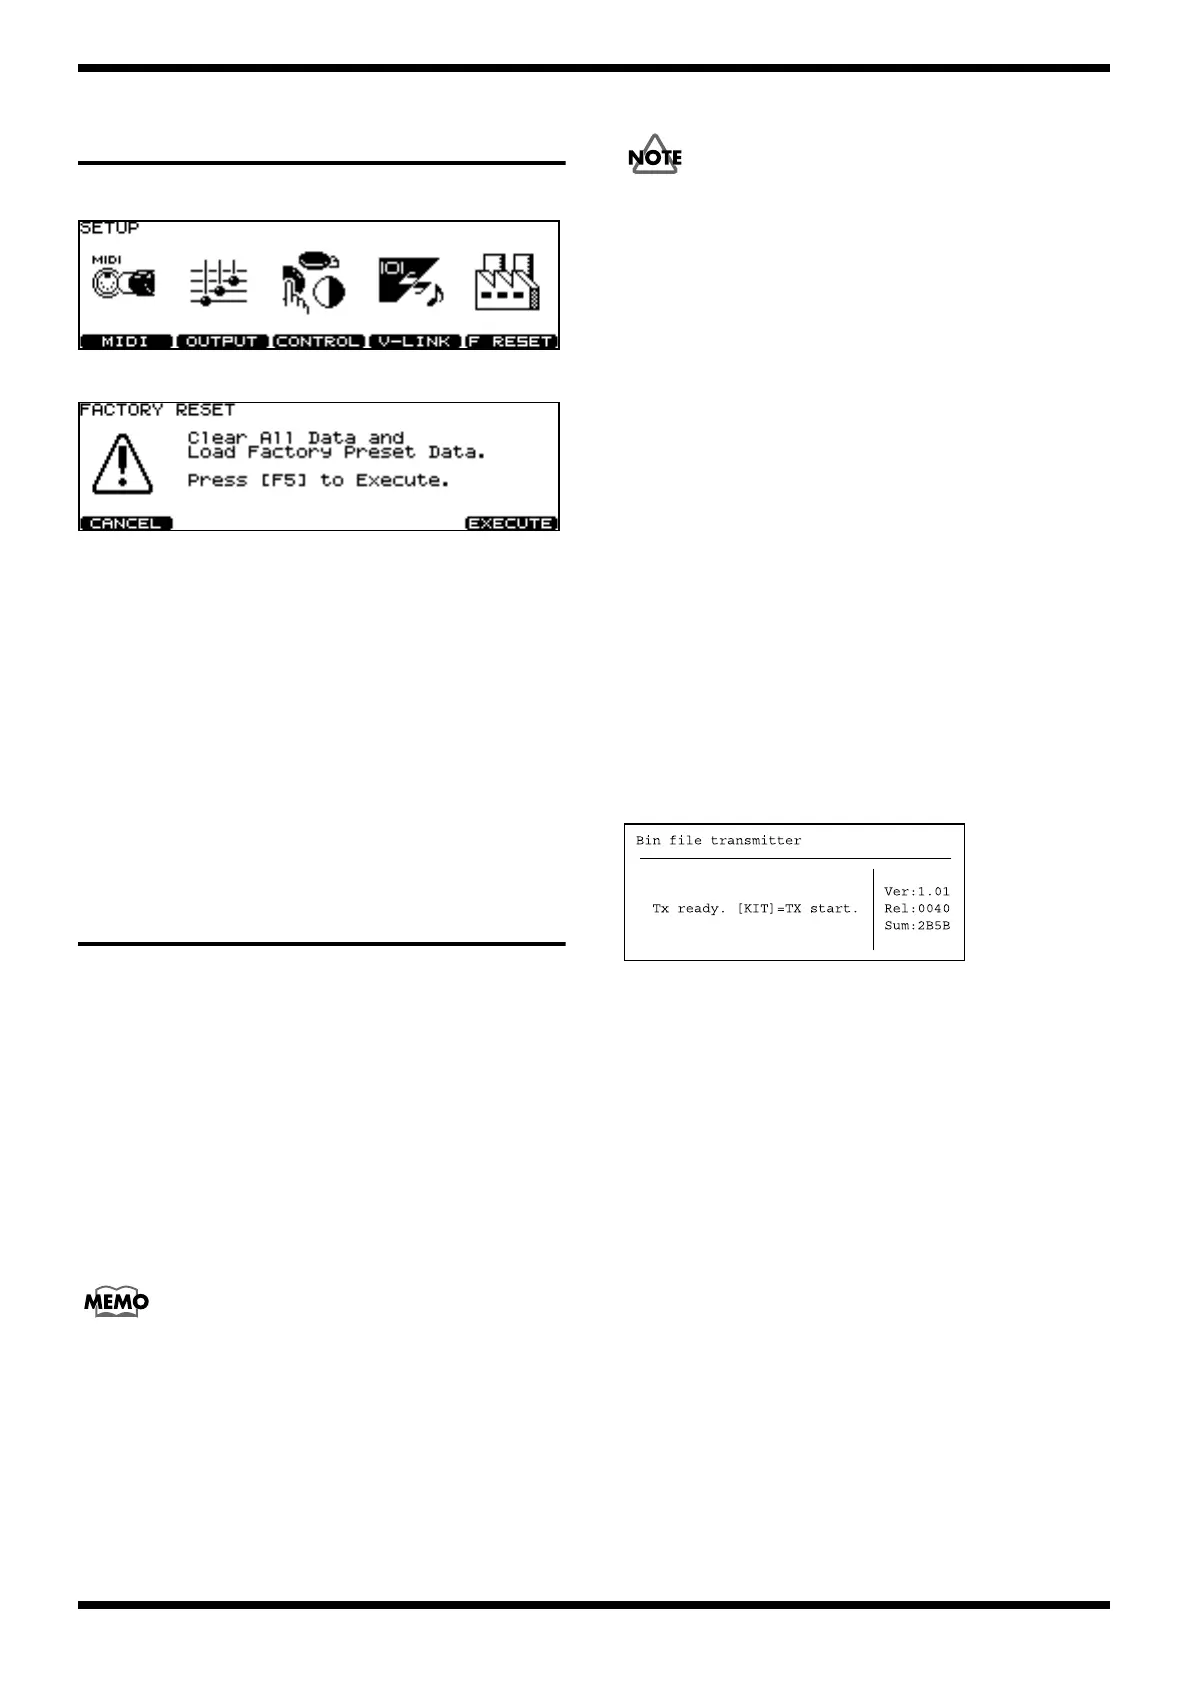
FACTORY RESET
INSTRUCTIONS
1. Press the [SETUP] button; the following appears in the LCD display.
fig.freset1.eps
2. Press the [F5] button twice; the following appears in the LCD display.
fig.freset2.eps
3. To execute the Factory Reset, press the [F5 EXECUTE] button.
Factory Reset is executed.
To cancel Factory Reset, press the [F1 CANCEL] button.
When Factory Reset is finished, “Completed!” temporarily appears, the
LCD display returns to its original state, and the procedure is completed.
Caution as to USER DATA
All data and settings stored in the TD-12 are lost in
carrying out this operation. So if necessary, save your
data to an external MIDI device before executing the
factory reset.
(Bulk Dump; [SETUP] - [F1 (MIDI)] -[F5 (BULK)])
SYSTEM SOFTWARE
UPDATING INSTRUCTIONS
The TD-12 uses flash memory for the program ROM; update the system using
either of the two following methods.
1. Updating with Compact Flash Using the TD-
20(Recommended)
(Time Required for Procedure): Approximately 5 minutes
2. Updating with MIDI Using a MII Sequencer
(Time Required for Procedure): Approximately 1 hour
1. Updating with Compact Flash
Using the TD-20
Cards supported by TD-20 are 3.3 V CompactFlash cards with the capacity of
16 MB to 512 MB.
Required Equipment
• TD-20 (T-20 Program Version 1.07 and over)
• UPDATE DATA FOR SERVICE CD-ROM (#17041621)
• PC (Do not use a Macintosh)
• Compact Flash x2
• Compact Flash Reader and Writer
Caution as to USER DATA
After updating, be sure to perform the “Factory Reset”.
If important user data is to be overwritten, save the data (refer to Saving and
Loading User Data) before carrying out the update.
Create an Update Card
Create an update card for use by the TD-20.
1. Turn on the power to the PC.
2. Insert a Compact Flash in a Compact Flash reader/writer connected to
the computer, and format the card.
3. Place the UPDATE CD-ROM in the computer, and bring up the “CF”
folder on the CD-ROM.
4. Copy all of the files from “CF” on to the Compact Flash card.
procedure for Updating
1. Connect the MIDI OUT of TD-20 and MIDI IN of TD-12 with MIDI Cable
2. Turn on the power TD-12 while holding down the [F2] and [F5] button
and turn on the power TD-12.
Press the [SETUP] button during RIM LED light(2 second) up and RIM
LED begain blinking.
* When you can not enter the Update mode, TD-12 start-up normal mode.
3. Press the [TRIGGER] button and PLAY LED blinking and TD-12 is
waiting to receiving data.
4. Insert the Compact Flash you copied the Update data in TD-20.
5. Turn on the power TD-20 while holding down [SETUP], [MIXER] and
[INST], LCD display appear the followings.
fig.systemupdate01.eps
6. When Press [KIT] button, TD-20 start the UPDATE.
The TD-12 LEDs light the following order.
[PLAY] -> [REC] -> [CLICK] -> [CHAIN] -> [SETUP] -> [RIGGER] ->
[KIT]
7. When LED of [KIT] lights, Update is completed.
State of each LED
PLAY : Waiting the reception
REC : Under receiving data
CLICK : Under checksuming receiving buffer
CHAIN : Under easing all Flash memory data
SETUP : Under writing Flash memory data
TRIGGER : uncder checksuming Flash memory data
KIT : Complete the Update
PATTERN : Error occurs
8. Please do TEST mode after turning off and on the TD-12.

 Loading...