10
Playing Patterns
Generating a Random Pattern
You can automatically generate a random pattern. This modifies the
selected pattern.
1. Hold down the [PTN SELECT] button and press the
[SAMPLE] button.
A random pattern is provisionally generated for the variation.
The [TR-REC] button blinks.
2. When you press the [TR-REC] button, the
provisionally generated random pattern changes to
the current pattern.
In this state, the pattern is not yet saved. If you want to save it,
execute the WRITE operation.
&
“Saving the Pattern, Kit, or System Settings (WRITE)”
(p. 18)
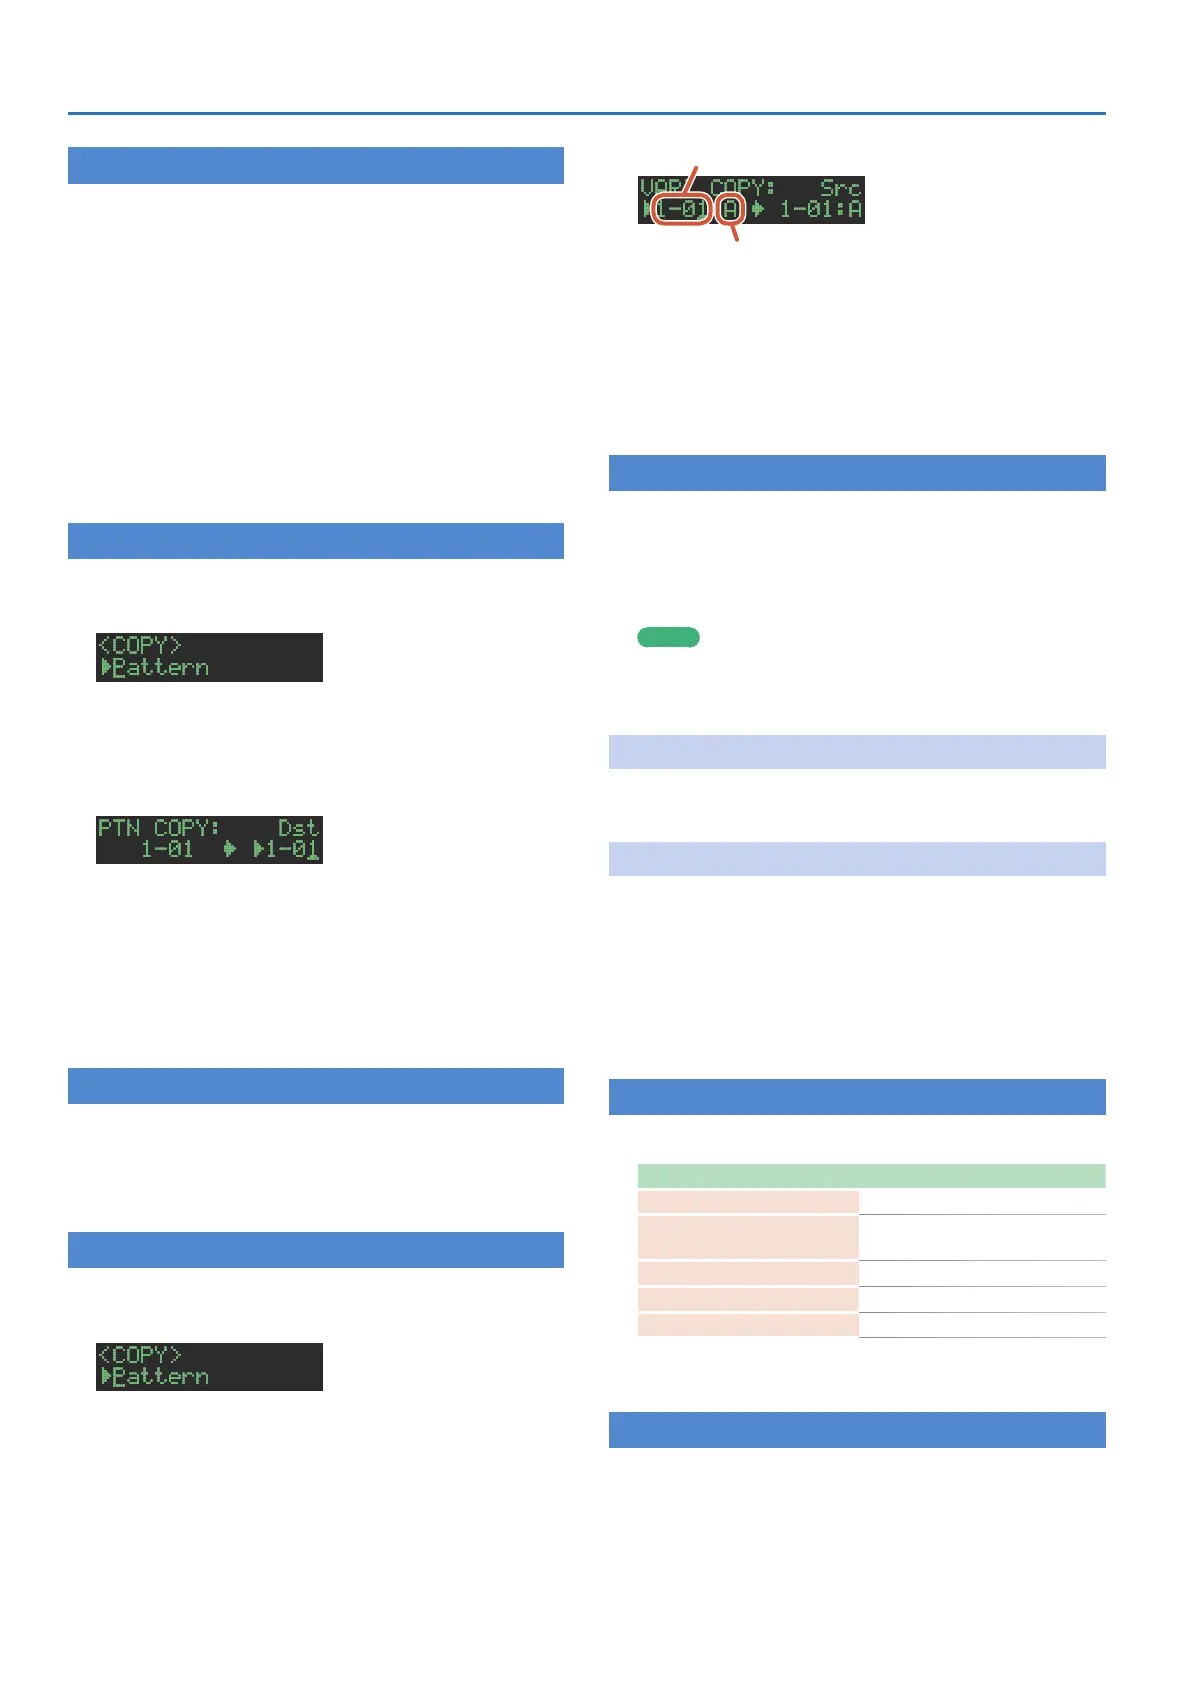
Copying a Pattern
1. Press the [COPY] button.
The COPY screen appears.
2. Use the [VALUE] knob to select “Pattern,” and then
press the [ENTER] button.
3. Use the [VALUE] knob to select the copy-source,
and press the [ENTER] button.
4. Use the [VALUE] knob to select the copy-
destination, and press the [ENTER] button.
A confirmation message appears.
5. To copy, use the [VALUE] knob to select “O K ,” and
press the [ENTER] button.
If you decide to cancel, use the [VALUE] knob to select “Cancel,”
and then press the [ENTER] button.
Deleting a Pattern
1. Press the [PTN SELECT] button.
2. Hold down the [CLEAR] button and use the pads
[1]–[16] to specify the pattern that you want to
delete.
Copying a Variation
1. Press the [COPY] button.
The COPY screen appears.
2. Use the [VALUE] knob to select “Variation,” and
then press the [ENTER] button.
3. Use the [VALUE] knob and the [ENTER] button to
select the copy-source.
Pattern number
Variation
4. Use the [VALUE] knob and the [ENTER] button to
select the copy-destination.
A confirmation message appears.
5. To copy, use the [VALUE] knob to select “O K ,” and
press the [ENTER] button.
If you decide to cancel, use the [VALUE] knob to select “Cancel,”
and then press the [ENTER] button.
Selecting a Fill-In Variation
1. While holding down the AUTO FILL IN [ON] button,
press a pad [14]–[16] or an [A]–[H] button.
You can also use a variation A–H as a FILL IN.
Pads [14]–[16] and the [A]–[H] buttons blink. (The selected
button is lit.)
MEMO
If FILL IN Type = SCATTER, you can hold down the AUTO FILL IN
[MANUAL TRIG] button and use the [VALUE] knob to control
SCATTER DEPTH.
Inserting a Fill-In (Manual Trigger)
1. At the moment that you want to insert a fill-in,
press the AUTO FILL IN [MANUAL TRIG] button.
Inserting a Fill-In at Regular Intervals (Auto Fill In)
Here’s how to automatically insert a fill-in at intervals of the specified
number of measures.
1. Turn the AUTO FILL IN [AUTO FILL IN] knob.
Value: 32, 16, 12, 8, 4, 2
2. Press the AUTO FILL IN [ON] button.
A fill-in is automatically inserted at intervals of the specified
number of measures.
Adjusting the Reverb or Delay
Here’s how to adjust the reverb or delay.
Target Controller
Volume of the reverb sound REVERB [LEVEL] knob
Reverb length
[KIT] button + REVERB [LEVEL]
knob
Volume of the delay sound DELAY [LEVEL] knob
Delay time DELAY [TIME] knob
Delay feedback DELAY [FEEDBACK] knob
For detailed reverb and delay settings, refer to “Editing a Kit’s
Settings (KIT Edit)” (p. 14).
Master Effect
1. Press the MASTER FX [ON] button to make it light.
2. Use the MASTER FX [CTRL] knob to adjust the
depth of the effect.
&
“Master Effect (MASTER FX)” (p. 15)
 Loading...