6
Panel Descriptions
10 Pad [1]–[16]
Mode Explanation
TR-REC
For each step, specify whether the
instrument’s tone will sound.
PTN SELECT
Select a pattern.
Hold down the [PTN SELECT] button and
use pads [1]–[8] to select a bank.
Release the [PTN SELECT] button and use
pads [1]–[16] to select a number.
Mode Explanation
INST PLAY
5 Pads [1]–[11](INST) play instrument’s
tones.
5 If you hold down either the [12] or [13]
(ROLL) pad (or both) and press a [1]–[11]
pad, the instrument’s tone plays a roll.
There are three types of roll (16th note,
32nd note, 64th note).
INST REC
During realtime recording, the pads record
the corresponding instrument’s tone.
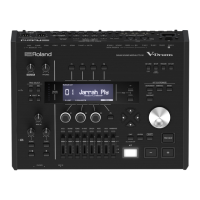
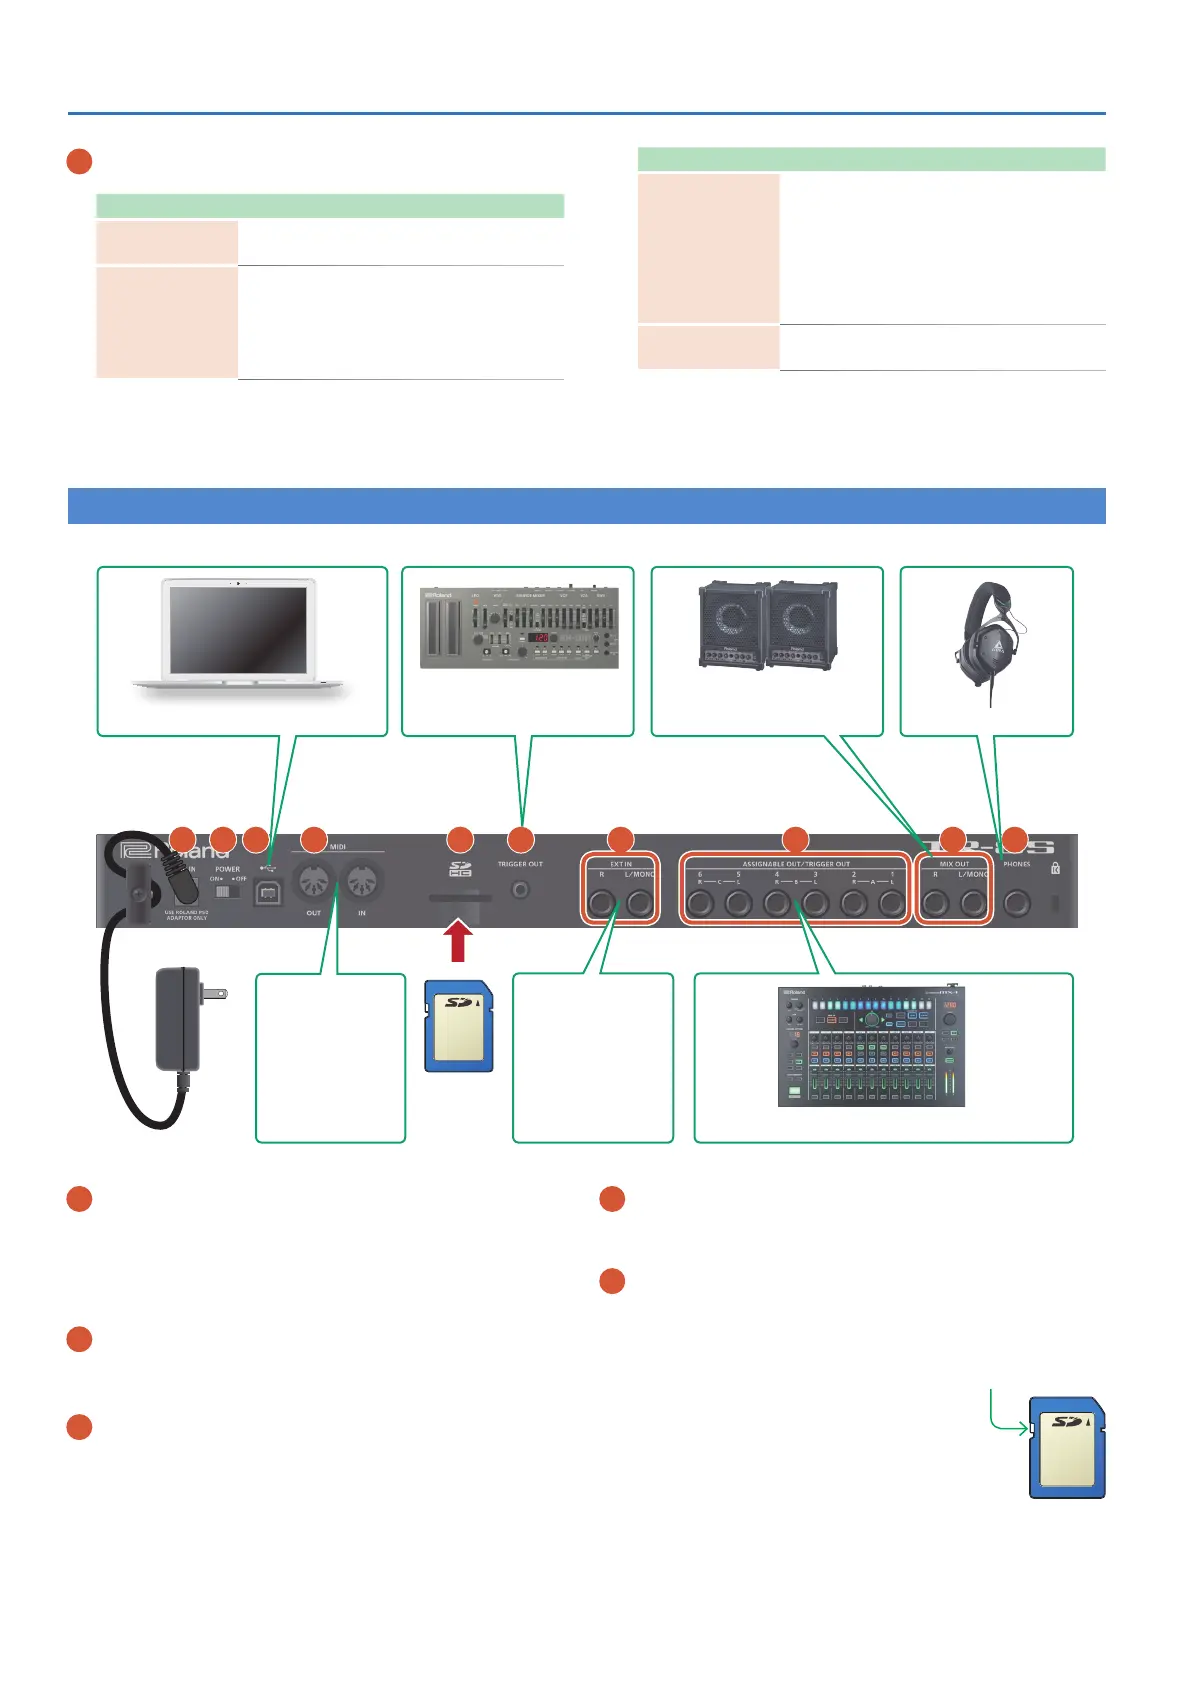
Rear Panel (Connecting Your Equipment)
* To prevent malfunction and equipment failure, always turn down the volume, and turn off all the units before making any connections.
A B D E F C G H I J
COMPUTER
SD card
AC adaptor
TRIGGER OUT MIX OUT HEADPHONES
MIDI
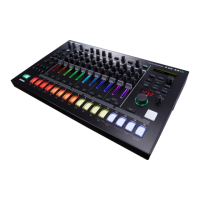
EXT IN ASSIGNABLE OUT/TRIGGER OUT
Connect an audio
device.
Connect a MIDI
device.
A DC IN jack
Connect the included AC adaptor here.
* To prevent the inadvertent disruption of power to your unit (should
the plug be pulled out accidentally), and to avoid applying undue
stress to the jack, anchor the power cord using the cord hook, as
shown in the illustration.
B [POWER] switch
This turns the power on/off.
&
“Introduction” (p. 7)
C USB port
Use a commercially available USB 2.0 cable to connect this port
to your computer. It can be used to transfer USB MIDI and USB
audio data. You must install the USB driver before connecting the
TR-8S to your computer. Download the USB driver from the Roland
website. For details, refer to Readme.htm which is included in the
download.
&
https://www.roland.com/support/
D MIDI (OUT, IN) jacks
Use a commercially available MIDI cable to connect MIDI devices
here.
E SD card slot
Insert a commercially available SD card here.
* Never turn off the power or remove the memory card while the screen
indicates “Executing.”
* The memory card write protect feature (LOCK)
The contents of the memory card can be
protected by write protecting it. To write
protect a card, slide the write protect switch
on the side of the memory card to the “LOCK”
position. Unlock write protect to edit data on
the card.
* All memory cards eventually wear out. We
recommend that you consider the memory card not as a permanent
storage site, but as a place to store data temporarily. We also
recommend that you back up important data onto other media that is
supported by your unit.
Write protect
switch
 Loading...