14
VA-7
July, 2000
3.
RAM Test
Press the [NUMBER/3] button, the display shows:
To exit, press [BANK/5]
4. IDE Test
Press the [NUMBER/4] button the display shows:
Action: Before inserting the zip disk in the VA-7 zip disk driver, make sure that it has been formatted by a VA-7,
a G-1000 or an EM-2000.
Note: If the zip disk is not inserted before entering the test mode, the writing NOT READY will appear in the
drive checking space.
To exit, press [BANK/5]
5 FDD Test
Press the [NUMBER/5] button the display shows:
After a few seconds, the display will show:
Action: If the floppy disk has not been inserted in the drive, the following writing will be visualized on the bot-
tom of the lcd: PLEASE INSERT DISK.
If the result isnt OK, one of the following errors will appear on the display:
- Read Error
- Write Error
VA-7 FDD TEST
Writing...
Reading...
Verifiyng
>>>> OK <<<<
Press BANK 5 to exit
VA-7 FDD TEST
Writing...
Reading...
Verifiyng
>>>> OK <<<<
Please eject disk
IDE TEST
IDE: initializing...
** OK or ERROR**
Drive checking...
** OK or ERROR**
Press BANK 5 to exit
RAM TEST
OK or ERROR
Press BANK 5 to exit
- Verify Error
CAUTION: To check the FDD, use only a formatted disk, either DD or HD type.
To exit, press [BANK/5]
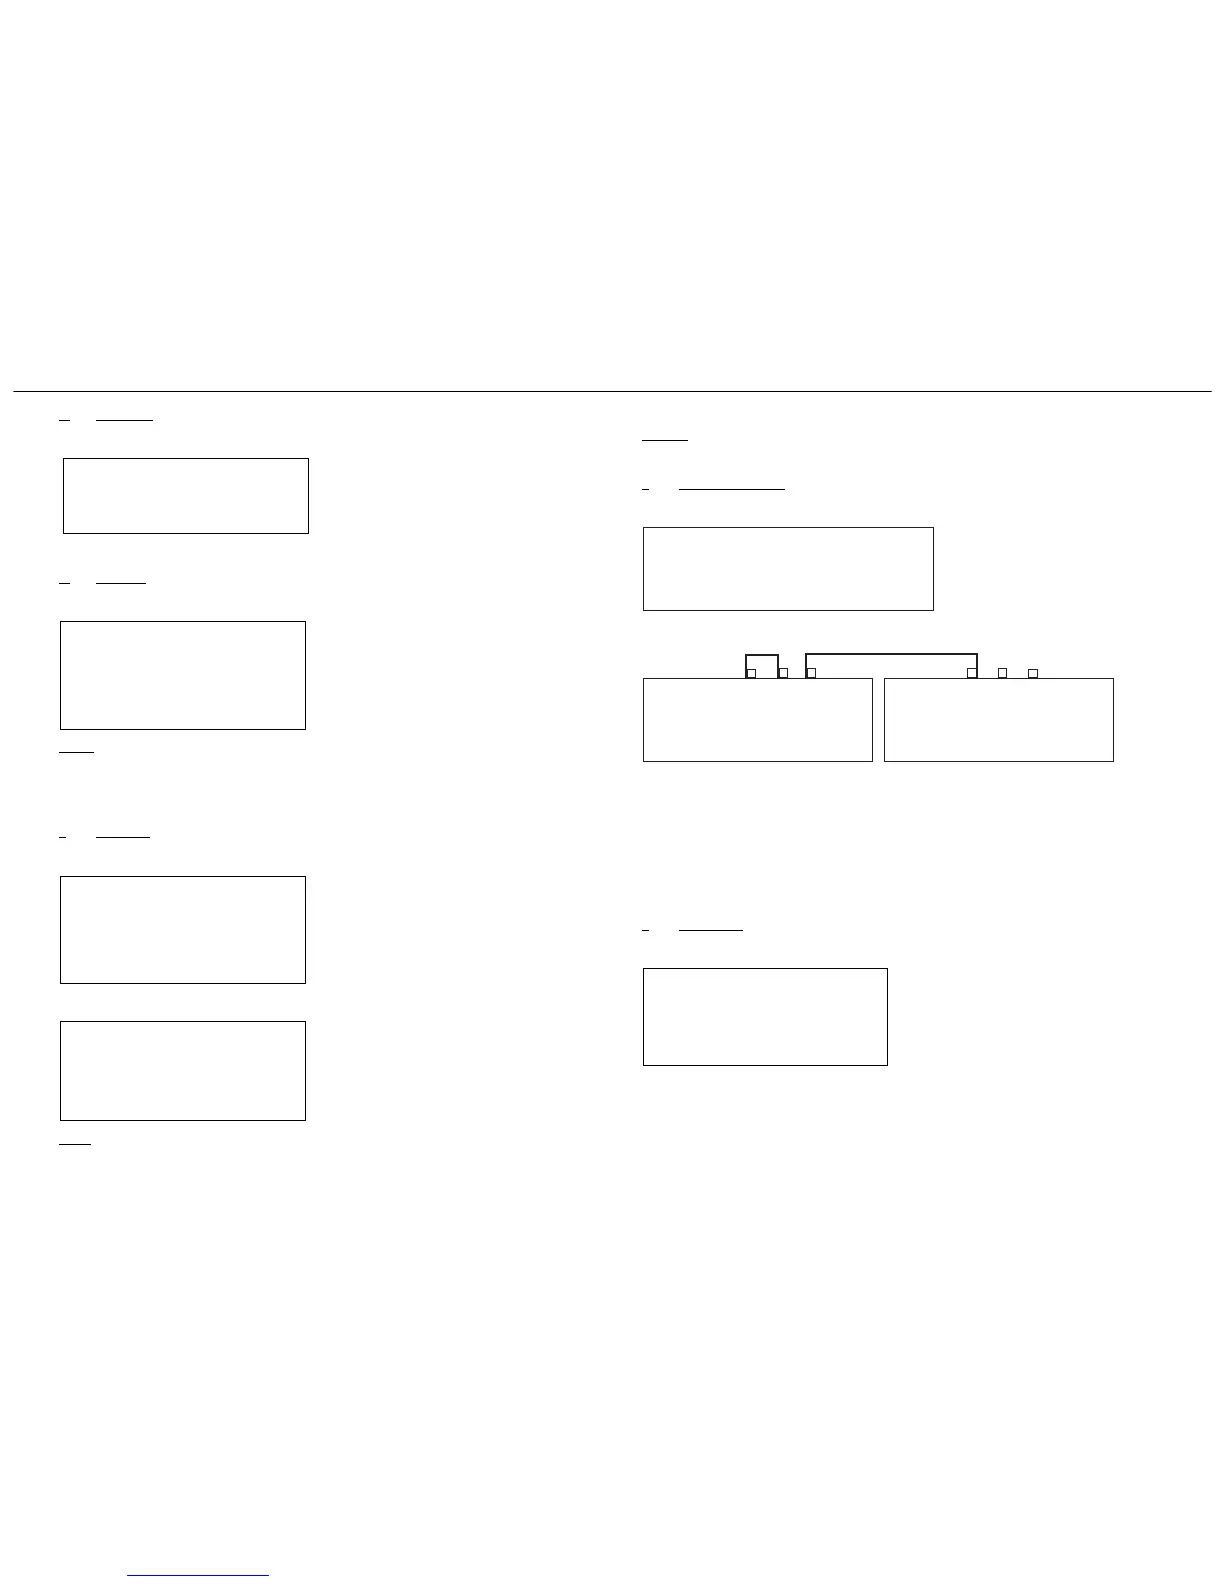
6 MIDI & THRU test
Press the [NUMBER/6] button, the display shows:
Cable connections to check the MIDI outputs:
IN/OUT Connection THRU/IN connection
While the VA-7 MIDI TEST screen display is shown, connect the Midi Cables between VA-7 and an external
instrument as shown in the above diagram.
Make sure that either the OK or the ERROR message appear on the display.
Then keep the cable connection between the IN and OUT sockets of VA-7 and connect VA-7 with another
external instrument by using its Midi Thru output and the second Midi Cable.
If the result of this Midi Test is OK, youll hear an intermittent sound coming from the second external instru-
ment.
To exit, press the [BANK/5].
7 Audio Test
Press the [NUMBER/7] button. Youve entered the Audio Test mode and the display shows:
Pressing the [Bank/1] button "Calibration", some sine wave sounds (frequency 415 Hz) will come out from the
Right and Left speakers.
Before calibrating the amplifier, move the volume potentiometer to the Max position then adjust the trimmers of
the amplifier channels (VR11: right Channel; VR12: left Channel) so that the oscilloscope will show a value of 20
Vpp across the speakers.
Note: The measurements on the R/L output have to be carried out with the jacks inserted in both outputs .
The sounds coming from the R/L Mono channels on the OUT output will be mixed and can be adjusted by the
Volume slider potentiometer.
The sine wave sound on the right and left channels will have a 415 Hz frequency and a 3Vpp amplitude.
VA-7 Audio Test
BANK 1 Calibration
BANK 2 Left
BANK 3 Right
Press BANK 5 to exit
In Out Thru
External Instrument
In Out Thru
Rear side of VA-7 bottom cabinet
VA-7 MIDI TEST
Connect Midi Out = to => Midi A In < OK or Error >
Press BANK5 to exit
 Loading...