Do you have a question about the Roland VersaUV LEF-12 and is the answer not in the manual?
Lists all documentation included with the machine for comprehensive understanding.
Explains how to use Roland OnSupport for receiving printer status and updates via email.
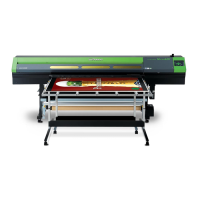
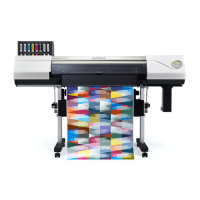
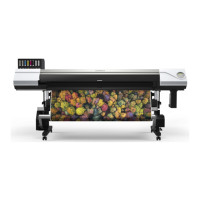
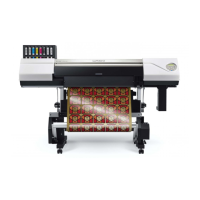
Details the key features of the machine, including printing on thick materials and ink capabilities.
Provides visual examples of items that can be printed using this printer.
Outlines critical safety precautions and warnings for operating the machine correctly.
Explains the meaning of warning and caution labels used in the manual.
Describes the meanings of various symbols used to convey important safety information.
Details specific unsafe operations that can lead to injury or accidents.
Covers crucial safety measures related to electrical hazards and fire prevention.
Provides essential guidelines for the safe handling and use of power cords and outlets.
Warns about the flammability and toxicity of inks and cleaning fluids.
Gives first aid instructions for accidental ingestion or physical distress caused by materials.
Advises on the safe use of the machine's ultraviolet light feature and potential eye hazards.
Explains the significance of various warning labels affixed to the machine for safety.
Provides instructions for handling, storing, and preventing damage to ink cartridges.
Offers guidance on the careful handling of the printer unit to maintain performance and prevent damage.
Lists all items included in the package for setup and operation.
Guides on selecting a suitable location for installation, considering environment and safety.
Details the procedure for safely removing protective packing materials before operation.
Explains how to correctly connect power and communication cables to the machine.
Guides on powering on the machine and understanding the operation panel controls.
Describes the layout and functions of the machine's operation panel.
Defines the symbols and conventions used to represent operation panel keys in the manual.
Provides step-by-step instructions for installing ink cartridges and initial ink filling.
Details the process for cleaning print heads and filling ink for initial use.
Explains the procedure for inserting ink cartridges into the correct slots.
Guides on configuring network settings for computer connectivity and printer operation.
Provides steps to configure network settings on the computer for the printer.
Details how to manually set IP addresses and subnet masks on the printer.
Instructs on setting up port configurations for the Raster Image Processor software.
Explains how to install necessary ventilating equipment for safe operation.
Provides considerations for selecting and preparing ventilating devices.
Details the physical steps for connecting ventilating equipment to the machine.
Presents a high-level summary of the steps involved in initial printing.
Guides on loading media and defining the printable area on the flat table.
Explains how to perform test prints and execute normal cleaning procedures.
Details the process for starting production printing using the included software.
Covers checks and cleaning procedures required at the end of daily operations.
Guides on the correct procedure for powering down the machine safely.
| Print Resolution | 1200 x 1200 dpi |
|---|---|
| Connectivity | USB 2.0, Ethernet |
| Print Technology | Inkjet |
| Print Width | 12 in (305 mm) |
| Max Media Thickness | 3.94 in (100 mm) |
| Ink Type | UV Curable Ink |
| Power Supply | AC 100-240V, 50/60Hz |