Do you have a question about the Rosslare AC-225IP and is the answer not in the manual?
Connect the Mini-PC to power using the included power supply.
Connect a HDMI monitor or use a HDMI to DVI adapter.
Connect keyboard and mouse to the Mini-PC via USB ports.
Connect the Mini-PC to your LAN using an Ethernet cable.
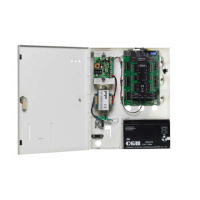
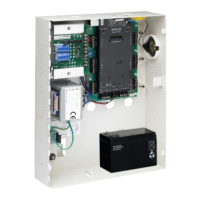
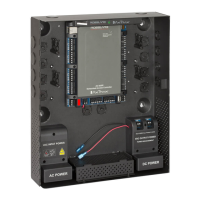
Connect the access controller to the same LAN as the Mini-PC.
Turn on the Mini-PC by pressing the power button for 2 seconds.
| Model | AC-225IP |
|---|---|
| Category | Controller |
| Type | Networked Access Controller |
| Input Voltage | 12VDC |
| Number of Doors Supported | 2 |
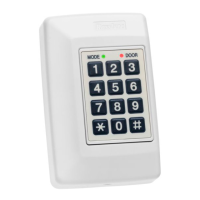
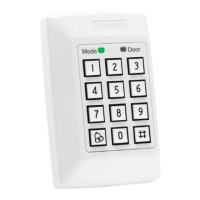
| Number of Readers | 4 |
| Outputs | 4 relay outputs |
| Card Capacity | 30, 000 |
| Users | 30, 000 |
| Event Log Capacity | 20, 000 |
| Event Log | 20, 000 events |
| Tamper | Yes |
| Enclosure Material | Metal |
| Output Voltage | 12V DC |
| Protection Class | IP30 |
| Compliance | CE, FCC |
| Communication | RS485, TCP/IP |
| Inputs | 4 inputs |
| Dimensions | 160mm x 120mm x 30mm |
| Storage Temperature | -20°C to 60°C |
| Humidity | 0 to 95% (non-condensing) |
| Operating Temperature | -10°C to 50°C |