4 x Set-up and installation
FA ROTEX HPSU compact (V5) •
21
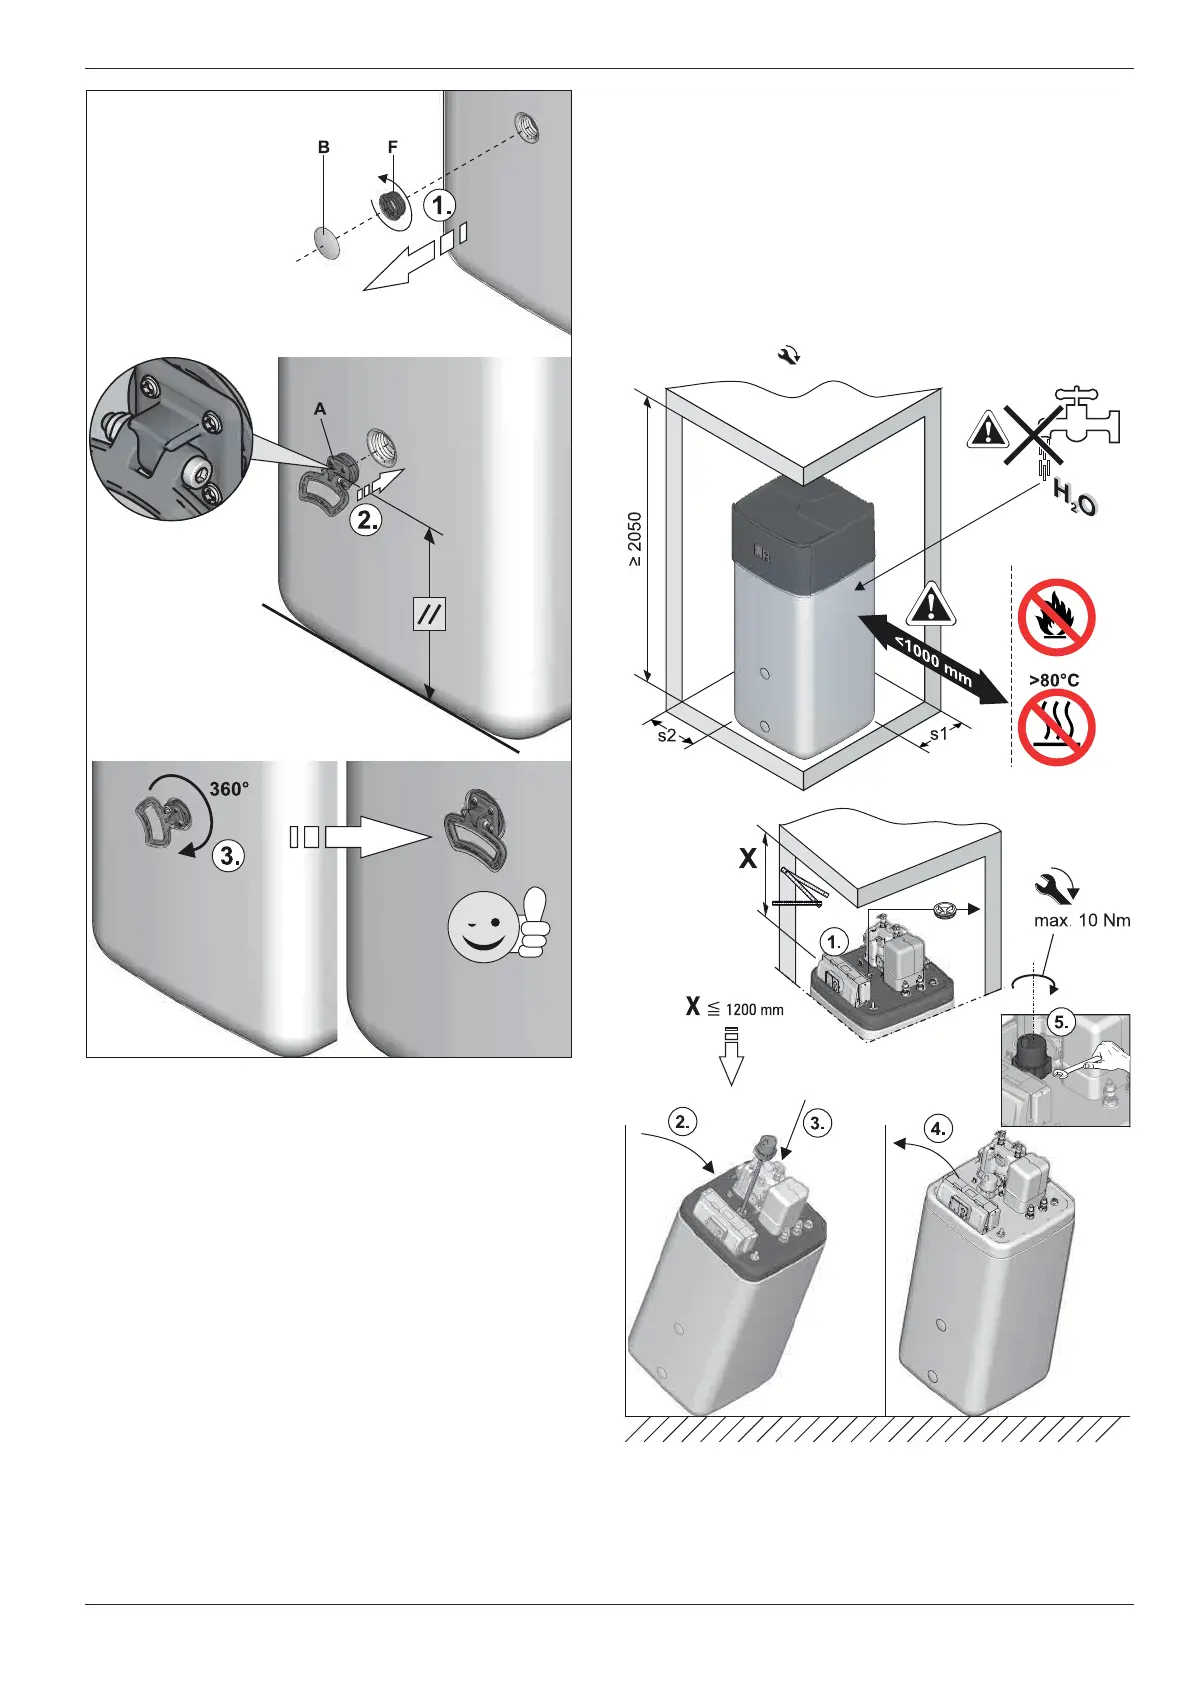
Ɣ Install the ROTEX HPSU compact at the installation site.
– Recommended clearances (fig. 4-5):
To the wall: (s1) 100 mm, (s2) 500 mm.
From the ceiling (X): 1
200 mm, minimum 480 mm.
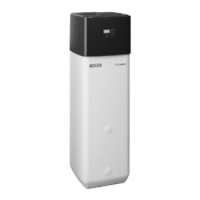
– Carefully transport the ROTEX HPSU compact, use the
h
andles.
– When setting up the unit in a cabinet, behind panels or in
other restricted conditions, sufficient ventilation (e.g.,
using ventilation gratings) must be ensured.
Ɣ If n
ecessary, install the optional Backup Heater (BUxx) in the
ROTEX HPSU compact (fig. 4-5).
Observe the assembly and operating manual supplied with
the accessory ( for tightening torque see chapter 10.3).
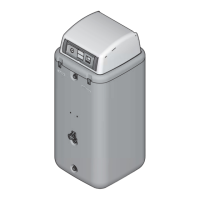
A Handle
B Cover screen
F Threaded piece
Fig. 4-4 Attach handles
Fig. 4-5 Layout (shown on ROTEX HPSU compact 508/516 with incor-
poration of the optional Backup Heater)
 Loading...