3 x Operation
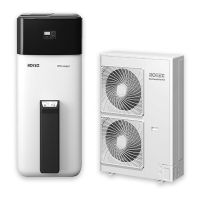
BA ROTEX HPSU compact 4 - 03/2013
13
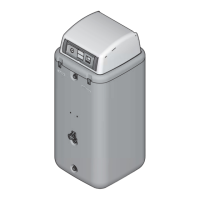
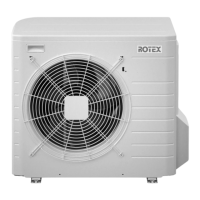
Switching the system on and off
The system is switched on and off at the rotary switch in the
position "Operating Mode"
(See section 3.3.3 for
procedure).
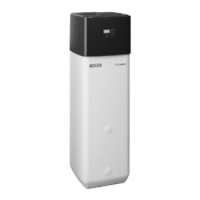
Water pressure display
When switched on, the controller can be used to display the
system pressure (water pressure) of the internal circuit (heating
circuit) (see section 3.3.2 for procedure).
The water pressure should be between 1.5 and 3.0 bar in heating
mode. If it is less than 1.5 bar, the water pressure must be
increased by refilling the system (see heat generator installation
instructions).
If the water needs to be topped-up frequently, find out the cause
and have the fault corrected as soon as possible.
Thawing (automatic function)
At low outdoor temperatures and corresponding humidity values,
the external heat pump unit may ice up. This icing impairs
efficient operation. The system detects this condition automati-
cally and starts the melting operation. After 8 minutes at most, the
system returns to normal mode.
3.3.1 Standard settings
In the rotary switch position "Configuration" , we carry out
setting of the regulation and the system configuration for the
installation environment of the HPSU compact, its integrated
heating circuit, the hot water generation and possibly the option-
ally connected components.
Depending on the login (expert code), various settings are only
accessible by the heating expert.
Language, date, time, summer time
Ɣ Place the rotary switch in the "Configuration" position.
Î An overview is displayed.
Ɣ Select the "Installation" level with the rotary switch.
Î An overview is displayed.
Ɣ Use the rotary switch to select the parameters [language],
[Date], [Time] or [Summertime].
Ɣ Select and change the value to be changed within the
individual display using the rotary switch.
Ɣ Confirm the changes with a brief push of the rotary switch.
Î Change has been accepted. Jump back to previous dis-
play.
More detailed explanations and possible setting values for this rotary switch setting
can be seen in section 3.4 and in chapter 4.2.
Display settings
Ɣ Place the rotary switch in the "Configuration" position.
Î An overview is displayed.
Ɣ Select the "Installation" level with the rotary switch.
Î An overview is displayed.
Ɣ Use the rotary switch to select the parameters [LCD
Contrast], [LCD Brightness], [LCD Illum Time] or [RGB
Setup].
Ɣ Select and change the value to be changed within the
individual display using the rotary switch.
Ɣ Confirm the changes with a brief push of the rotary switch.
Î Change has been accepted. Jump back to previous dis-
play.
More detailed explanations and possible setting values for this rotary switch setting
can be seen in chapter 4.9.
Interlink function
Only adjustable by the heating expert.
Fig. 3-4 Switching the system on and off
Fig. 3-5 Indicating the system pressure
 Loading...