Do you have a question about the Rugged Ridge 11232.25 and is the answer not in the manual?
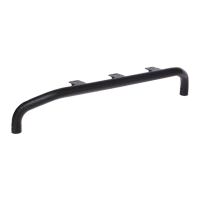
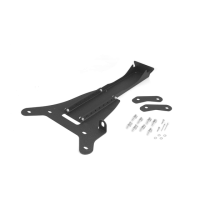
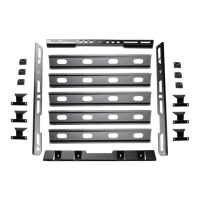
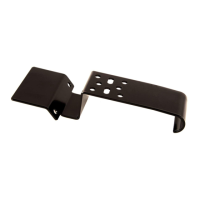
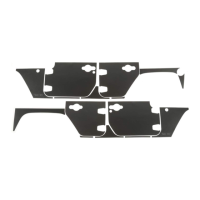
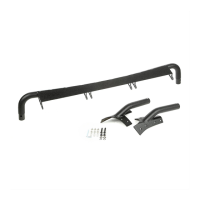
Lists the main structural parts of the light bar assembly including crossbar and brackets.
Details the bolts, nuts, and washers included for mounting the light bar and brackets.
Informs that LED lights are not included and recommends a specific SKU for compatibility.
Installer is responsible for adequate silicone use on tubing joints, bolt locations, and wire grommets for weatherproofing.
Use pre-drilled holes in the LH bracket and crossbar for running wire leads, selecting three best-fitting holes.
Mount 13.5 inch LED bars to the crossbar using M8x16mm hex bolts and washers, routing wires through specific holes.
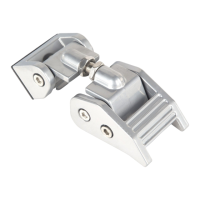
Connect LH and RH brackets to the crossbar using M8 button head bolts and M8 lock nuts, leaving loose for adjustment.
Remove the original LH and RH brackets from the vehicle and keep the factory hardware for later use.
Mount the assembled light bar to the vehicle using factory hardware, adjust fitment, and tighten all bolts securely.
Use tape on the a-pillar, cowl, and fender to prevent finish damage, and recommend two people for installation.
| Category | Automobile Accessories |
|---|---|
| Material | Steel |
| Color | Black |
| Finish | Powder Coated |
| Mounting Location | Front |