EasyManua.ls Logo

Rugged Ridge 11546.23 User Manual

Rugged Ridge 11546.23
2 pages
To Next Page IconTo Next Page
Page #1 background imageLoading...
Page #1 background image
Rev. 8/11
Page 1 of 1
SB
Step 1. Remove spare tire and third brake light from the factory spare tire
mount. Remove your factory spare tire mount from the rear tailgate.
Mark the upper portion of the mount to be trimmed. Only trim the
area of the mount that extends upward. Do not cut into the base of
the tire carrier.
Step 2. Once the upper portion of the spare tire mount has been trimmed, you
will need to smooth the cuto portion and apply a couple of coats of
black paint to prevent corrosion.
PLEASE READ AND UNDERSTAND ALL INSTRUCTIONS BEFORE YOU BEGIN.
Third Brake Light Extension JK
11546.23
Step 3A. Mounting third brake light extension with factory spare tire mount.
Mount the third brake light extension using (8) M8 hex bolts, lock
washers, and at washers behind the upper portion of the spare tire
mount. Use the supplied spacers between the lower portion of the
tire carrier and tailgate.
Contents: Third brake light extension (1)
Phillips head screws, long (2)
Phillips head screws, Short (2)
M8 x 30mm Hex bolts (8)
M8 Lock washer (8)
M8 Flat washers (8)
M6 Flat Washers (4)
Notice: Eye and ear protection is required when trimming. Use caution when
cutting alloy materials with power tools. Large sparks and ashing
may occur.
This Rugged Ridge Third Brake Light Extension kit is designed to be used either with or without the factory
spare tire mount. For use with the factory spare tire mount start with step 1. For use with an aftermarket tire
carrier start with step 3.
Question and Answer IconNeed help?

Do you have a question about the Rugged Ridge 11546.23 and is the answer not in the manual?

Rugged Ridge 11546.23 Specifications

General IconGeneral
BrandRugged Ridge
Model11546.23
CategoryAutomobile Accessories
LanguageEnglish

Summary

Third Brake Light Extension JK Installation

Step 1: Prepare Factory Spare Tire Mount

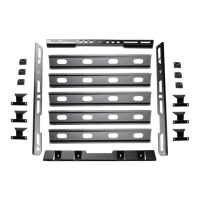
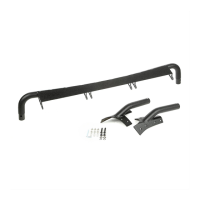
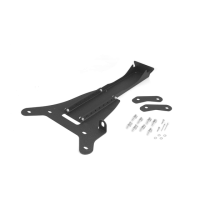
Remove factory spare tire and third brake light. Trim the upper portion of the factory spare tire mount.

Step 2: Finish Trimmed Mount

Smooth the trimmed portion of the spare tire mount and apply black paint for corrosion prevention.

Step 3A: Mount with Factory Spare Tire Mount

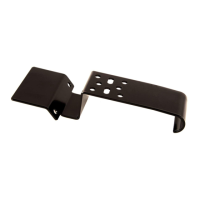
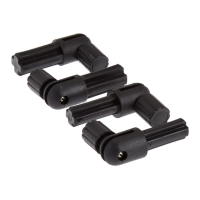
Attach the extension to the upper portion of the factory spare tire mount using M8 hardware and spacers.

Step 3A: Mount Without Factory Spare Tire Mount

Mount the extension to the tailgate's upper holes using four M8 hex bolts and hardware.

Step 4: Attach Brake Light to Extension

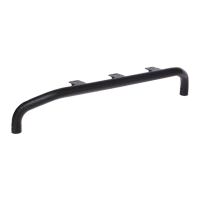
Mount the third brake light into the upper portion of the extension using supplied Phillips head screws.

Step 5: Adjust and Connect

Adjust the extension height using multiple holes, ensure all four bolts are used, and reconnect the brake light wire.
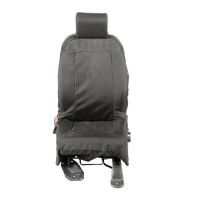
Related product manuals