15
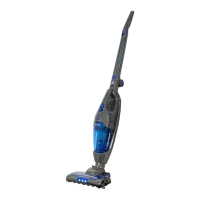
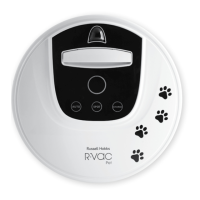
4. Place your R-Vac Pet on the Charging Station with the silver auto-charging electrodes on the
front of the R-Vac Pet in contact with the silver charging electrodes on the Charging Station.
IMPORTANT: Place the Charging Station securely against the wall, or it might be moved by the
vacuum,makingitdifcultforthecleanertodockandcharge.
If your Charging Station isn’t operating correctly, it may be necessary to re-synchronise it with
the R-Vac Pet using the following steps:
1. TurnthepowerswitchonthesideoftheR-VacPettoOFFandensuretheChargingStation
is plugged into a wall power outlet.
2. Using a paperclip, or similar, press in the internal synchronise button located on the back of
the Charging Station, and keep it pressed in.
3. TurnthepowerswitchonthesideofthevacuumtoON.
4. Release the internal synchronise button after the R-Vac Pet has emitted a series of beeps,
indicating it has synchronised.
NOTE: If you fail to hear any beeping, during the synchronising, repeat the above process.
MAINTENANCE (IMPORTANT INFORMATION)
Your R-Vac Pet may vacuum for you for up to 2 hours but will need approximately 5 minutes
of your time after every use to keep it operating in peak condition and to avoid any damage.
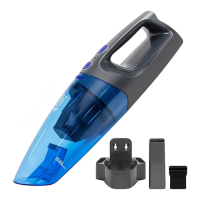
REMOVING AND REPLACING THE DUST BIN:
1. Place the vacuum on the ground, or on a stable surface.
2. Press the button on the dust bin down (Refer to Figure 1) and extract the bin by pulling
it away from the unit. (Refer to Figure 2)
3. To replace the dust bin, push it back into the vacuum until it clicks into place.
Figure 1 Figure 2
 Loading...