17
3. Reinstallthelterintheoriginalposition.
Tip: The rubber cleaning head may fall off when you clean the dust bin. Reinstall as shown below:
1. Position the dust bin and rubber cleaning head as per Figure 1.
2. Place one end of the cleaning head onto the clear cover of the dust bin, make sure the
rubber on the cleaning head is facing upwards and connect it with the dust bin. (Refer
to Figure 2).
3. Push the cleaning head onto the clear cover by pressing it in with the palm of your hand.
4. The rubber cleaning head is a user replaceable spare part.
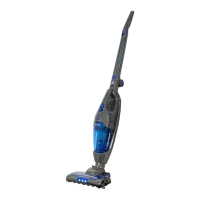
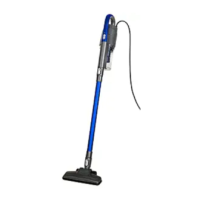
CLEANING THE MAIN BRUSH AND FLOOR BRUSH:
CLEAN BRUSHES AFTER EVERY USE TO MAINTAIN CLEANING PERFORMANCE AND
PROLONG THE LIFE OF YOUR R-VAC PET.
1. Remove the dust bin (see page 15).
2. Openthelockingbarbypressingtheredlatchandlift.
(see Figure 1)
3. Liftthemainbrush&oorbrushupandawayfromthe
vacuum. (see Figure 2 & 3)
4. For the main brush, use the cleaning brush to remove
hair and dust.
5. If there is hair, yarn and other twisted objects around
the brushes, carefully cut them using scissors and
gently pull them off the brushes by hand.
6. Remove the circular rubber bearing on the end of each
brush and remove any dust or hair build up. Replace
by pushing it back onto the brush end.
7. Tore-installthemainbrush&oorbrushintothevacuum,alignthedriveendsofthebrushes
with the lugs on the opposite side of the locking tab, place the brushes into their original
position then close the locking tab until it clicks securely into place.
NOTE: If the locking tab cannot be closed, check that the circular rubber bearings are
correctly located into their corresponding recesses.
 Loading...