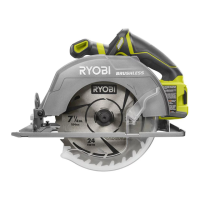
14
OPERATION
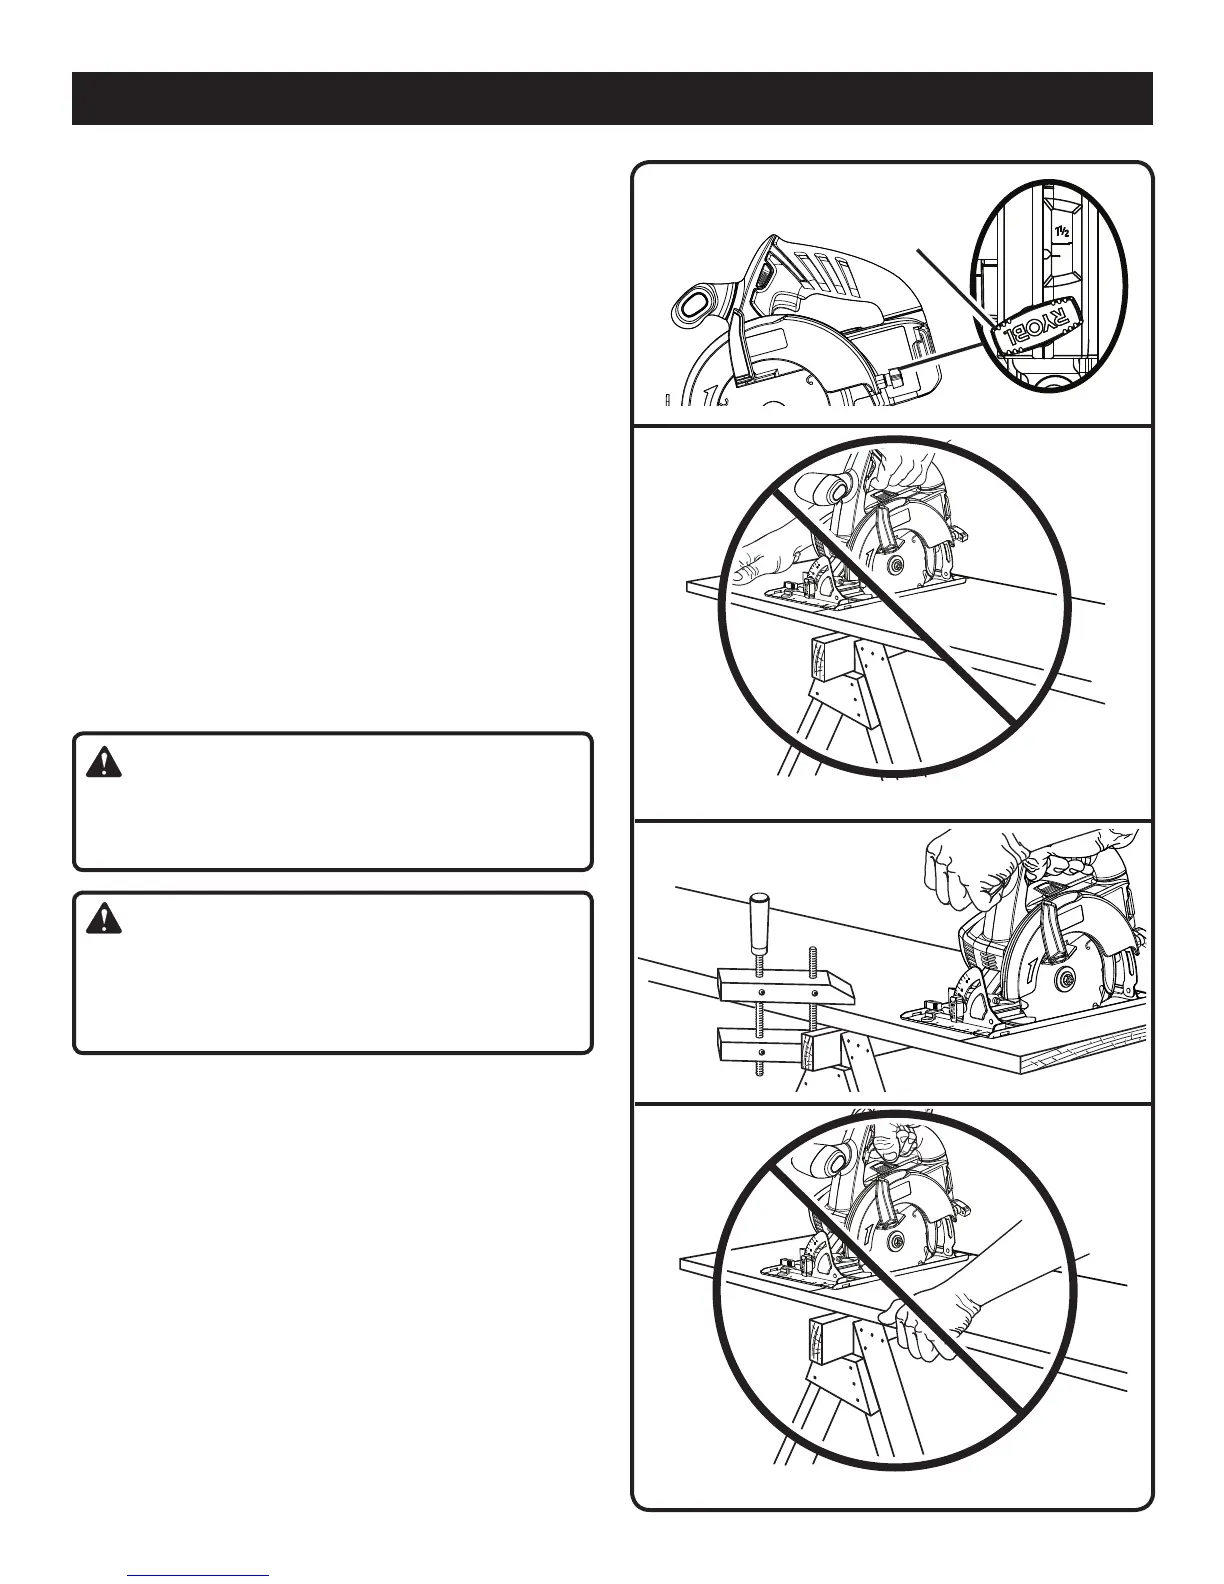
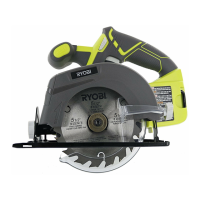
ADJUSTING BLADE DEPTH
See Figure 11.
Always keep correct blade depth setting. The correct blade
depth setting for all cuts should not exceed 1/4 in. below
the material being cut. More blade depth will increase the
chance of kickback and cause the cut to be rough. For
more depth of cut accuracy, a scale is located on the upper
blade guard.
Loosen the depth adjustment knob.
Determine the desired depth of cut.
Locate the depth of cut scale on the back of the upper
blade guard.
Hold the base flat against the workpiece and raise or
lower the saw until the indicator mark on bracket aligns
with the notch on the blade guard.
Tighten the depth adjustment knob securely.
Fig. 11
DEPTH
ADJUSTMENT
KNOB
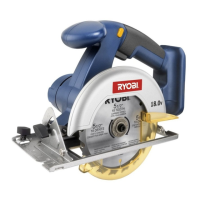
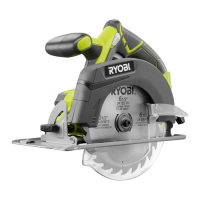
OPERATING THE SAW
See Figures 12- 14.
It is important to understand the correct method for operat-
ing the saw. Refer to the figures in this section to learn the
correct and incorrect ways for handling the saw.
WARNING:
To make sawing easier and safer, always maintain proper
control of the saw. Loss of control could cause an acci-
dent resulting in possible serious injury.
DANGER:
When lifting the saw from the workpiece, the blade is
exposed on the underside of the saw until the lower blade
guard closes. Make sure the lower blade guard is closed
before setting the saw down.
To make the best possible cut, follow these helpful hints.
Hold the saw firmly with both hands.
Avoid placing your hand on the workpiece while making
a cut.
Support the workpiece so that the cut (kerf) is always to
your side.
Support the workpiece near the cut.
Clamp the workpiece securely so that the workpiece will
not move during the cut.
Always place the saw on the workpiece that is supported,
not the “cut off” piece.
Place the workpiece with the “good” side down.
Draw a guideline along the desired line of cut before
beginning your cut.
Fig. 12
WRONG
Fig. 14
Fig. 13
WRONG