9
ASSEMBLY
UNPACKING
This product requires assembly.
Carefully remove the product and any accessories from
the box. Make sure that all items listed in the packing list
are included.
Inspect the product carefully to make sure no breakage
or damage occurred during shipping.
Do not discard the packing material until you have care-
fully inspected and satisfactorily operated the product.
If any parts are damaged or missing, please call
1-800-525-2579 for assistance.
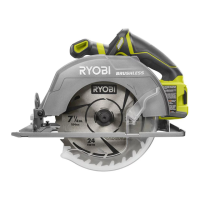
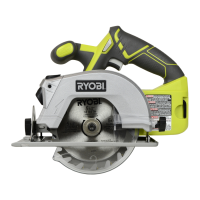
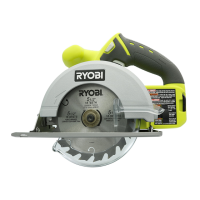
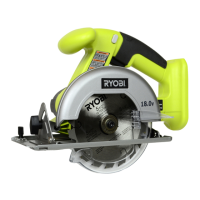
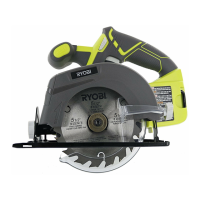
PACKING LIST
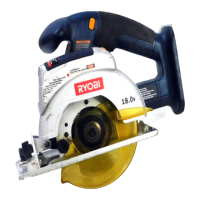
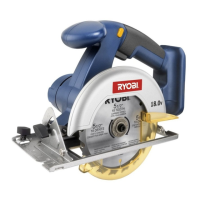
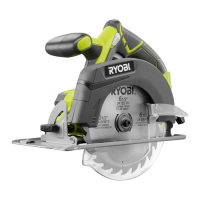
Circular Saw
5-1/2 in. Blade
Blade Wrench
Operator’s Manual
WARNING:
If any parts are damaged or missing do not operate this
product until the parts are replaced. Failure to heed this
warning could result in serious personal injury.
WARNING:
Do not attempt to modify this product or create acces-
sories not recommended for use with this product. Any
such alteration or modification is misuse and could result
in a hazardous condition leading to possible serious
personal injury.
WARNING:
To prevent accidental starting that could cause serious
personal injury, always remove the battery pack from the
product when assembling parts.
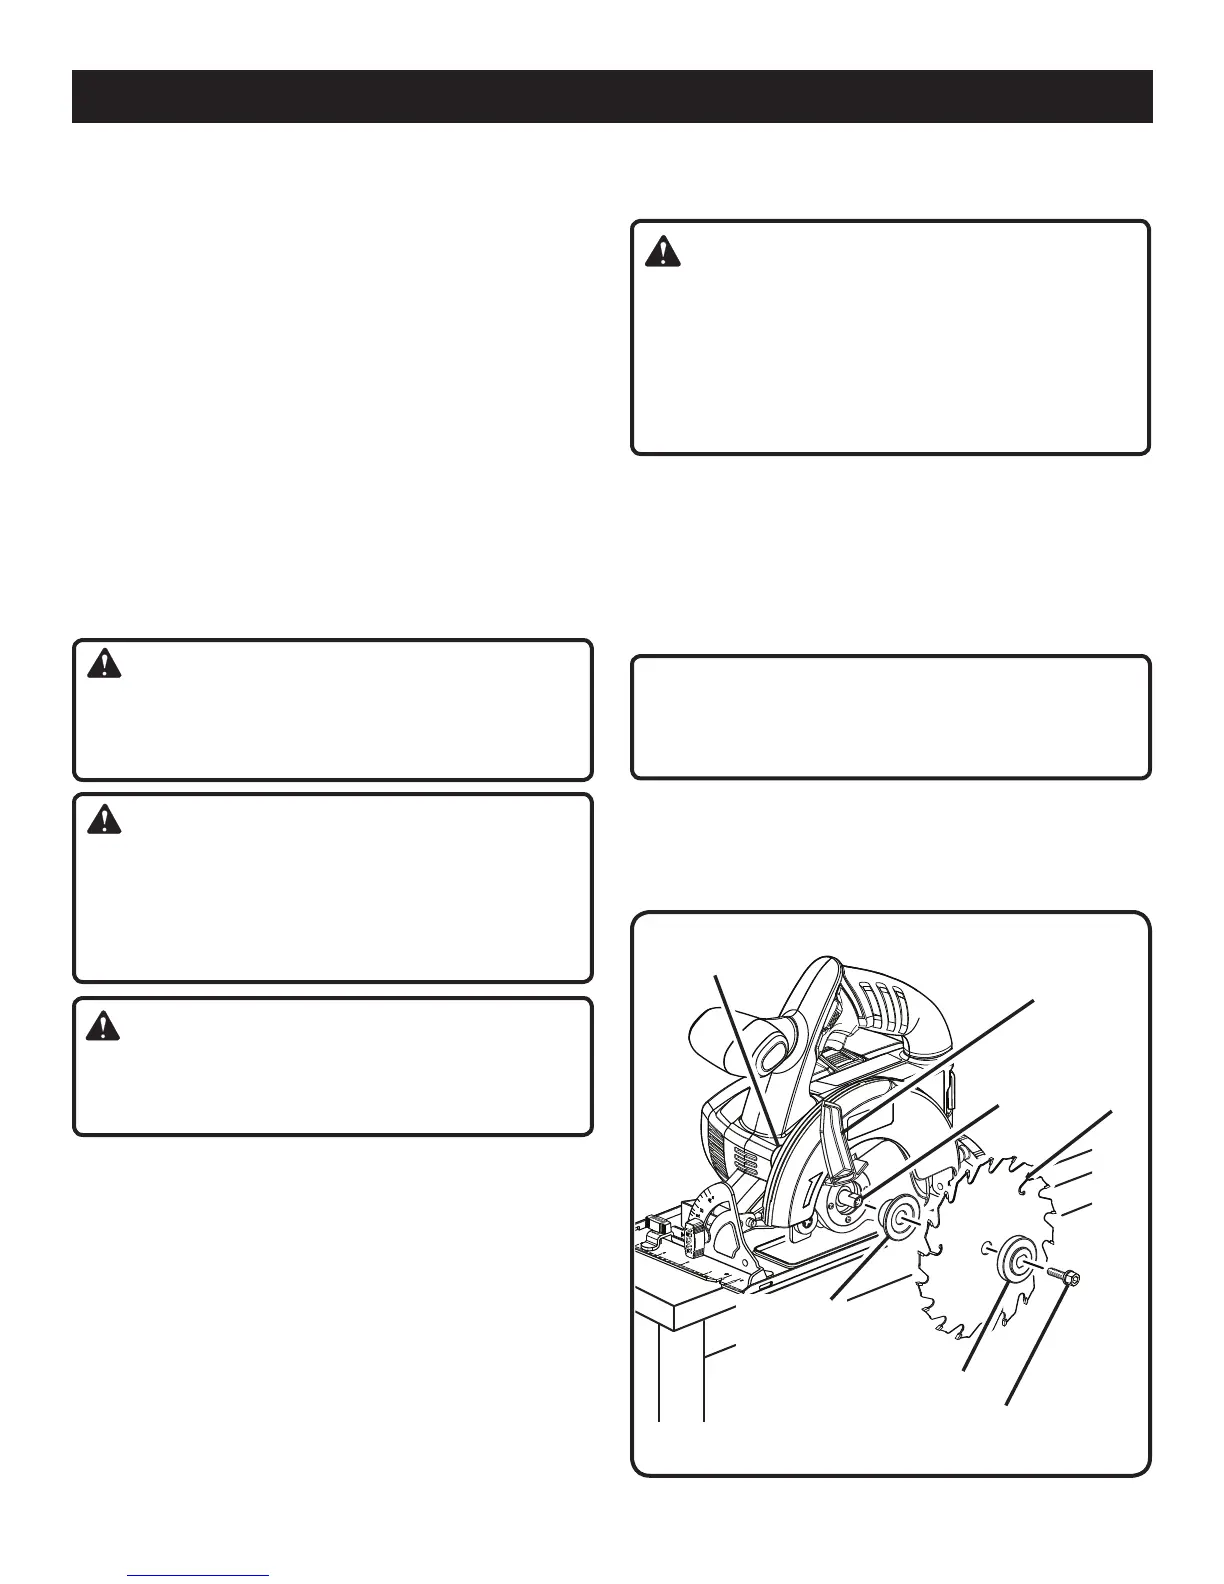
ATTACHING THE BLADE
See Figure 2.
WARNING:
A 5-1/2 in. blade is the maximum blade capacity of the
saw. Never use a blade that is too thick to allow outer
blade washer to engage with the flats on the spindle.
Larger blades will come in contact with the blade guard,
while thicker blades will prevent blade screw from secur-
ing blade on spindle. Either of these situations could
result in a serious accident.
Remove the battery pack from the saw.
Remove the blade wrench (5 mm hex key) from the stor-
age area.
Depress the spindle lock button and remove the blade
screw and outer blade washer.
NOTE: Turn the blade screw clockwise to remove.
CAUTION:
To prevent damage to the spindle or spindle lock, always
allow motor to come to a complete stop before engaging
spindle lock.
NOTE: Do not run the circular saw with spindle lock en-
gaged.
Wipe a drop of oil onto the inner blade washer and outer
blade washer where they contact the blade.
Fig. 2
OUTER
BLADE WASHER
LOWER BLADE
GUARD LEVER
BLADE SCREW
BLADE
SPINDLE
SPINDLE
LOCK BUTTON
INNER BLADE
WASHER