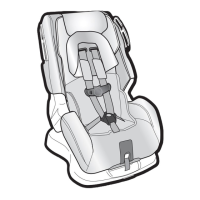
Pull UAS Belt Across the
Seat
It must be under the seat pad,
in front of the buckle, and go
out through the other belt path
opening.
Do not twist belt.
continued on next page
38
37
5
6
4
Finished UAS Belt Routing
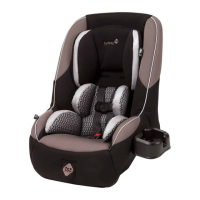
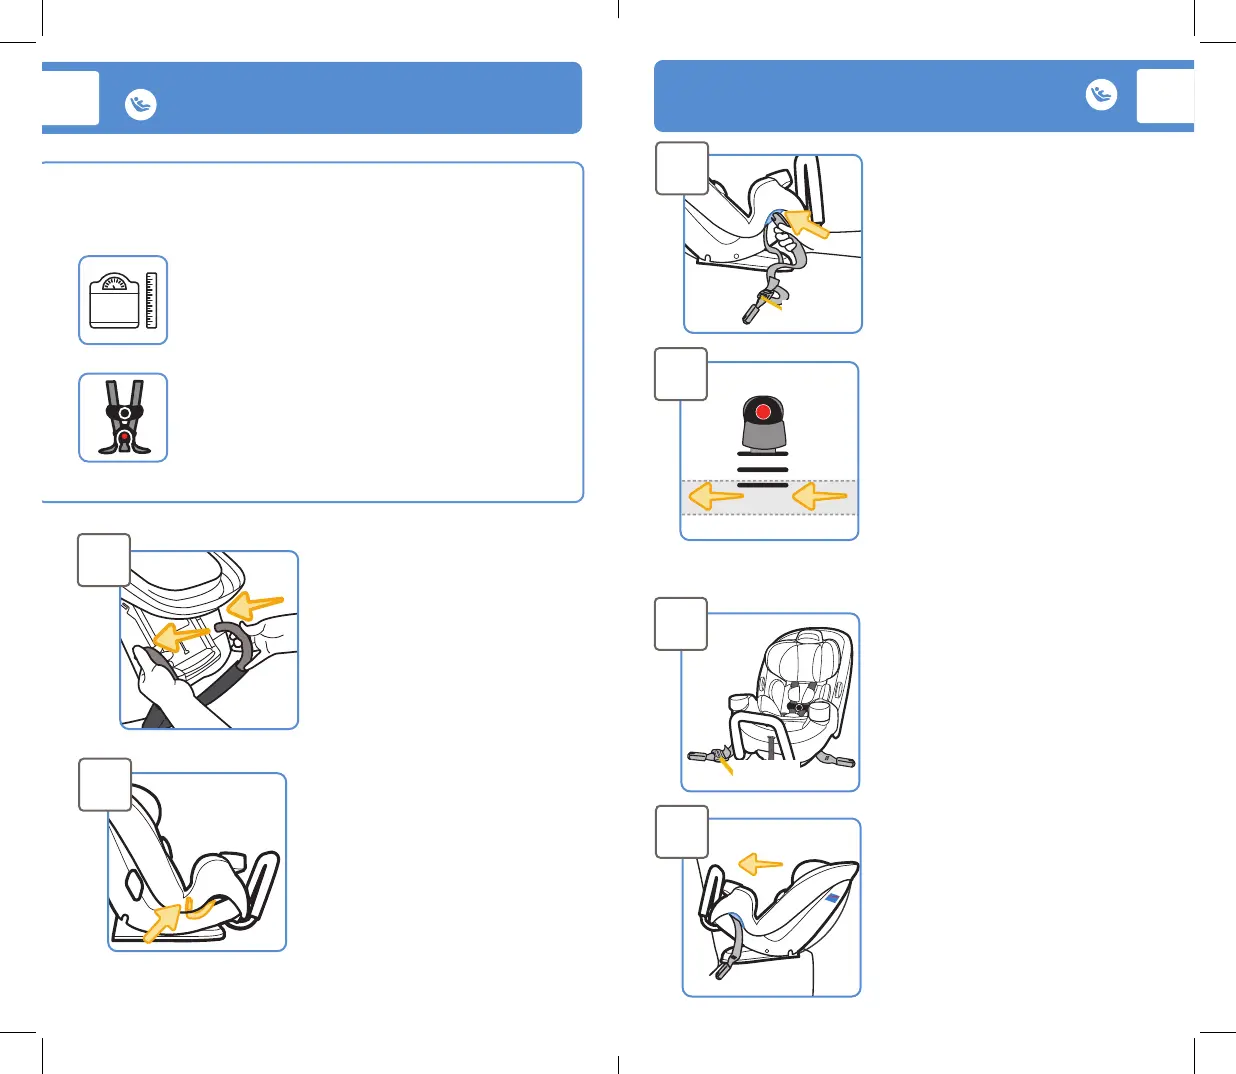
Place Car Seat Rear-
Facing in Back Seat
The anti-rebound bar should
make contact with the vehicle
seat back, but it does not need
to be flush with the vehicle seat
back.
3
Locate Rear-Facing Belt
Path
Thread the connector or hook
without the adjuster closest
to it through the Rear-Facing
Belt Path opening as shown.
Before you begin installing the seat
into your vehicle, did you check:
Your child’s weight and height?
See page 31.
Your child’s fit? See page 10.
Do you need to make adjustments to the
harness/headrest height or the buckle
position?
Remove UAS Belt from
Storage Location
Or if the UAS belt was used
Forward-Facing, remove it
from the Forward-Facing belt
path so both connectors or both
hooks are on the same side of
the seat.
Install Anti-Rebound Bar
You must install the anti-
rebound bar to use this seat in
Rear-Facing Mode. See page
20.
Rear-Facing UAS Install
1
2
Adjuster
Adjuster
 Loading...