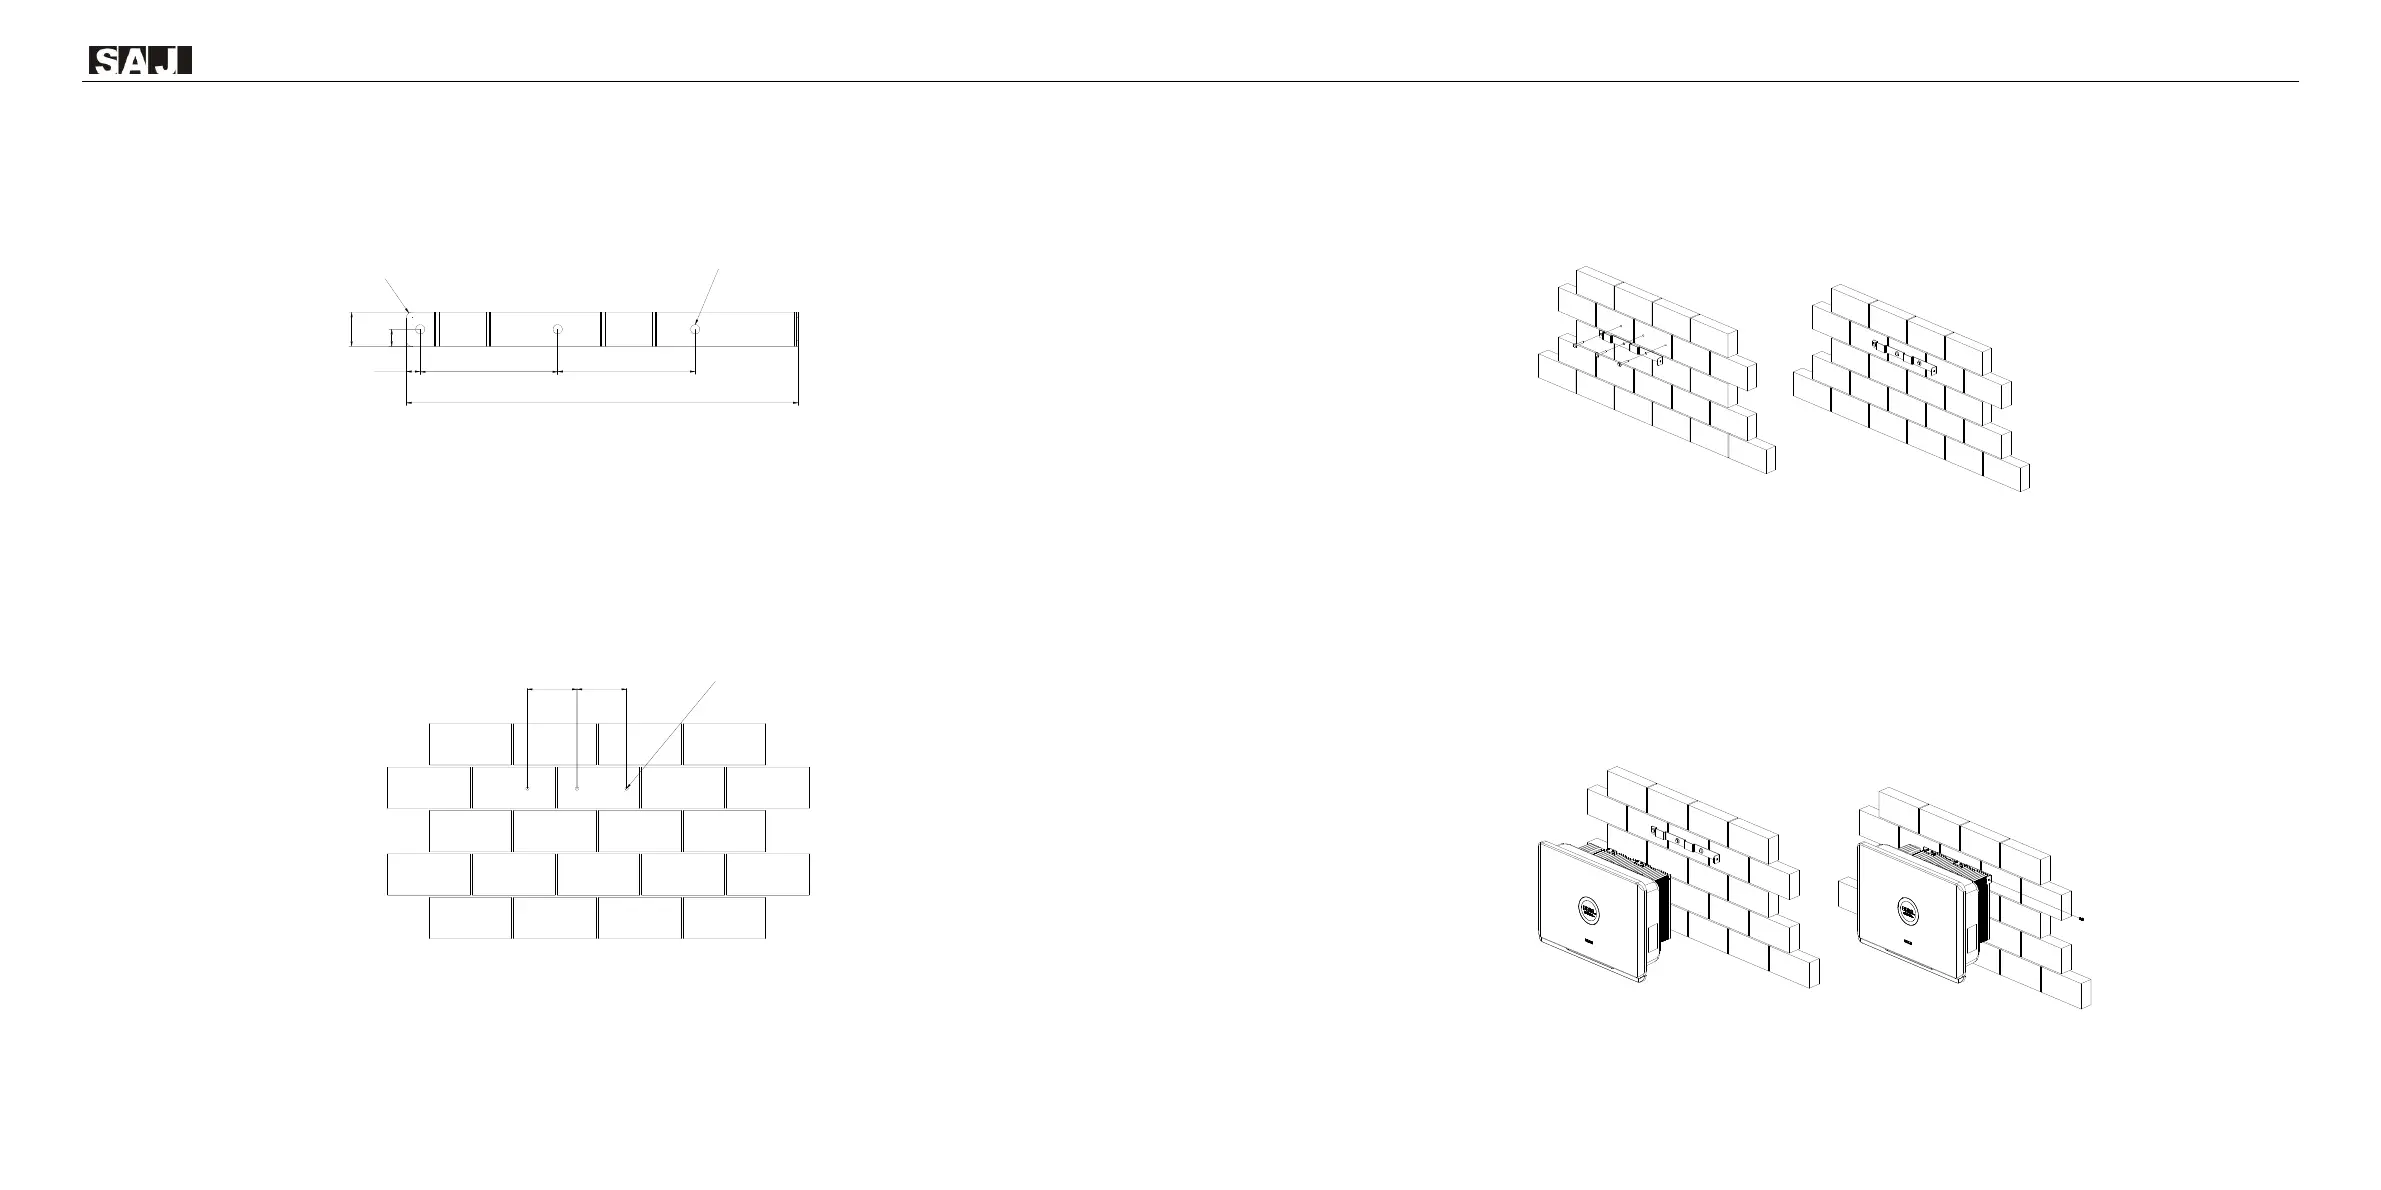
4.4.2 Mark the Positions of the Drill Holes of the Mounting Bracket
The mounting position should be marked as below.
Figure 4.3
Dimensions of mounting bracket
(Dimensions in mm)
4.4.3 Drill Holes and Place the Expansion Tubes
Follow the given guides, drill 3 holes in the wall (in conformity with position marked in Figure 4.4), and then
place expansion tubes in the holes using a rubber mallet.
Figure 4.4
Drill holes’ dimensions
(Dimensions in mm)
4.4.4 Mount the Screws and the Mounting Bracket
The brackets should be mounted in the mounting position by screws as below.
Figure 4.5
Mount the mounting bracket
4.4.5 Mount the Screws and the Mounting Bracket
Carefully mount the inverter to the mounting bracket. Make sure that the rear part of the equipment is closely
mounted to the mounting bracket.
Figure 4.6
Mount inverter
 Loading...