9-14 EB 8052-E EN
Servicing and conversion
Valve version with anti-rotation xture
1. Loosen threaded bushing (8).
2. Undo the body nuts (14) gradually in a
crisscross pattern.
3. Ensure that the clamps (301) are still fas-
tened tight to the plug or piston stem
(5.1).
4. Lift the valve bonnet (2) including yoke
(60), plug/piston (5) and plug/piston
stem (5.1) upwards off the body (1) and
set it aside.
5. Undo the screws (303) and remove the
clamps (301) of the anti-rotation xture.
Set aside clamps (301), screws (303),
washers (304) and stem (9).
6. Continue as described in steps 6 to 18 of
the previously described procedure
‘Valve versions without anti-rotation x-
ture’ under a) on page9-13.
7. Apply a thin lm of lubricant (114) to the
screws (303).
Impaired functioning due to incorrectly
applied lubricant.
Î Do not apply any lubricant to the threads
of the clamps (301), stem (9) or plug/
piston stem.
8. Position the clamps (301) and stem (9)
on the plug or piston stem according to
the 'Mounting dimensions' table in the
'Installation' section (under 'Mounting the
external anti-rotation xture') and tighten
screws (303) and washers (304) by
hand.
15.4
15.5
15.6
15.1
15.4
15.4
15.1
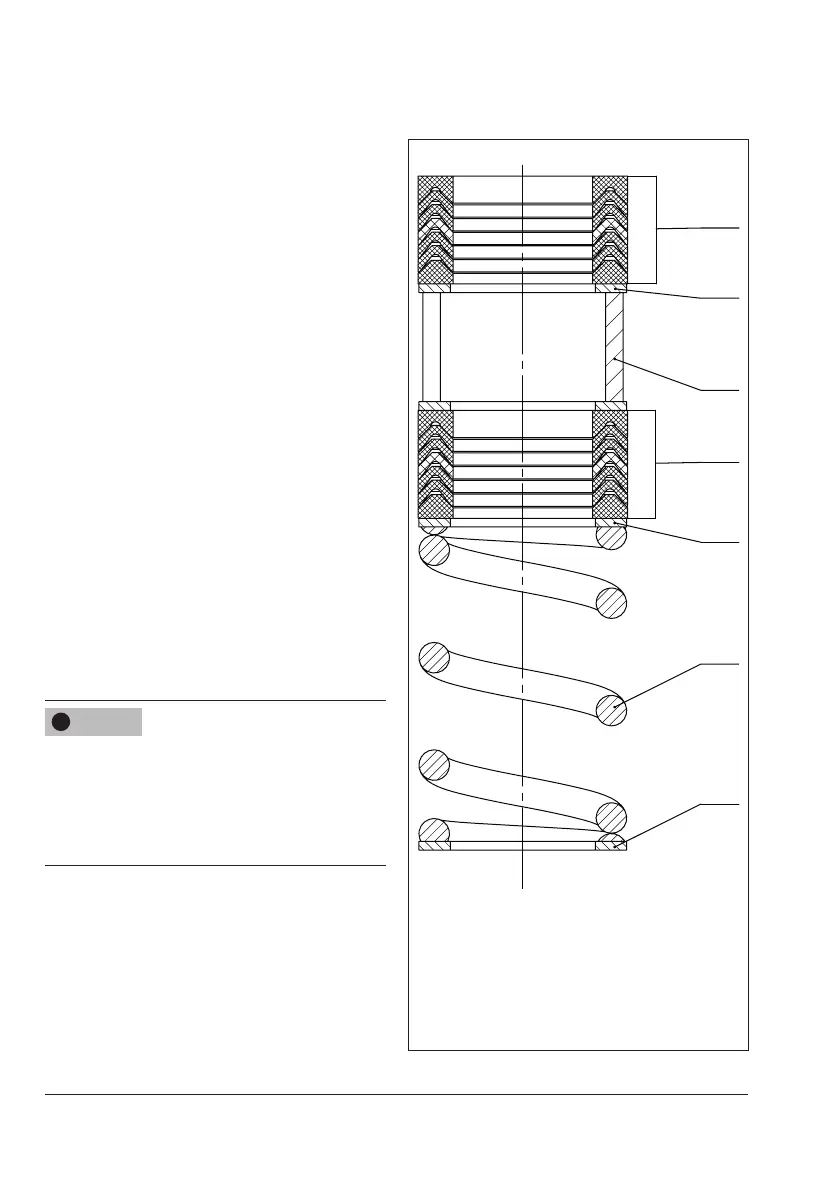
15.1 V-ring
15.4 Washer
15.5 Spacer
15.6 Spring
Fig.9-4: Arrangement of standard packing
NOTICE
!