EB 5573 EN 5-1
Installation
5 Installation
The work described in this chapter is only to
be performed by personnel appropriately
qualiedtocarryoutsuchtasks.
5.1 Installation conditions
Work position
The work position for the controller is the
front view onto the operating controls on the
controller seen from the position of operating
personnel.
Operators must ensure that, after installation
of the controller, the operating personnel can
perform all necessary work safely and easily
access the device from the work position.
5.2 Preparation for installation
Before installation, make sure the following
conditions are met:
− The controller is not damaged.
Proceed as follows:
Î Lay out the necessary material and tools
to have them ready during installation
work.
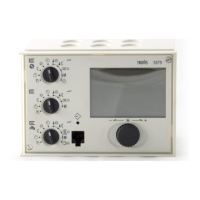
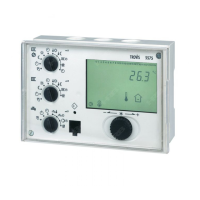
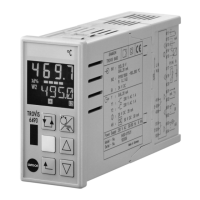
5.3 Mounting the controller
The controller consists of the housing with the
electronics and the base with the terminals. It
is suitable for panel, wall and rail mounting
(seeFig.5-1).
Panel mounting
1. Undo the two screws (1).
2. Pull apart the controller housing and the
base.
3. Make panel cut-out with the dimensions
138x92mm(WxH).
4. Push the controller housing through the
panel cut-out.
5. Tighten the two screws (2) to clamp the
controller housing against the control
panel.
6. Perform electric wiring on the base as
describedinChapter5.4.
7. Remount the controller housing.
8. Tighten the two screws (1).
Wall mounting
1. Undo the two screws (1).
2. Pull apart the controller housing and the
base.
3. Ifnecessary,drillholeswiththespecied
dimensions in the appropriate places.
Fasten the base with four screws.
4. Perform electric wiring on the base as
describedinChapter5.4.
5. Remount the controller housing.
6. Tighten the two screws (1).