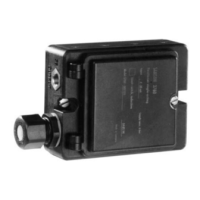
Setting the switching point
Move the valve to the switching position and
adjust the tag by turning the adjustment
screw (53) so that the switching point is
reached and indicated by the LED on the
switching amplifier.
To ensure safe switching under any condi
-
tion, the switching point is to be adjusted to
stop approx. 2 % before the mechanical
stop (OPEN – CLOSED) is reached.
EB 8355-1 EN 37
Operation
Table 8 Direct attachment to Type 3277 Actuator (Fig. 3)
Left attachment Right attachment
Switch
Valve position Tag OUT Tag IN Tag OUT Tag IN
CLOSED BAAB
OPEN ABBA
Table 9 NAMUR attachment on right or left (Fig. 6) and attachment to rotary actuators (Fig. 8)
Actuator stem extends (FA) Actuator stem retracts (FE)
Operating
direction
Valve
position
Switch
Tag
Operating
direction
Valve
position
Switch
Tag
OUT IN OUT IN
>> CLOSED
OPEN
B
A
A
B
>> CLOSED
OPEN
A
B
B
A
<> CLOSED
OPEN
A
B
B
A
<> CLOSED
OPEN
B
A
A
B