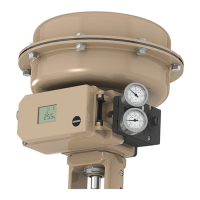
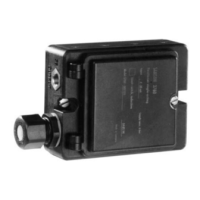
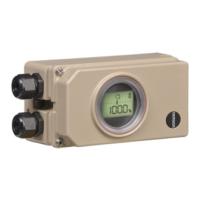
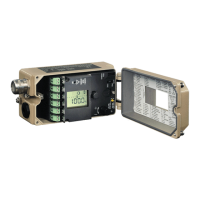
2.2.1 Mounting sequence
Choose the required mounting parts and
range spring from Table 4 or 5 and install
them as illustrated in Fig. 7.
Control valve with cast yoke
1. Screw the plate (20) to the stem connec
-
tor connecting the actuator and plug
stems using countersunk screws.
For 2100 and 2800 cm
²
actuators, use
an additional mounting bracket (32).
2. Remove the rubber plug from inside the
adapter housing. Fasten the housing to
the left or right side of the NAMUR rib
(as shown in Fig. 6) using a hexagon
screw.
Control valve with rod-type yoke
1. Screw the plate (20) to the follower
clamp of the plug stem.
2. Screw the studs (29) into the adapter
housing.
3. Place the housing with the mounting
plate (30) on either the right or left side
(Fig. 6) of the plug stem and fasten it
with the nuts (31). Make sure that the le
-
ver (18) to be mounted subsequently is
in horizontal position when the valve is
at mid-travel.
4. Screw the pin (19) into the center row of
holes in the plate (20) and lock it in a
position approximately above the correct
lever marking (1 to 2) as in Table 6.
5. Attach the clip (21) to the lever (18). If
the actuator is attached with its air con
-
nection pointing to the front (Fig. 6), the
clip must be attached to the lever (18)
with the open side pointing downward.
6. Plug the lever (18) together with the
clamping plate (22) on the shaft (25).
The clip must clasp the pin (19).
2.2.2 Presetting the travel
1. Move the valve to 50 % travel.
2. Adjust the shaft (25) in the adapter
housing such that the black pointer (24)
matches the cast mark on the adapter
housing.
3. Fasten the clamp (22) tightly in this posi
-
tion using the screw (23).
4. Screw in the pin (27a) at the positioner
lever on the side of the insert nut and se-
cure it with a hex nut (27b) on the oppo-
site side. Observe the mounting position
A or B according to Table 6 and Fig. 7.
5. Place the positioner on the adapter
housing, observing the operating direc-
tion. Make sure that the pin (27a) rests
against the bracket (28) and screw it
tight.
CAUTION!
The pin must not slip out of the bracket once
it has been installed.
6. Hang the required range spring (Table
6) between the diaphragm lever (3) and
span adjuster screw (6.1) using the outer
slot.
7. Adjust positioner as described in section
4.1.
16 EB 8355-1 EN
Attachment to control valve
 Loading...

