14
Setting Up and Using the
Micro 32 System
The basic procedure for setting up and using your Micro 32 Wireless System takes only a
few minutes:
1. For the Micro 32 system to work correctly, both the receiver and transmitter must be
set to the same band (labeled “Low,” “Medium” and “High”). Remove all packing materials
(save them in case of need for future service) and check to make sure that the supplied
M32 receiver and T32 or H32 transmitter are factory preset to the same band. If these do
not match, contact your distributor or, if purchased in the United States, call Samson
Technical Support at 1-800-372-6766.
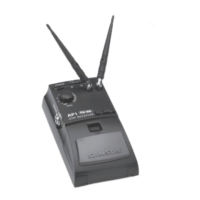
2a. If you are using a 9-volt battery to power the M32, press gently down on the battery
door release (on the front of the M32, on the word “Open”) and swing the door open in
order to access the battery compartment . Note that the door is hinged and is not
intended to be removed from the receiver case. Insert a 9-volt battery, being careful to
observe the polarity markings.
Warning: Reversing the battery polarity may cause
permanent damage to your receiver. Turn the power switch “On” and set the Meter
switch to “BATTERY.” The green “HIGH” meter LED will light if the battery is sufficiently
strong. Once you’ve verified battery strength, turn the power switch “Off” again.
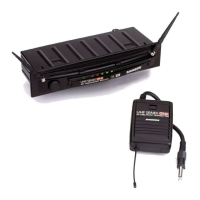
2b. If you are using the optional Samson AC300R adapter or your video camera’s 12-volt
power supply to power the M32, connect it to the M32 DC input jack. On the front of the
M32, press gently down on the battery door release (on the word “Open”) and swing the
door open note that the door is hinged and is not intended to be removed from the
receiver case). Make sure the power switch is set to “Off.”
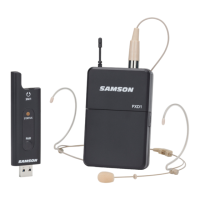
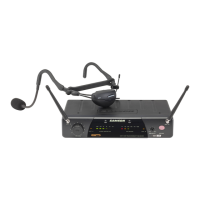
3. If you are using the T32 beltpack transmitter with a permanently attached instrument
cable, skip ahead to step 4a below. If you are using the T32 with a lavalier or headset
microphone, make the physical connection between its mini-XLR input connector and the
microphone you are using. Because the mini-XLR plug is “keyed,” you’ll need to rotate it a
certain way to get it to “mate” with the connector mounted on the T32; then push straight
down until you hear a click. To remove the mini-XLR connector, press in the black dot on
the plug and pull straight out (do not use force!). Never pull on the wire, only the plug
itself (with the black dot pressed in).
4a. If your system contains a T32 belt-pack transmitter, make sure its pigtail antenna is
extended fully and then press gently inwards on the two tabs marked “Open” (on the sides
of the case) to open the battery door, which is hinged and not intended to be removed
from the transmitter case. Please use care when opening this door as undue force will
destroy the hinge.
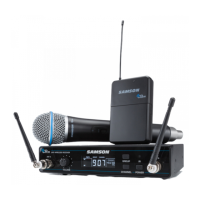
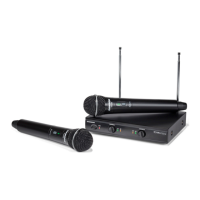
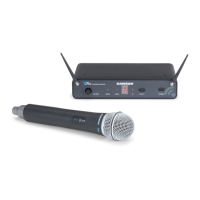
4b. If your system contains a H32 handheld transmitter, unscrew the bottom section of
the microphone by turning it counterclockwise and then slide it off.
5. Place a fresh 9-volt alkaline battery in the transmitter battery holder, taking care to
observe the polarity markings. If you are using a T32 belt-pack transmitter, gently replace
the battery door by swinging it up and pressing until it clicks. If you are using a H32
handheld transmitter, replace the bottom section of the microphone by sliding it on and
then screwing it back on. Whichever transmitter you are using, leave it off for the moment.