7
English
Installation Procedure
Minimum clearances for the outdoor unit
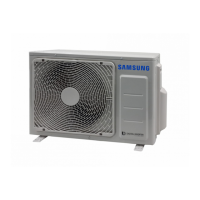
When installing 1 outdoor unit
Unit : inch (mm)
11.81 (300) or
more
59.06 (1500) or
more
11.81 (300)
or more
23.62
(600)
or more
11.81
(300)
or more
78.74 (2000)
or more
59.06 (1500)
or more
23.62 (600)
or more
11.81 (300)
or more
59.06
(1500)
or more
11.81
(300)
or more
When installing more than 1 outdoor unit
Unit : inch (mm)
59.06 (1500)
or more
23.62 (600)
or more
118.11 (3000)
or more
118.11 (3000)
or more
11.81 (300)
or more
23.62 (600)
or more
23.62 (600)
or more
59.06 (1500)
or more
11.81 (300)
or more
23.62 (600)
or more
23.62 (600)
or more
59.06 (1500)
or more
23.62 (600)
or more
23.62 (600)
or more
23.62
(600)
or more
11.81
(300)
or more
11.81 (300)
or more
11.81 (300) or more
11.81 (300) or more
19.69 (500) or more 19.69 (500) or more
CAUTION
• The outdoor unit must be installed according to the
specified distances in order to permit accessibility
from each side, and to guarantee correct operation,
maintenance, and repair of the unit.
The components of the outdoor unit must be
reachable and removable under safe conditions for
people and the unit.
Moving the outdoor unit with wire rope
1 Before carrying the outdoor unit, fasten two wire ropes
of 26.25 ft (8m) or longer, as shown in the figure.
2 To prevent damages or scratches effectively, insert a
piece of cloth between the outdoor unit and the ropes.
3 Move the outdoor unit.
Wire rope
Plate protection cloth
ki]_TXYW][hTWWptjhjG|GvhhluUGGG^ YWYYTXWTZXGGG㝘㤸GXWa[_a\]
 Loading...