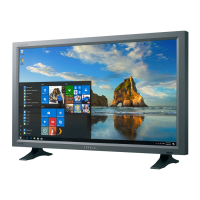
4. Rotate the stand base smoothly so that 2 screw
holes match with the stand base and remove
the 2 screws.
5. Remove the Back Cover of the Stand Front
assembly.
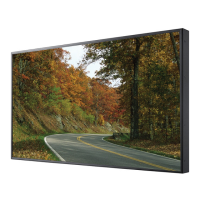
6. Disconnect CN804, CN806, CN814, CN815,
CN816 and CN805.
7. Remove the one screw of signal cable on the
stand base.
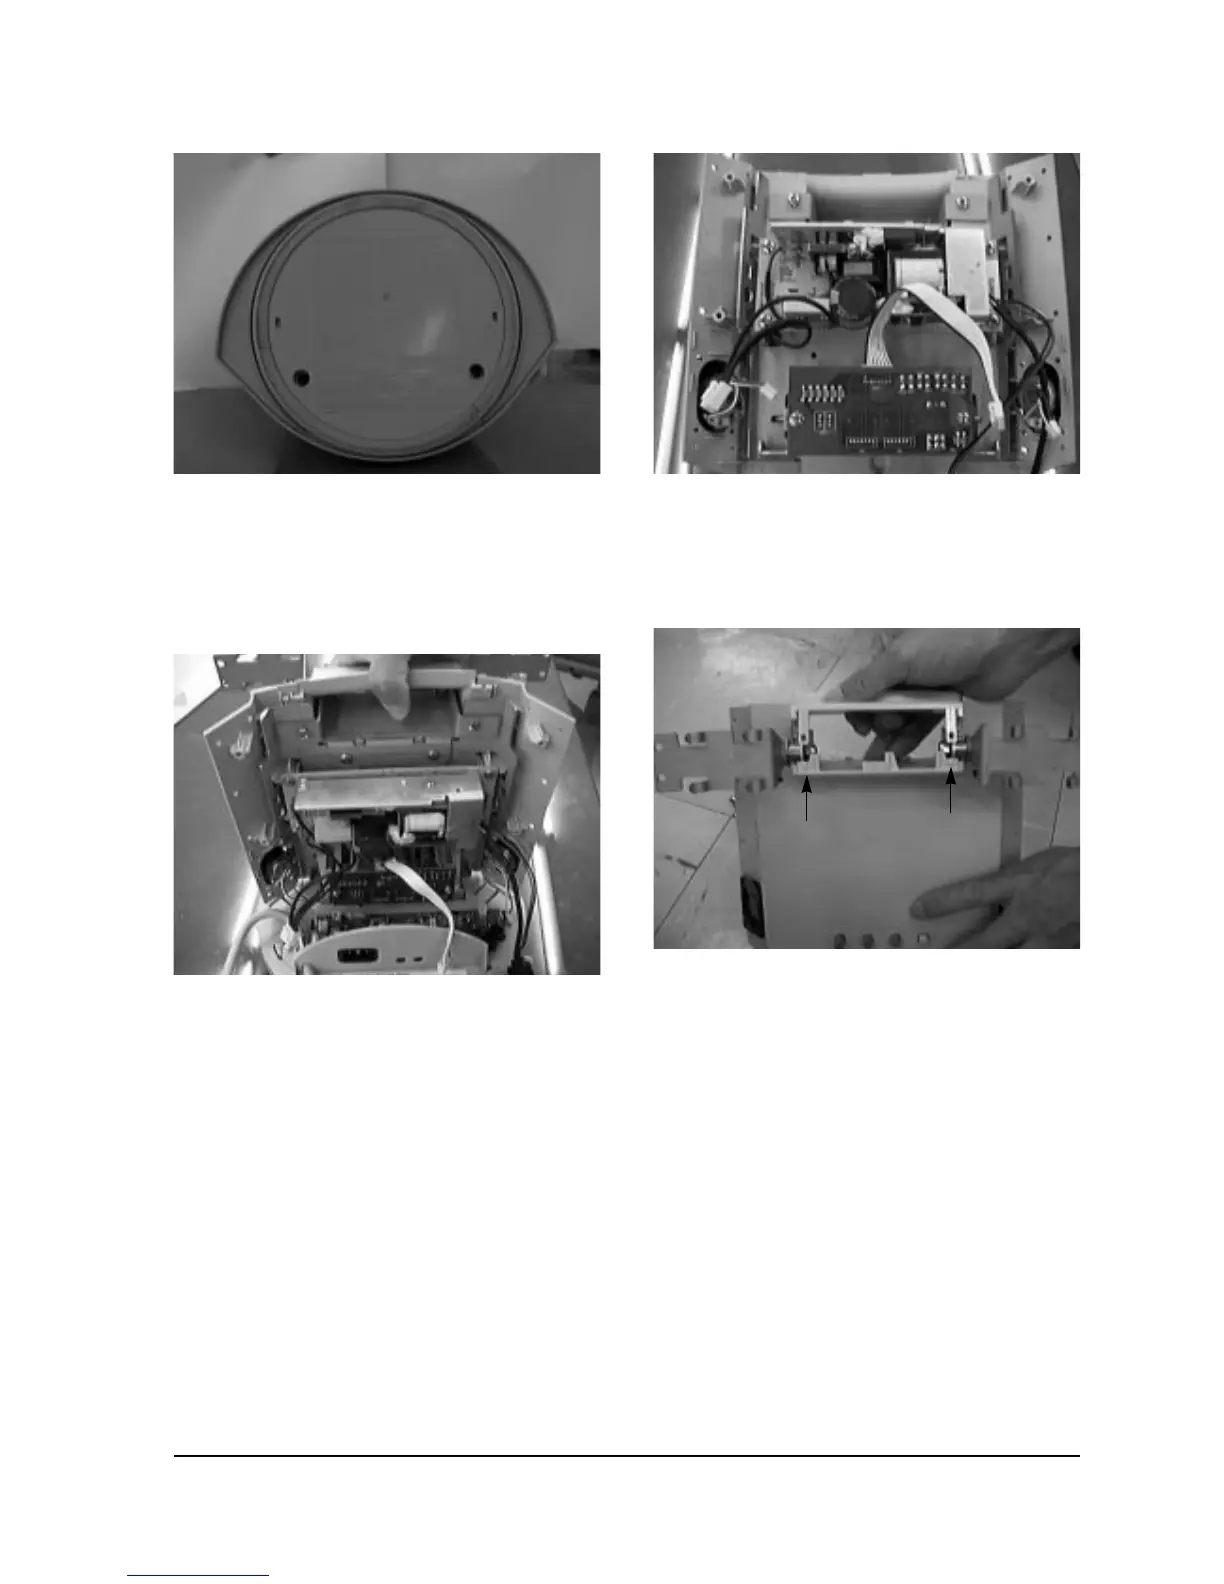
8. Lift off the back side of the stand front
assembly and pull it toward the stand base.
9. Remove the 4 screws on the SMPS PCB and
remove it.
10. Remove the 2 screws on the Audio Function
PCB and remove it.
11. Pull the tabs of Cover Hinge outward and lift
off the Cover Hinge from the Stand Front
assembly.
12. Remove the 4 screws on the Hinge assembly
and remove it and signal cable.
13. Remove the 2 screws on the Audio PCB of
stand base and remove it.
5 Disassembly and Reassembly
SyncMaster 320TFT/520TFT 5-3
Figure 5-9
Figure 5-8 Figure 5-10
Figure 5-11