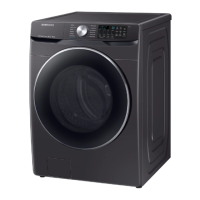
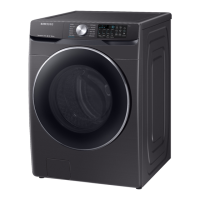
22 _ Removal and Reassembly
Part Figure Description
Separating the
Heater at the Bottom
Front
1. Disassemble the Front-Frame.
2. Separate the connection wire.
- SeparatetheThermostatxedatthebottomofthe
Tub.
(Take precaution as there may be water
remaining.)
MakesuretoseparatetheThermostatrstand
then separate the Heater. If you fail to observe this
order, it may result in a shock and be damaged.
3. Release the nut holding the Heater with an M10
tool and then separate the Heater.
Do not completely release the nut.
Pull the Heater forward after releasing the nut. If
the Heater is damaged, it may cause a problem.
Therefore unfasten the nut using spanner
or wrench manually without using pincers or
tweezers.
When you re-assembly the heater, make sure to
install the Heater exactly onto the Bracket inside
the Tub. If it is not properly installed, it may cause
are.Inaddition,completelyinsertthepacking
part into the Tub when assembling it so that the
packing part is completely attached onto the Tub.
﹡
Check Points for Troubleshooting
1. CheckiftheresistanceoftheHeaterisequalto27.1Ω(forthe1900Wproduct),or26.2Ω
(for the 2000W product).
2. CheckiftheresistanceoftheThermistorisequalto12kΩ(atroomtemperature).
Reassembly is in the reverse order of the removal.
 Loading...
