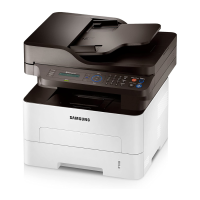
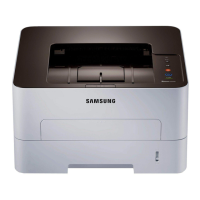
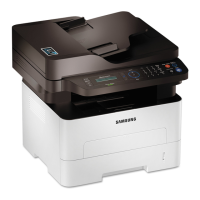
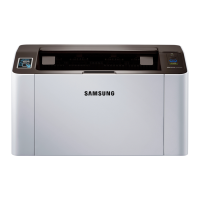
Wireless network setup
174
2. Using a Network-Connected Machine
• Wi-Fi Direct option appears on the screen only if your printer supports
this feature.
• Can start to build Wi-Fi Direct by using Samsung Easy Printer Manager
(see "Setting up Wi-Fi Direct" on page 191).
• Wi-Fi Direct Name: The default Wi-Fi Direct Name is the model name
and the maximum length is 22 characters.
• Password setting is the numeric string, and the size is 8 ~ 64 characters.
10
When the wireless network set up is completed, disconnect the USB
cable between the computer and machine. Click Next.
11
Follow the instructions in the installation window.
Access point without a USB cable (recommended)
Items to prepare
• WiFi-enabled PC running Windows 7 or higher and an access point (router)
• Software CD that was provided with your machine
• A machine installed with a wireless network interface
While setting the wireless network, the machine uses PC’s wireless LAN. You
might not be able to connect to the Internet.
Creating the infrastructure network
1
Turn on your computer, access point, and machine.
2
Insert the supplied software CD into your CD-ROM drive.
If the installation window does not appear, click Start > All programs >
Accessories > Run.
X:\Setup.exe replacing “X” with the letter, which represents your CD-
ROM drive and click OK.
• For Windows 8,
If the installation window does not appear, from Charms, select
Search > Apps and search for Run. Type in X:\Setup.exe, replacing
“X” with the letter that represents your CD-ROM drive and click OK.
If “Tap to choose what happens with this disc.” pop-up window
appears, click the window and select Run Setup.exe.
3
Review and accept the installation agreements in the installation
window. Then, click Next.

 Loading...
