S&C Instruction Sheet 761-507 17
Installation
Checking Alignment
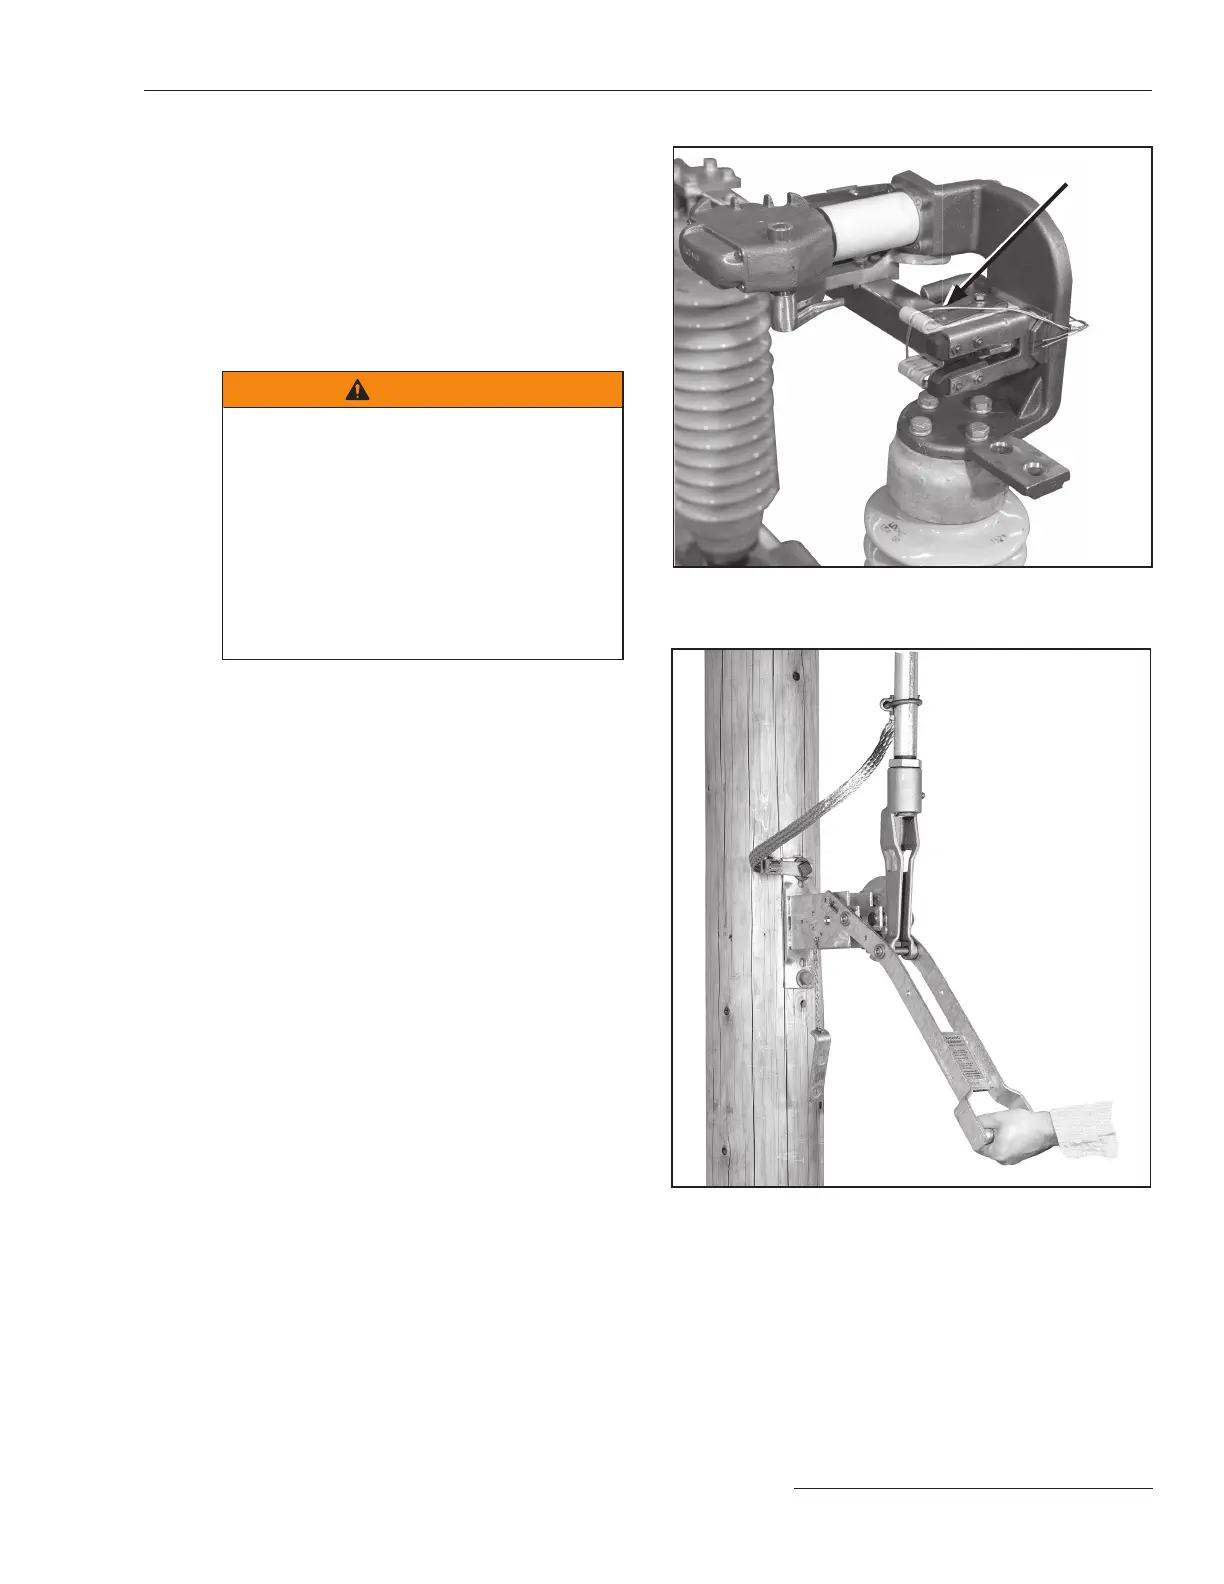
STEP 21. Remove the ties holding the switch blades to
their stationary main contact assemblies. See
Figure 24.
Remove the 45-degree positioning stud from
each rod guide. See Figure 19 on page 14.
Open and close the switch slowly to ensure
no operational difficulties are encoun tered due
to undetected damage in shipping.
WARNING
Open and close the switch slowly ONLY
when checking alignment or making adjust-
ments to the de-energized switch.
When opening or closing an energized
switch, swing the operating handle vig-
orously through its full travel without
hesitation.
Arcing and damage to the switch will occur
if the energized switch is operated slowly or
left in the partially Open or Closed position.
STEP 22. Move the operating handle slowly to the Closed
position. See Figure 25. A de nite resis tance
should be felt at the end of the stroke, indicating
all slack in the operating link age has been taken
up.
Figure 24. Removing the tie at the stationary main contact
assembly.
Figure 25. Verifying the slack has been taken up in the oper-
ating linkage.
Remove tie
 Loading...


