19
7
8
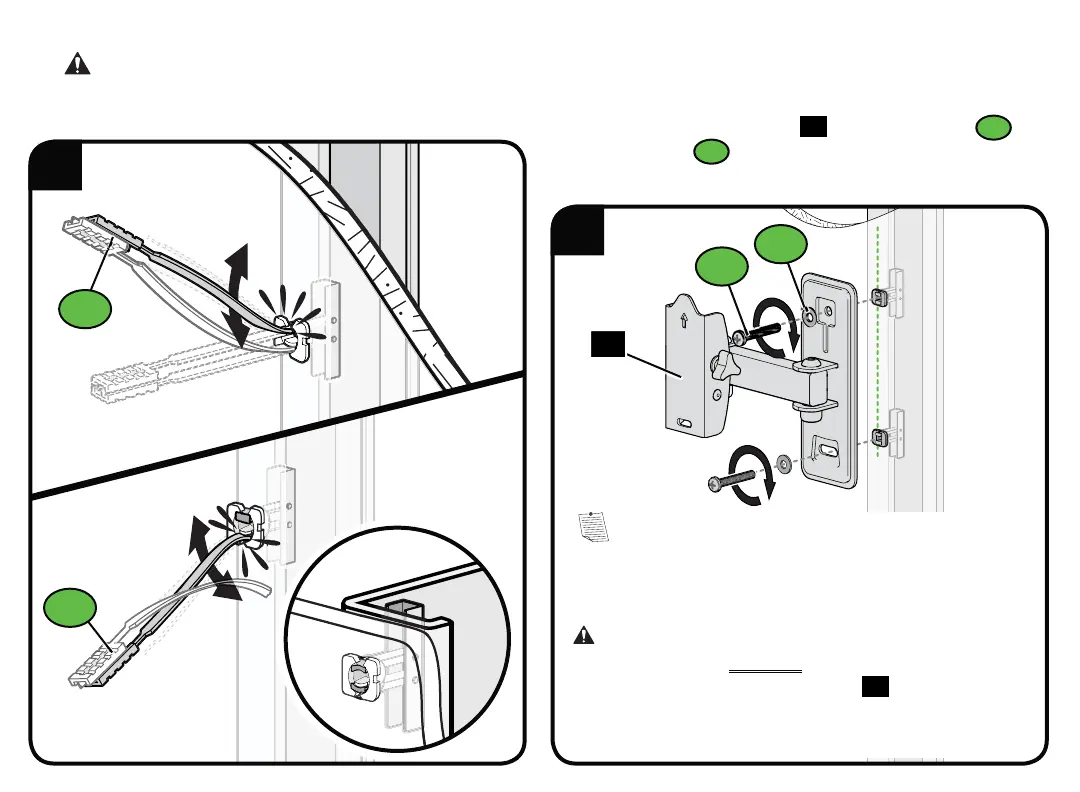
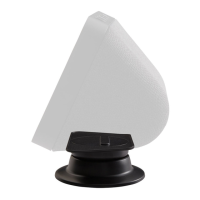
7. Bend the straps up and down until they snap off level with the lip of the cap.
CAUTION: Be sure the cap
is seated against the drywall surface and the ends of the anchor do not extend beyond the cap - cut if
neccessary.
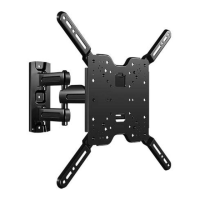
8. Install wall plate assembly
15
using two screws
S2
and
two washers
S3
. Tighten the screws only until they are
pulled firmly against the wall plate.
NOTE:
If needed, you can make small level
adjustments to the wall plate by loosening the bottom lag bolt
and shifting the wall plate until level. Tighten the bottom lag
bolt when adjustments are complete (see page 13).
CAUTION:
Avoid potential personal injury or property
damage! All screws MUST BE firmly tightened to prevent
unwanted movement of the wall plate
15
.
Ensure the wall
plate is securely fastened to the wall before continuing on
to the next step.
S1
S3
S2
S1
15