6
STEP BY STEP INSTALLATION
1. Prepare the SRMax for installation
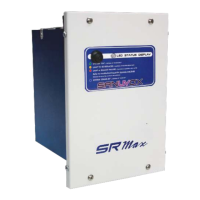
1.1 Remove the contents from the packaging. Only aer you
have visually inspected the UV lamp should you break the
security seal on the underside of the cardboard sleeve.
1.2 Carefully slide the UV lamp out from the cardboard sleeve.
Be sure to wear the cotton gloves (included)
guaranteeing a clean lamp free from ngerprints. Fingerprints
on the lamp will negatively impact the UV output of the lamp.
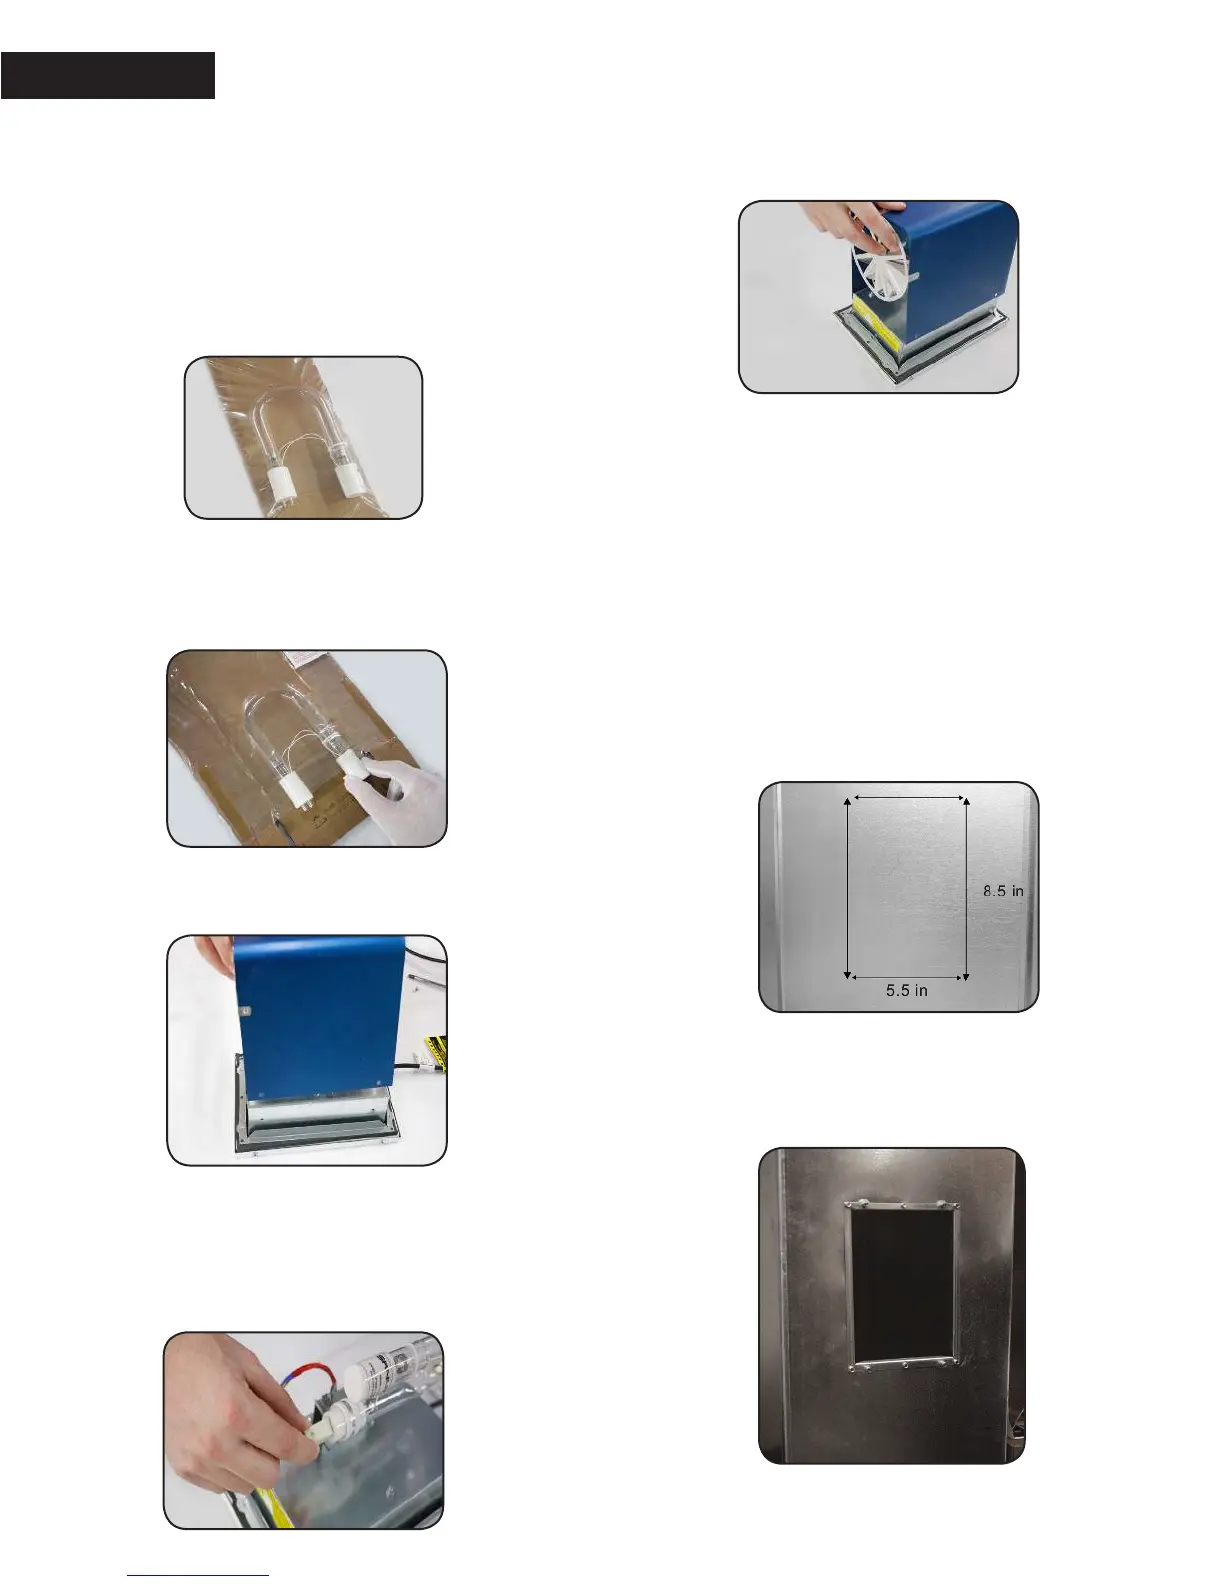
1.3 To install the UV lamp, remove the reecting tube
by removing the 4 screws on either side.
1.4 Slide the UV lamp porcelain end-cap (with 4 pins)
through the clamp. Use the wingnut to tighten the clamp
and secure the lamp. Do not over tighten the wingnut as this
could damage /break the UV lamp. Insert the lamp connector
over the 4 pins of the UV lamp.
1.5 Reinstall the reecting tube by making sure that
the turbulator is facing the airow so that it will slow down
the air as it passes in front of the UV lamp.
2. Prepare the duct (return or supply) for installation
2.1 Evaluate the ideal area for installing the air purier.
e reection chamber should always be parallel to the air-
ow. Ensure that the purier will t into the plenum
and position it keeping in mind to minimize plastics exposure
to direct UV light.
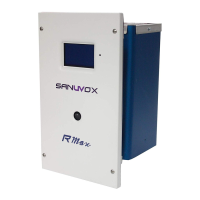
2.2 Use the included metal frame to trace the outline onto
the duct. Allow for a 1/8” space around the marking as to
allow the frame to sit properly in the duct. e duct opening
window should have the following dimensions: 8.5” x 5.5”.
2.3 Cut out the window opening onto the duct. Place the frame
into the opening made in the duct and use the 6 metal screws
provided in the installation kit to secure it to the duct.