7
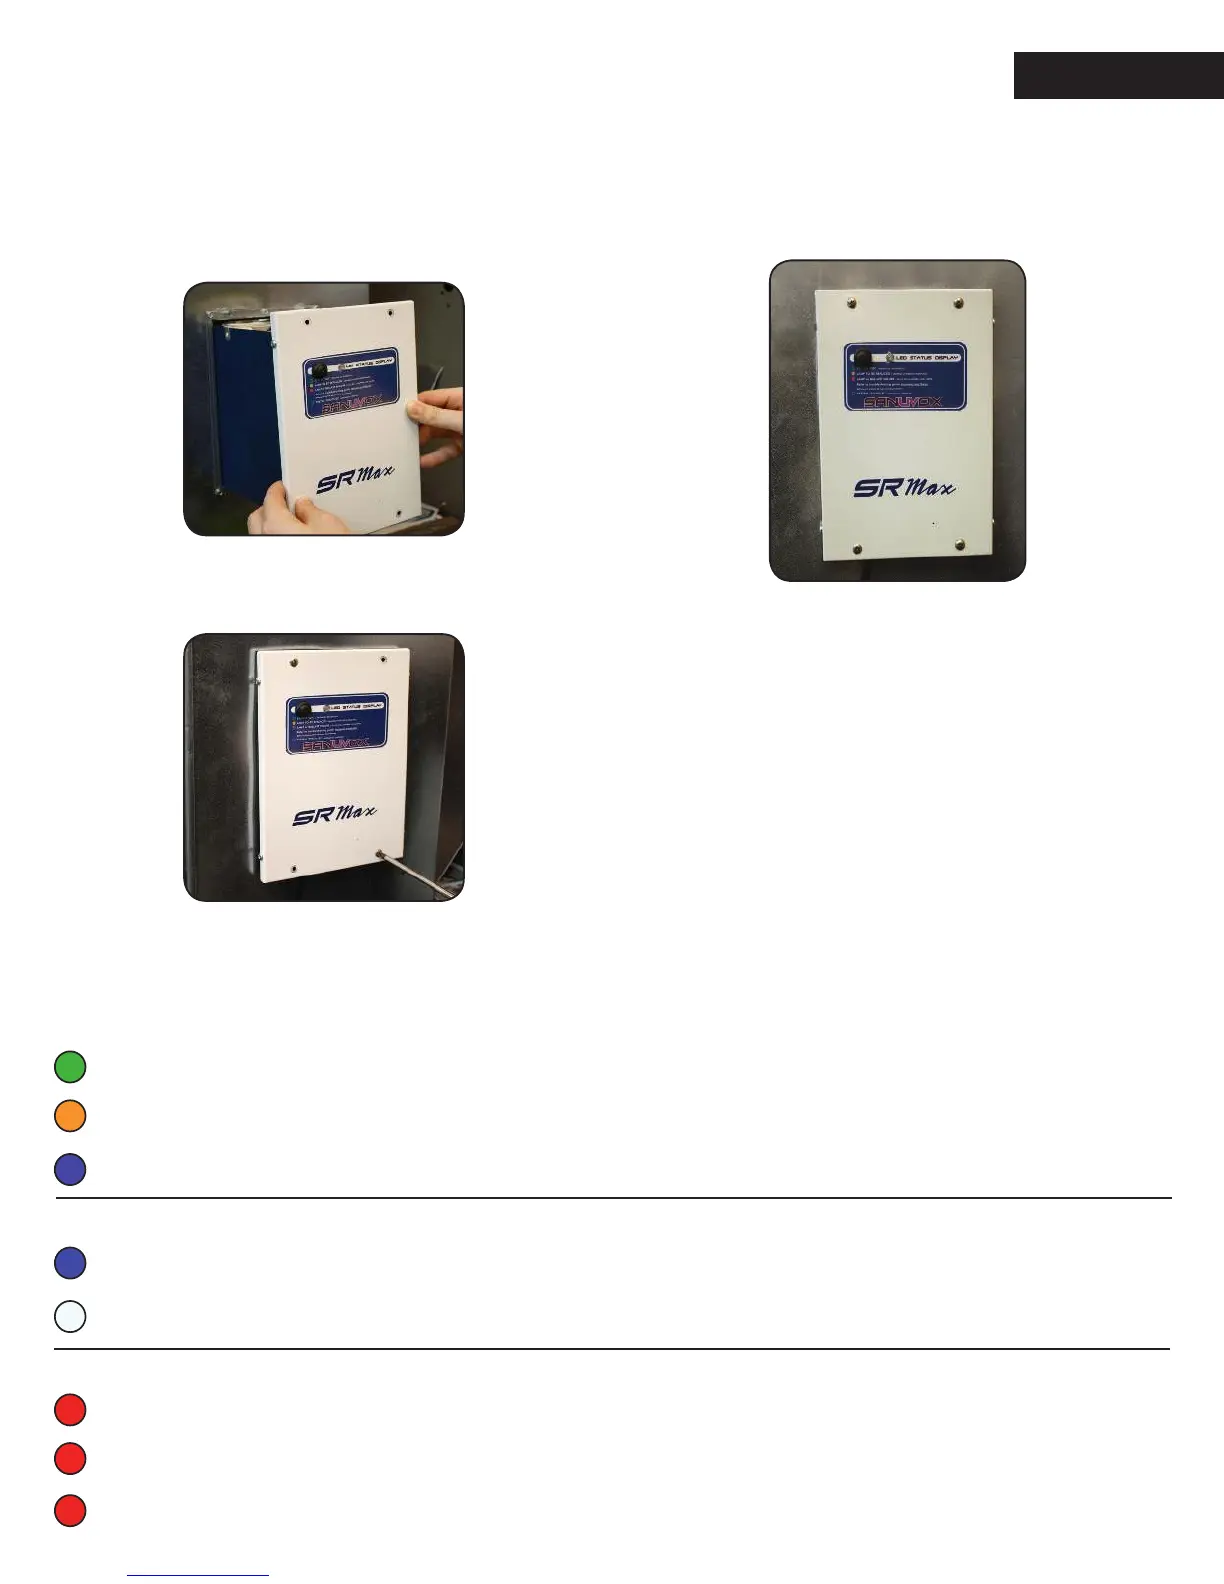
3. Finalize SRMax installation in the duct
and power ON
3.1 Place the SRMax into the frame, guided with
the alignment pins.
3.2 Secure the SRMax to the frame with the 4 remaining
screws located in the 4 corners of the SRMax cover.
3.3 Use the power cord of the unit to plug into a wall outlet
that provides the power as indicated on the marking label
of the product. An extension cord may be used if there is not
a power outlet close to where the SRMax is installed.
3.4 You are now ready to power ON your new SRMax
and enjoy great air quality for you and your family.
GREEN : In operation
ORANGE : Heartbeat followed by 1 ash - lamp over 3 years that needs to be replaced
BLUE : Heartbeat, stand-by waiting for airow
INFORMATION FROM THE STATUS LED
Normal operation
BLUE : Airow detection activated*
WHITE : Factory setting, airow detection de-activated
At start-up
RED (2 ashes) : Lamp or ballast failure
RED (3 ashes) : ermistor disconnected
RED (4 ashes) : ermistor shorted
Error code **
* Refer to the section below Activating airow detection ** Refer to troubleshooting (sanuvox.com/help)